As with all things shop, inevitably you want to spend less time making more things. Below is a method I developed for bowl making. Less time, less wood, but more bowls.
I tried turning both green and milled wood.

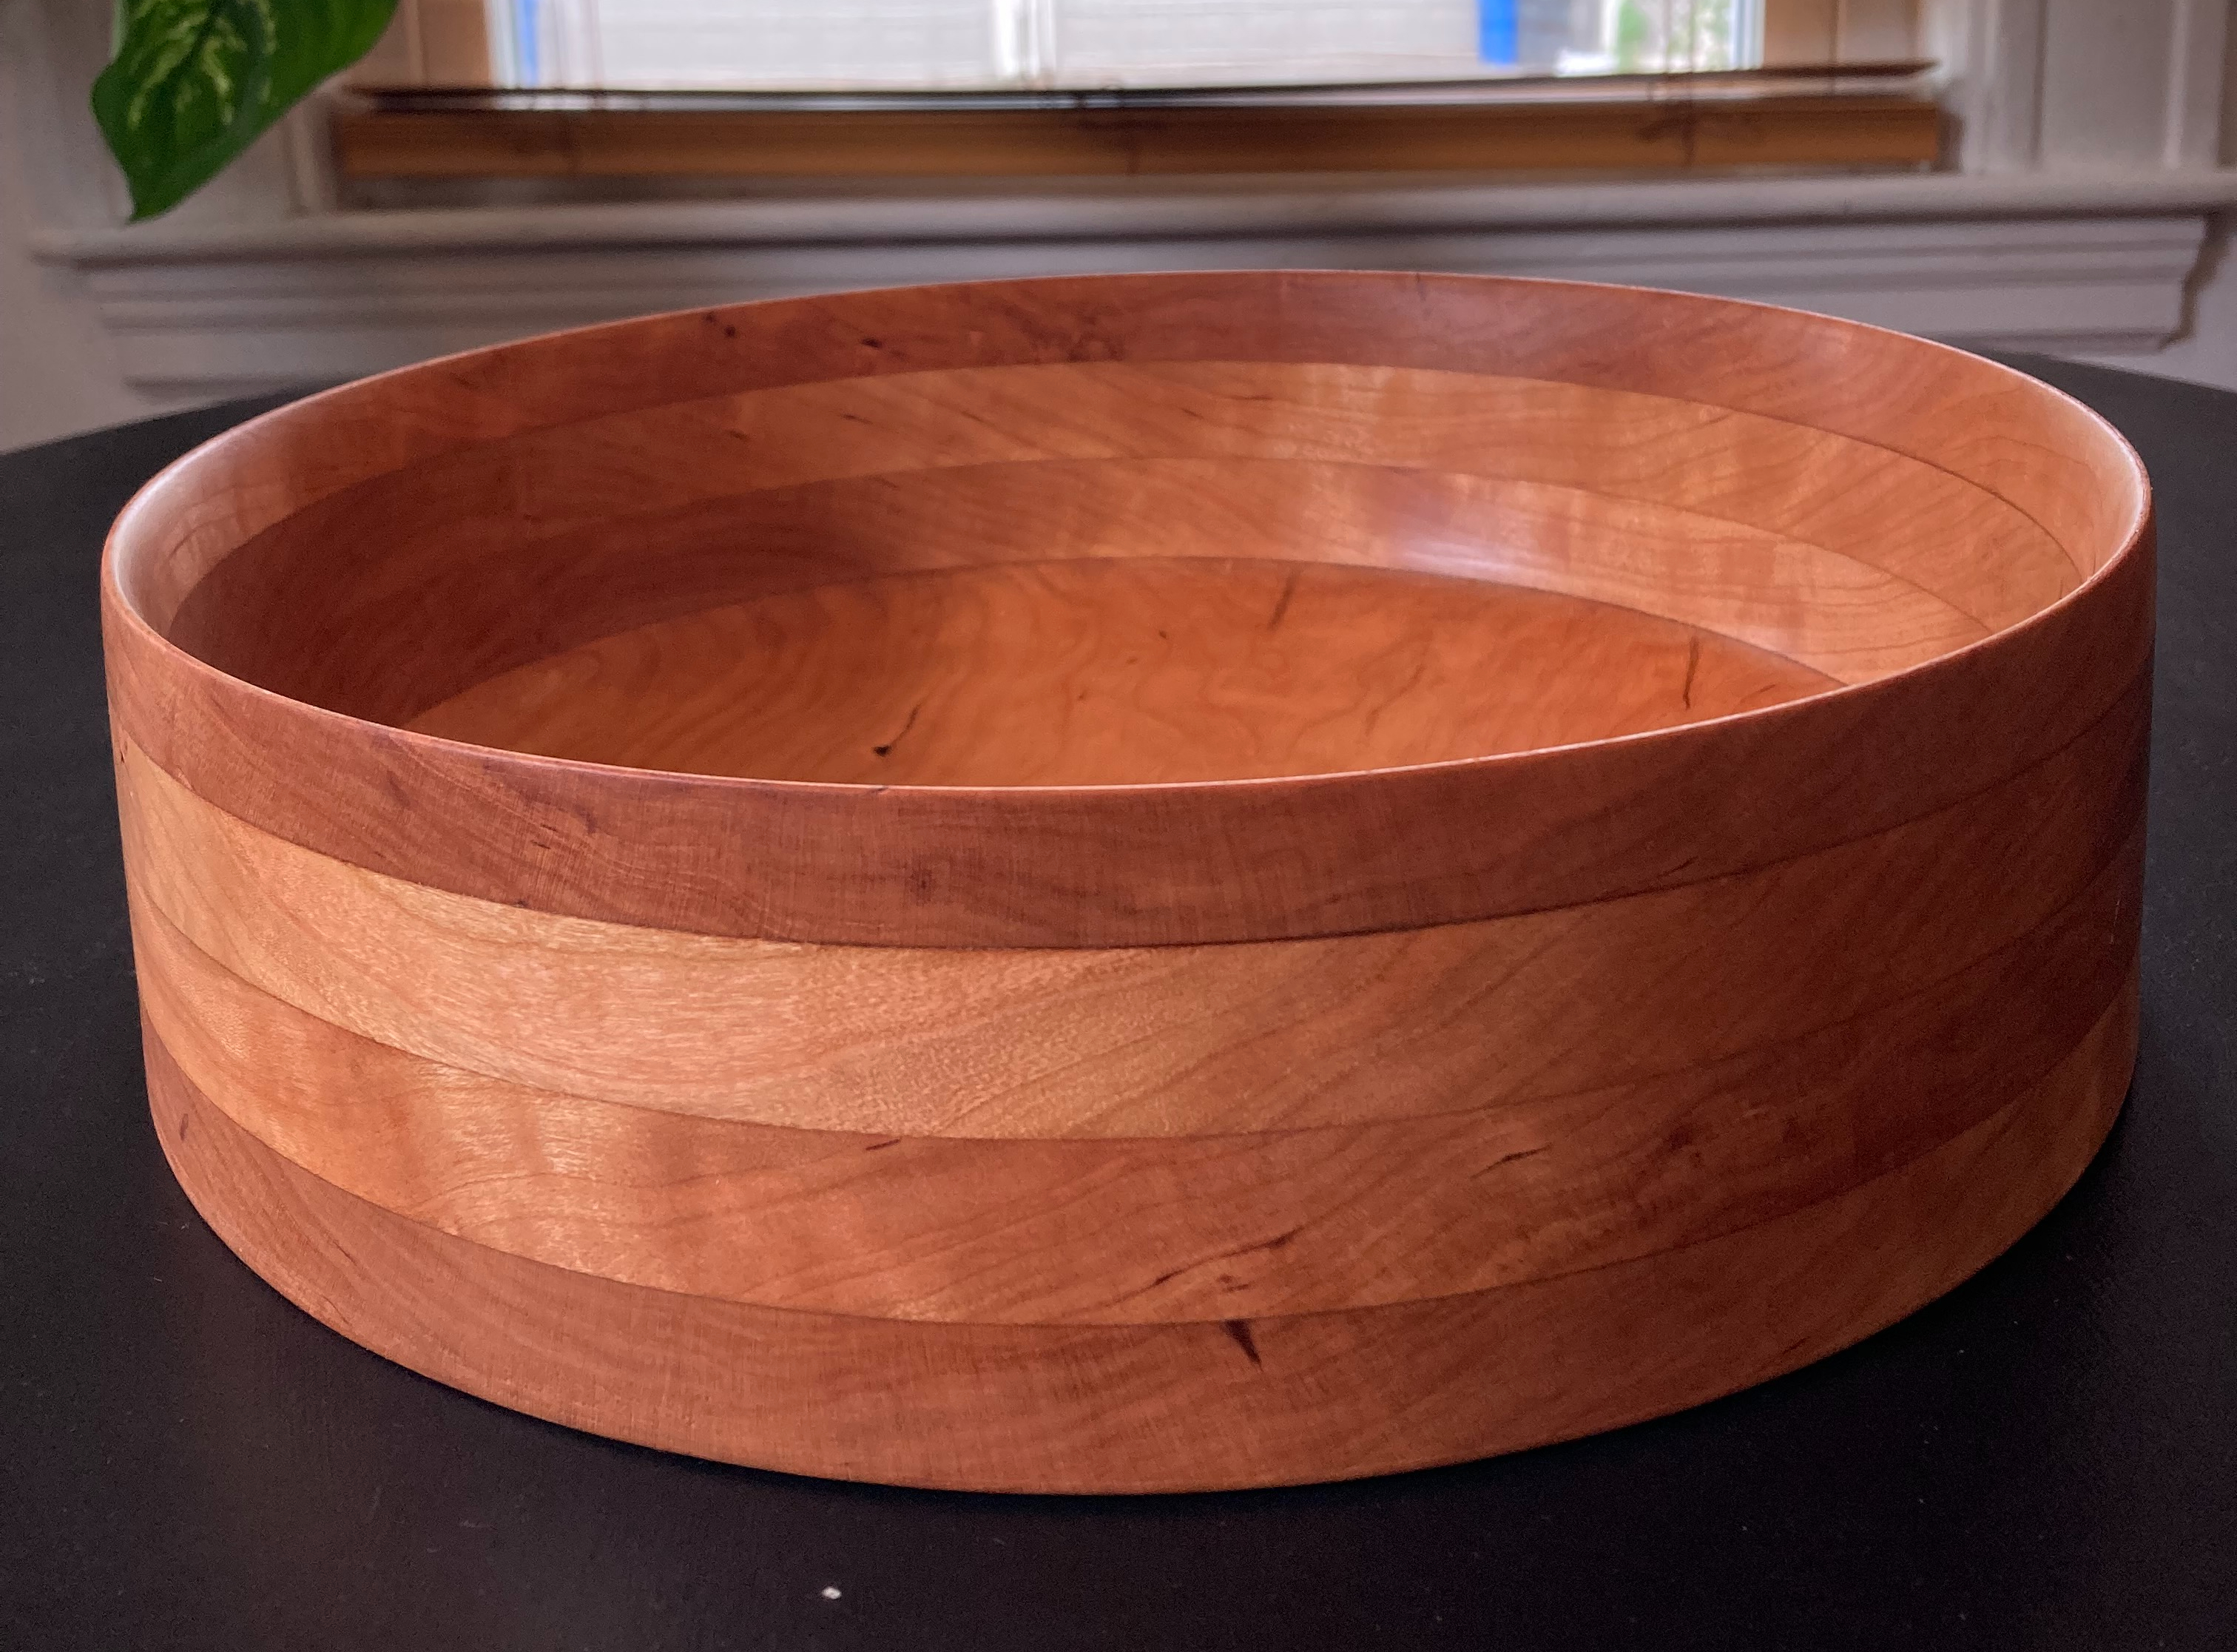
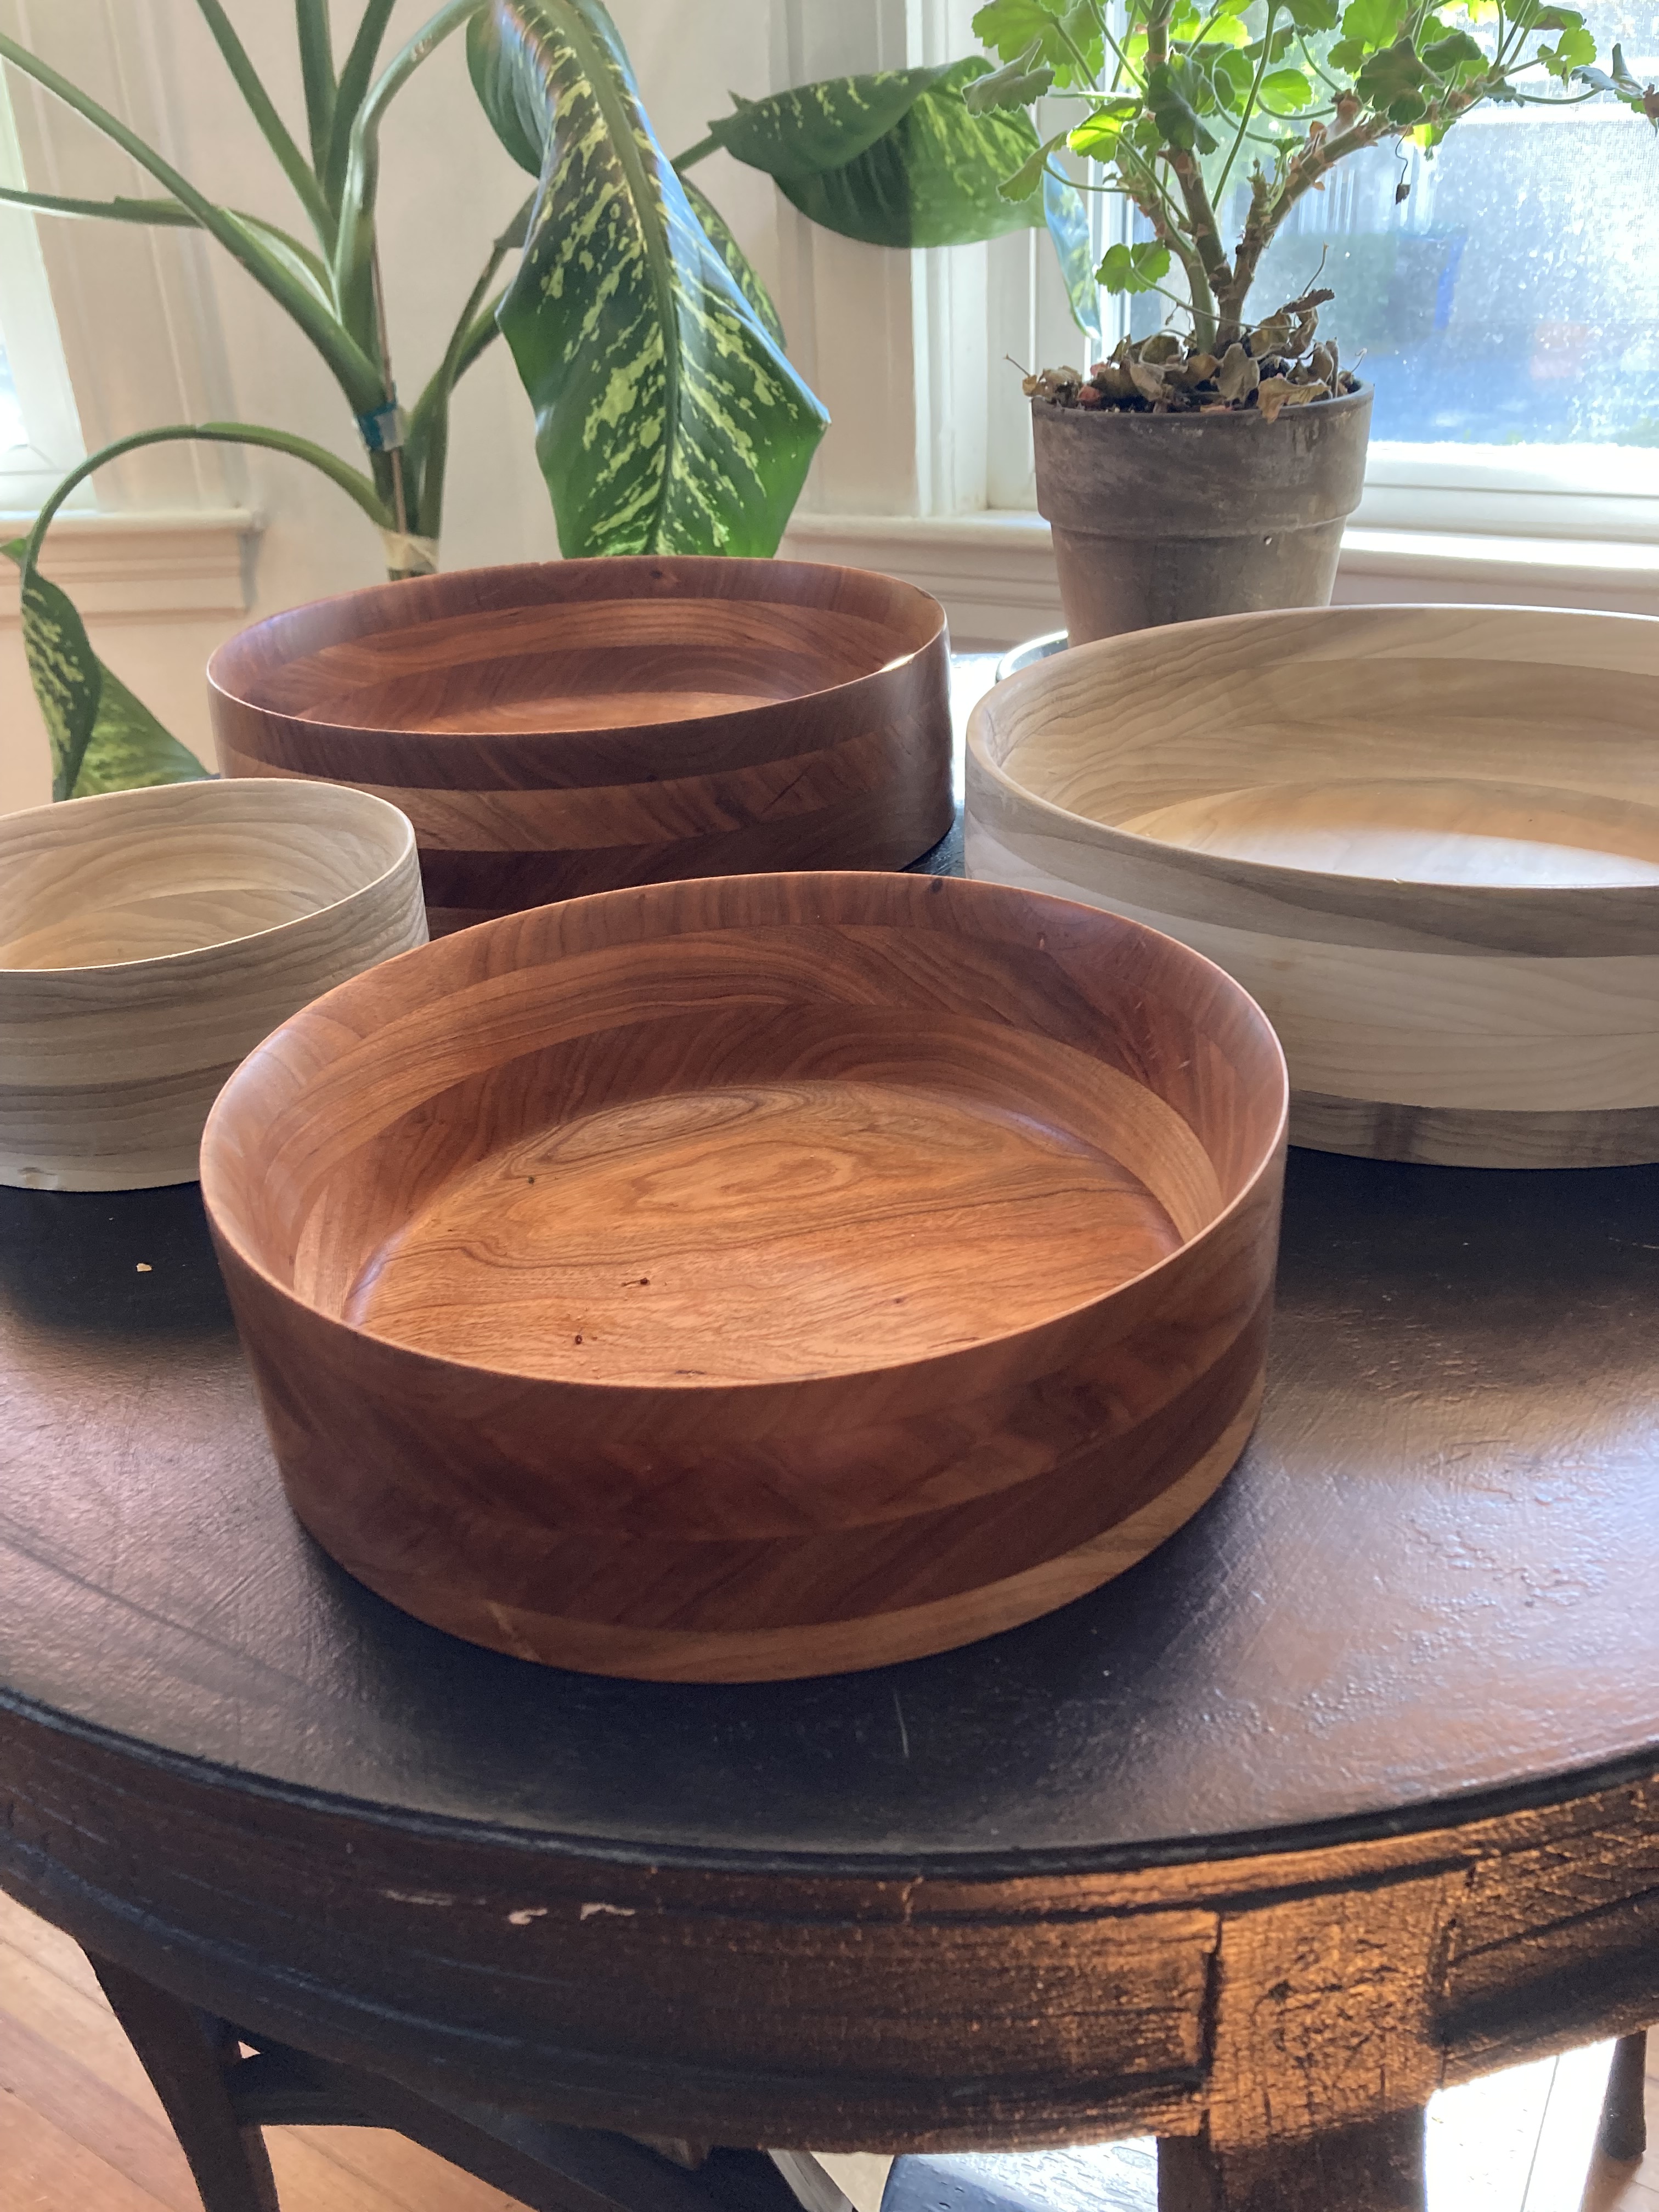
Both are perfectly viable ways to turn a bowl. However, while I was working with Ellie and Eliott we wanted a sleek mid-century look to the bowls, and the milled wood really lent itself to the style.
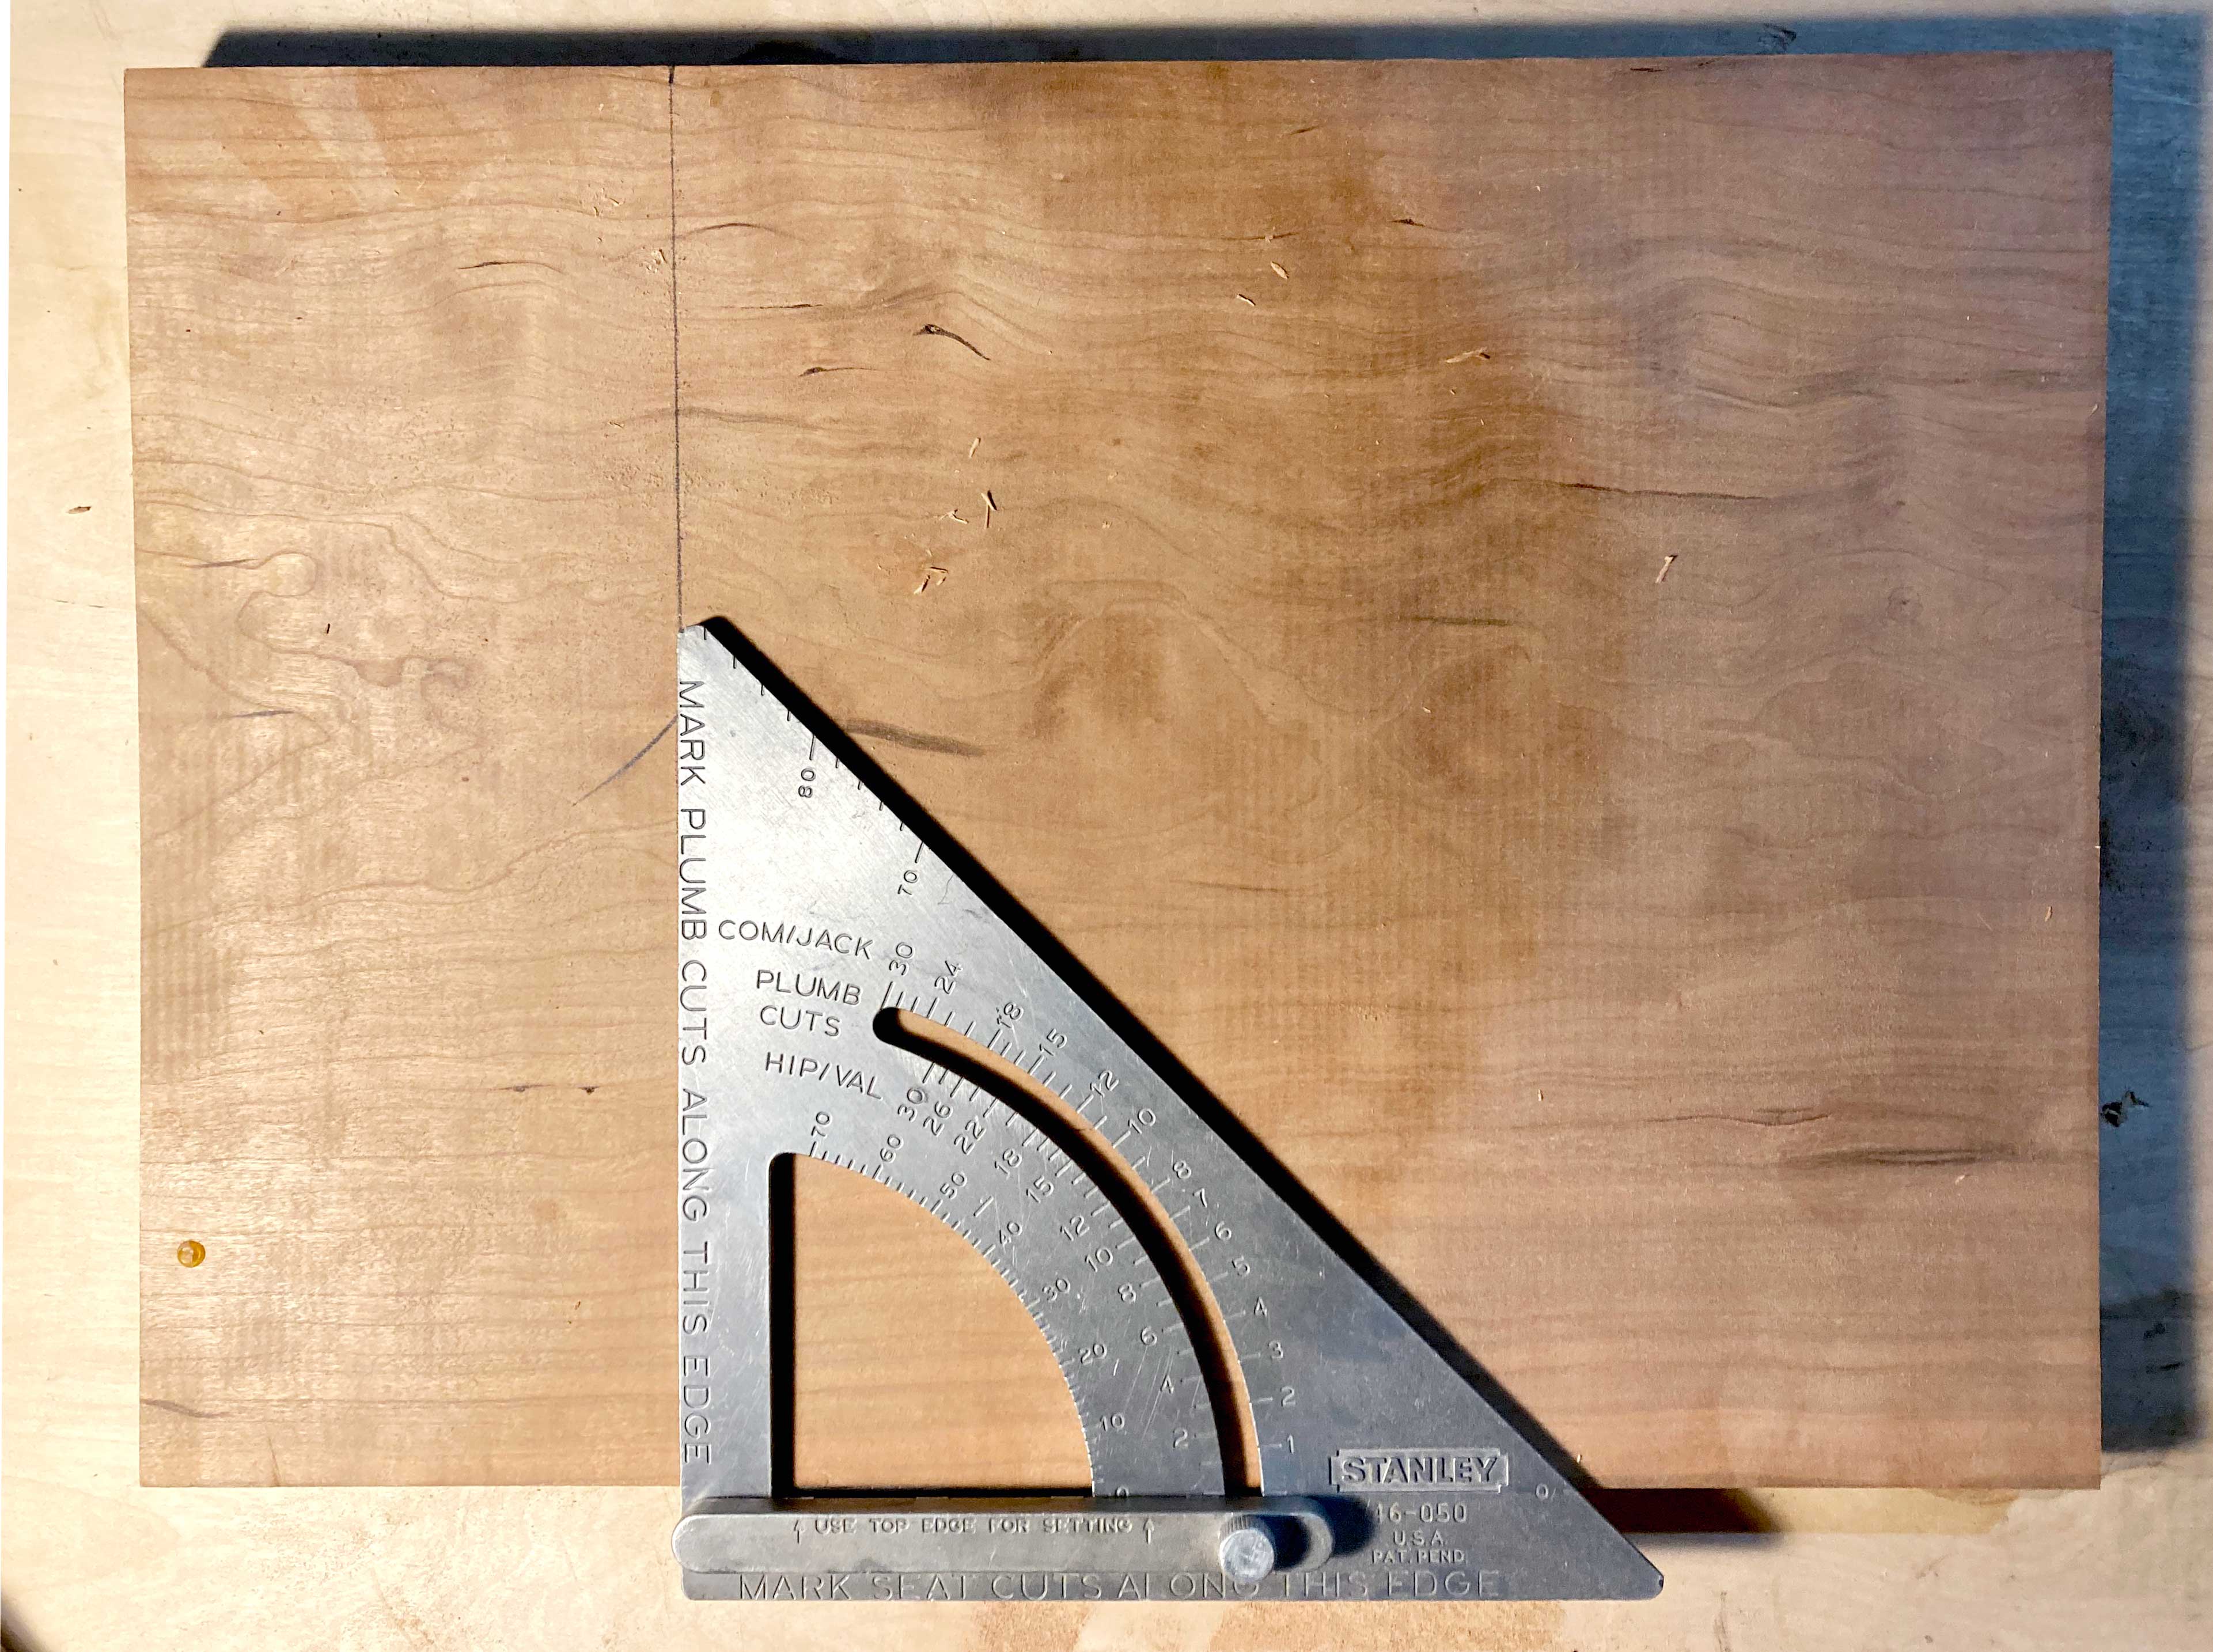
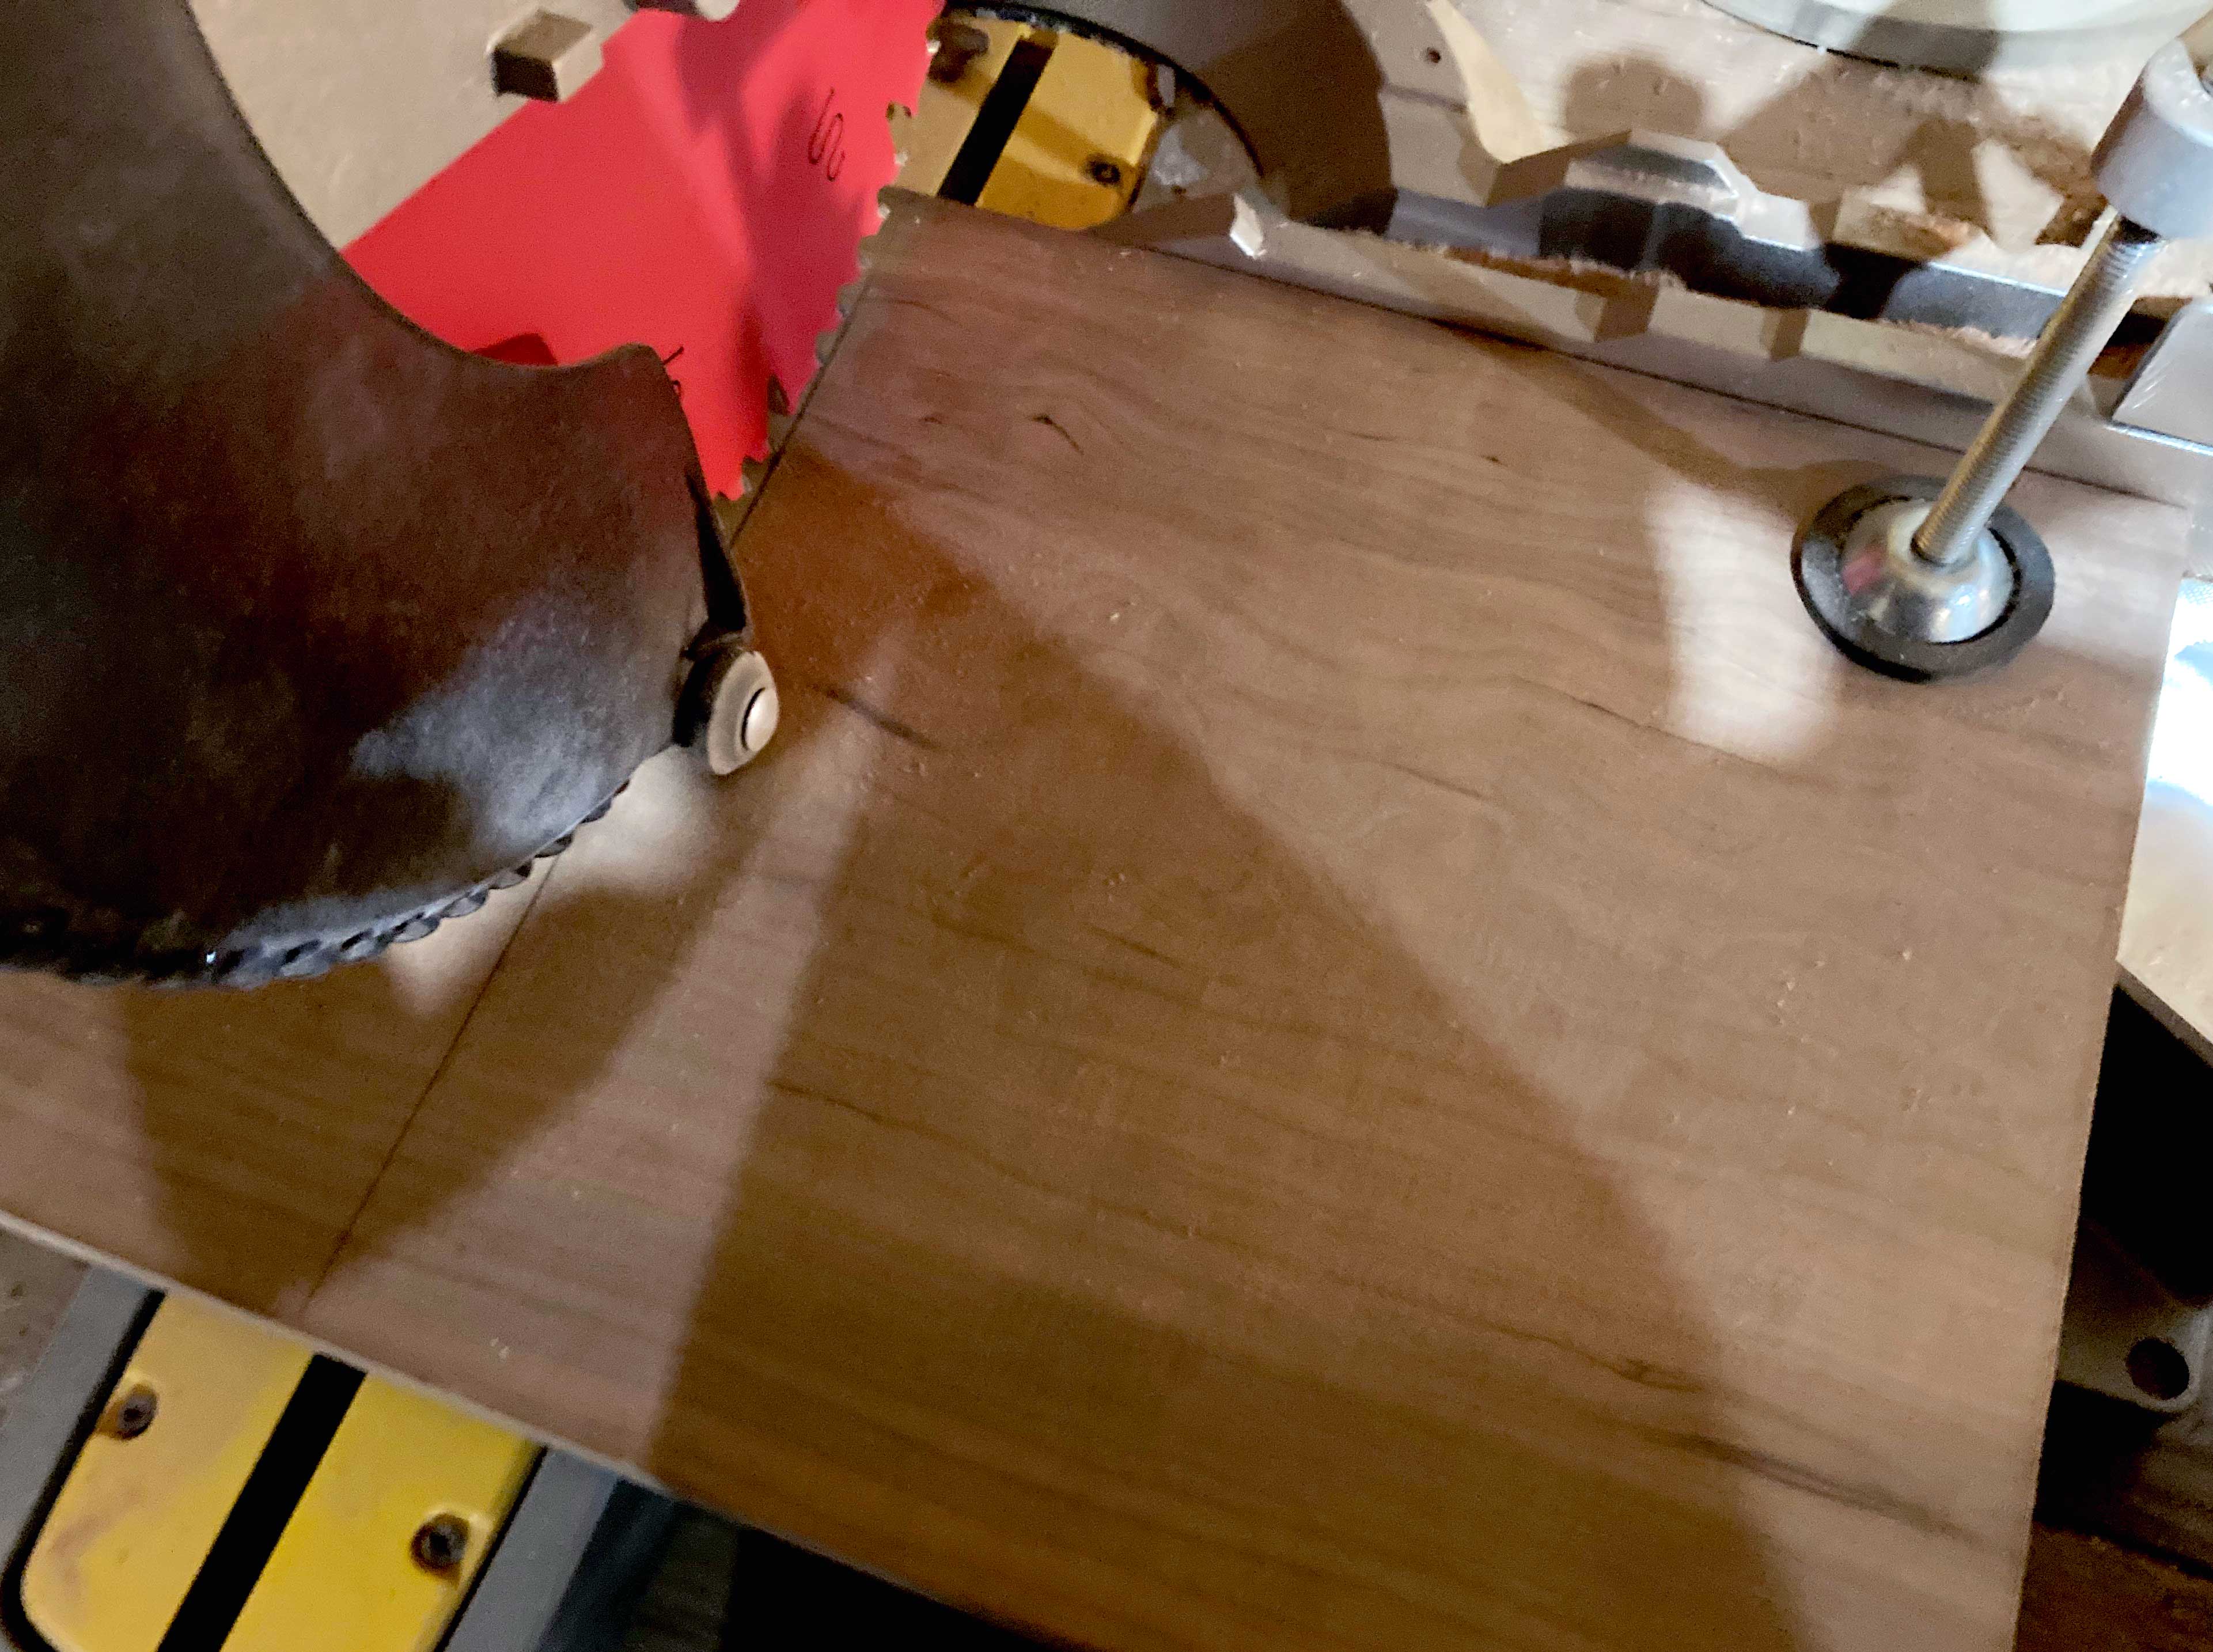


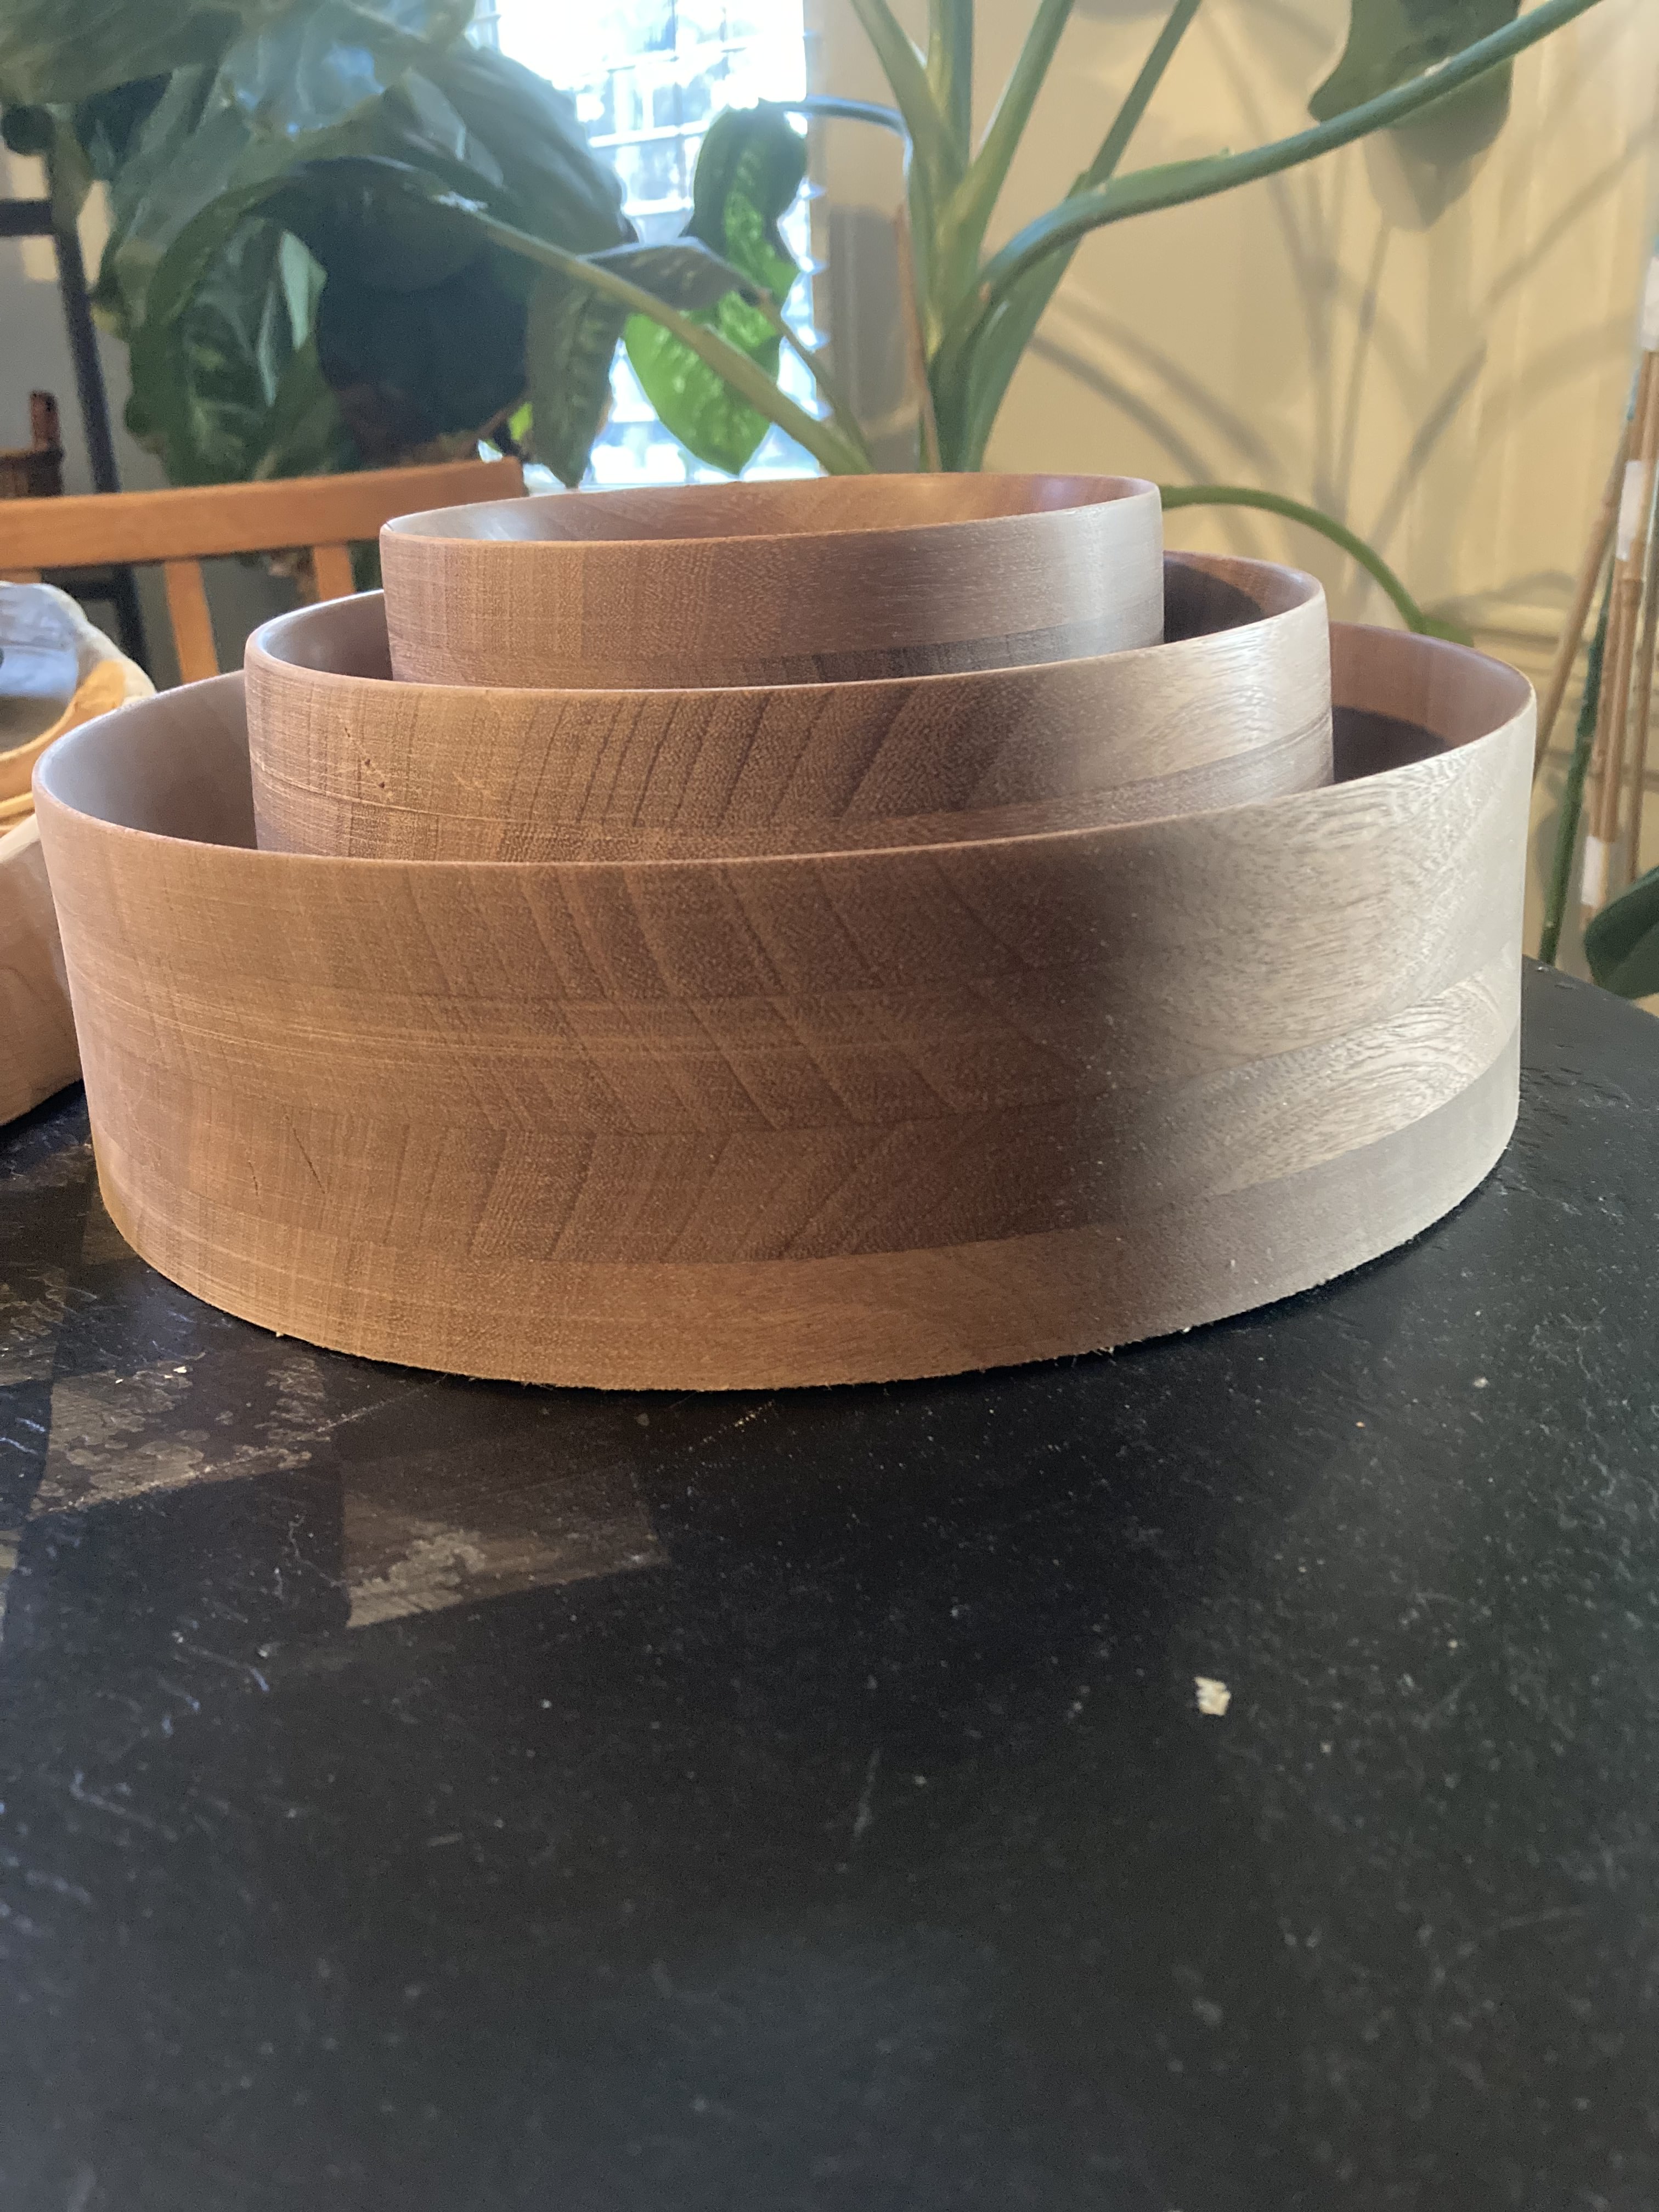
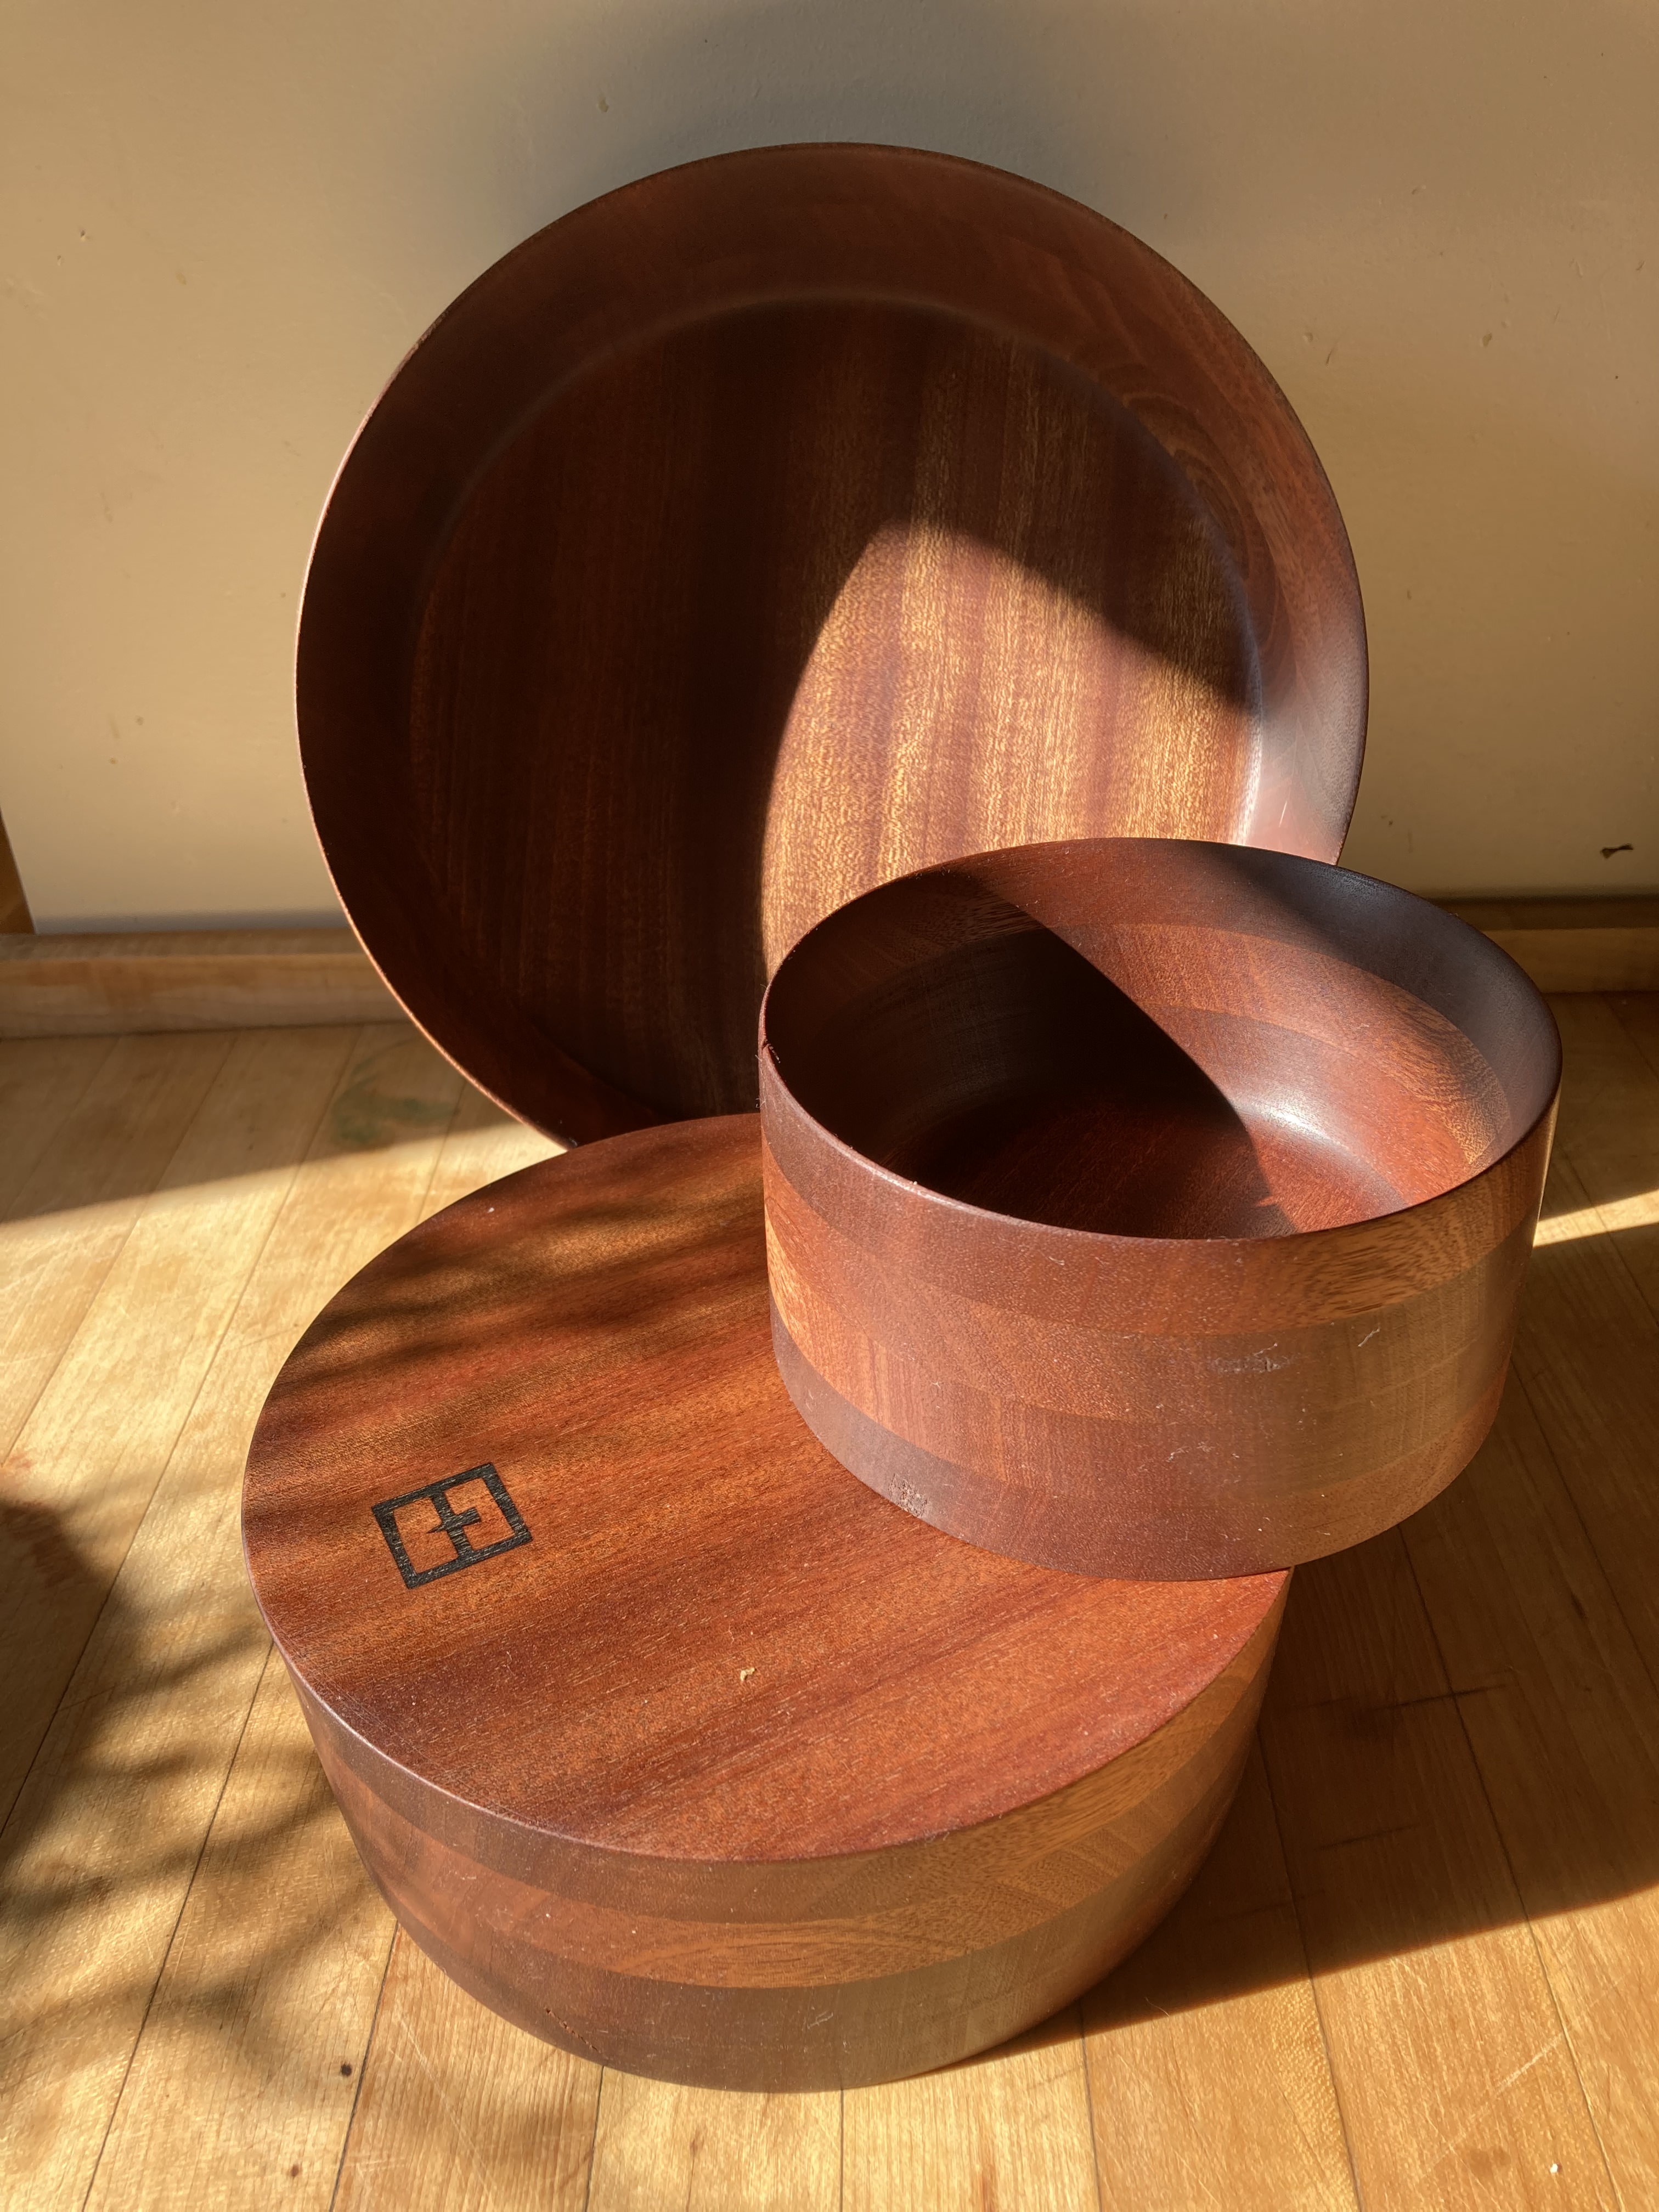
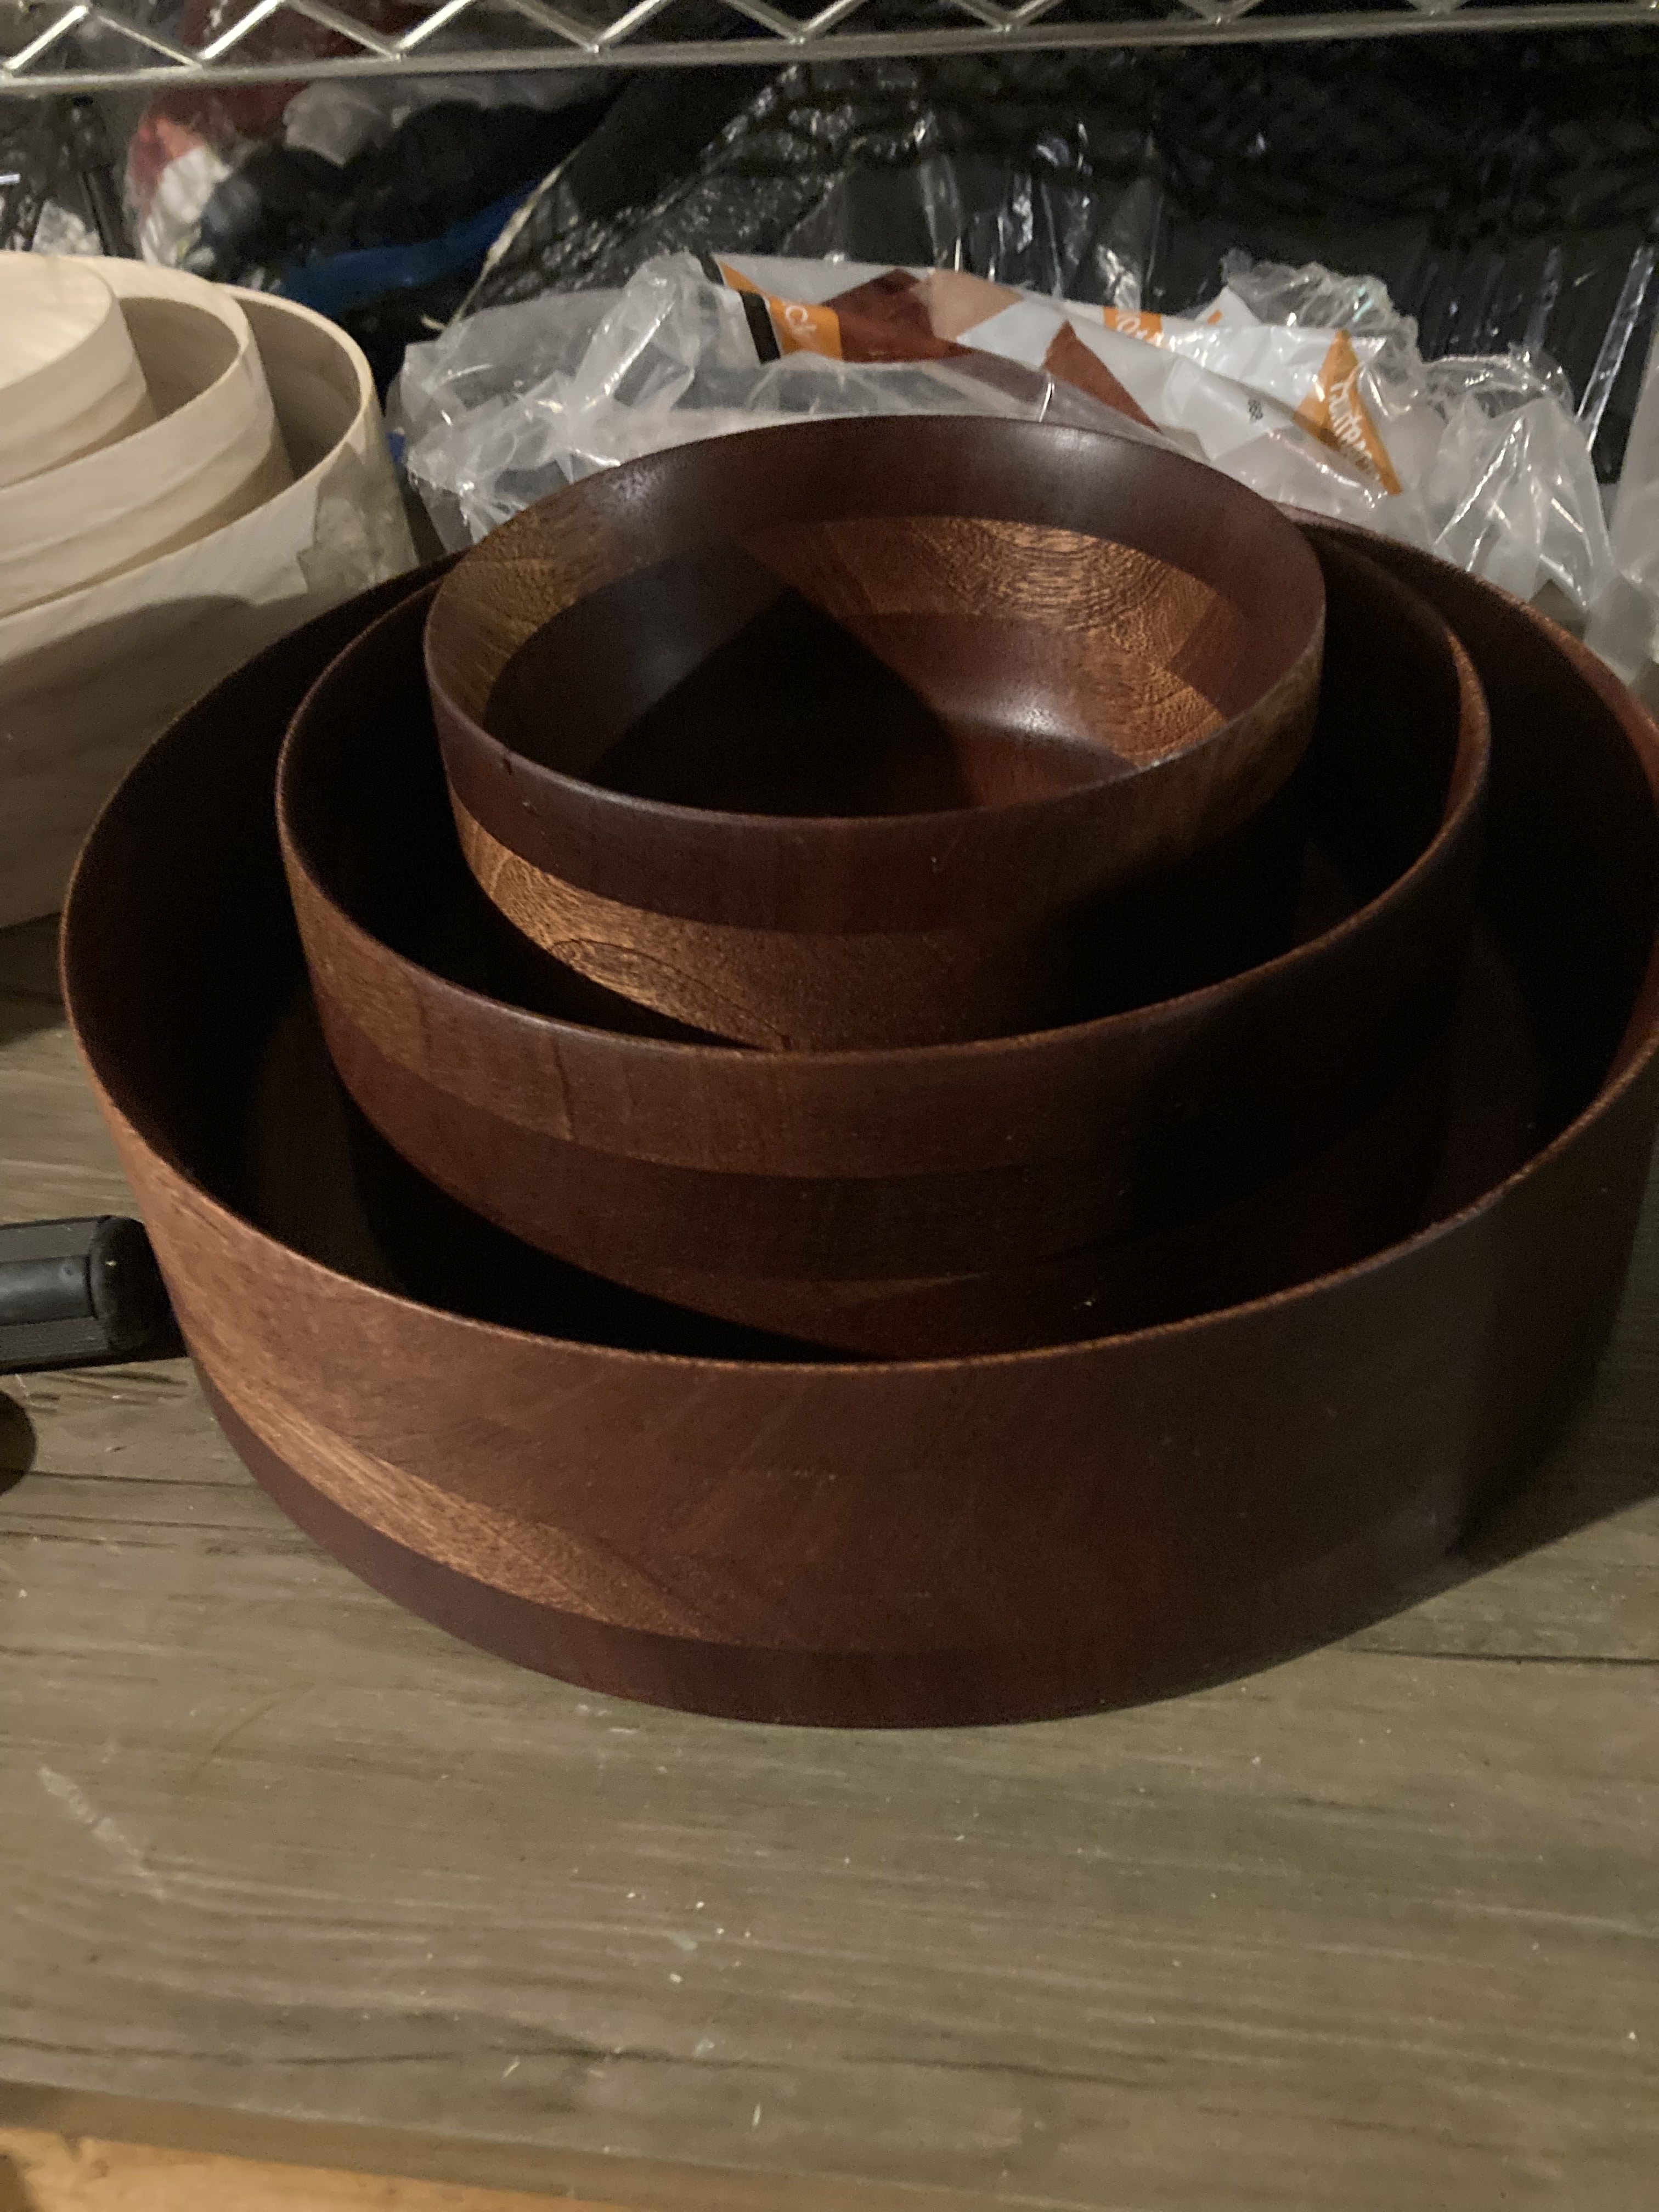
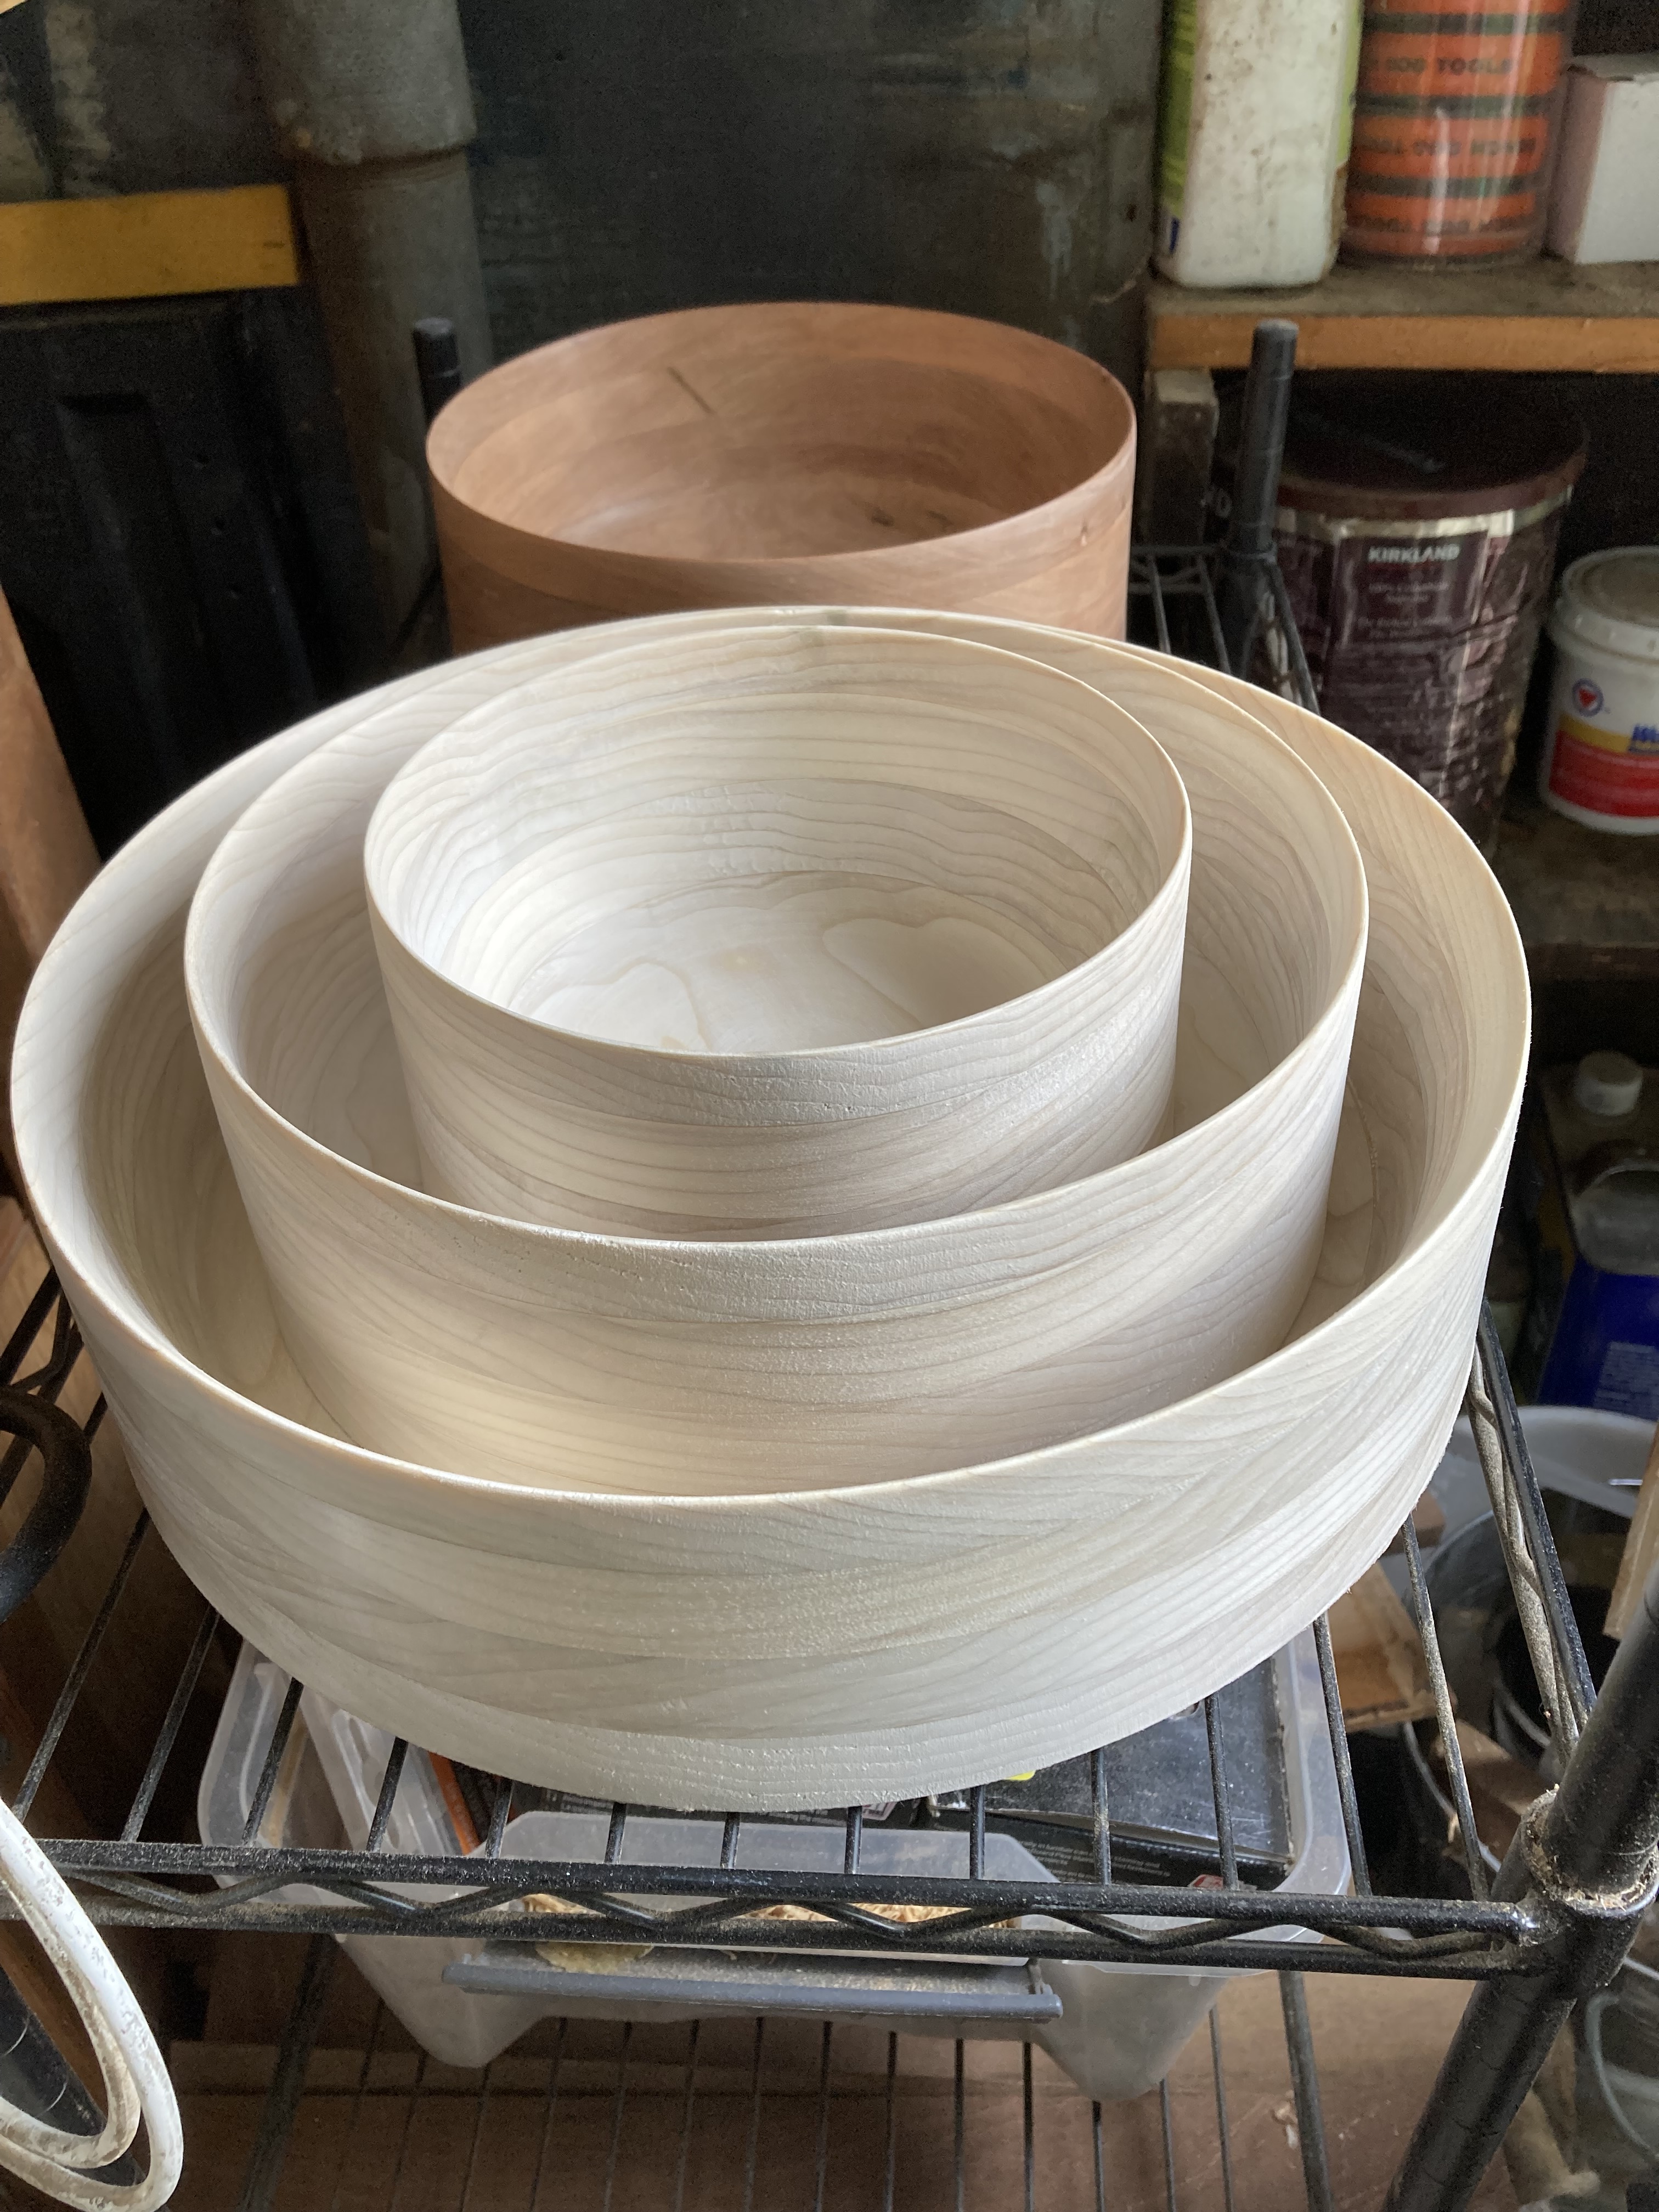
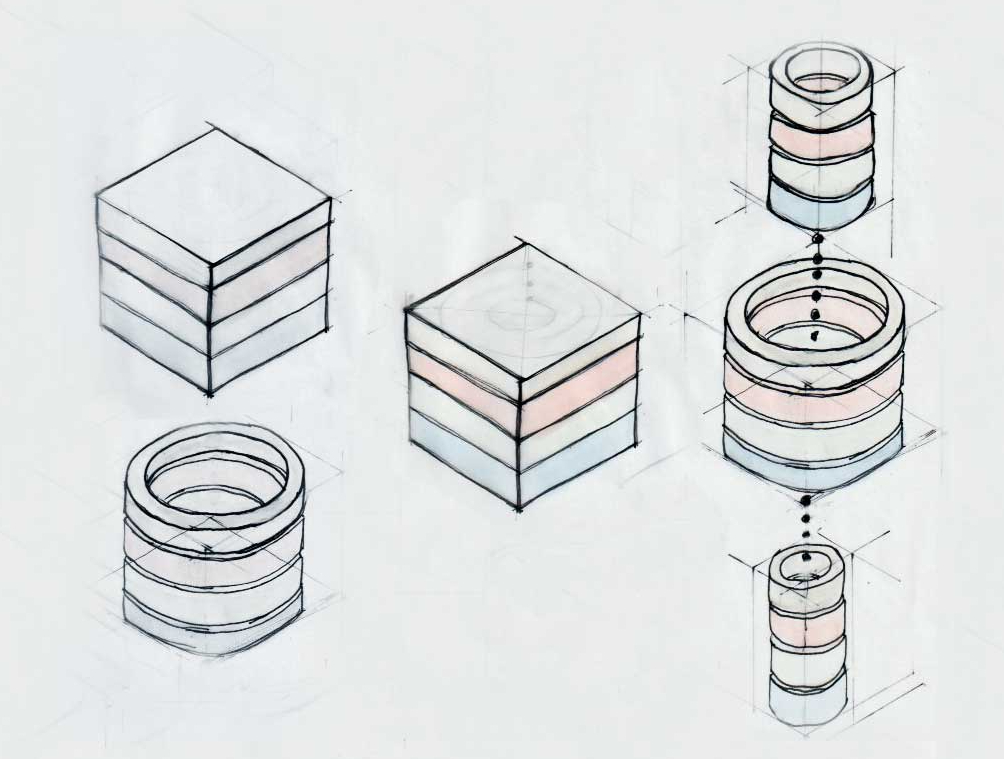
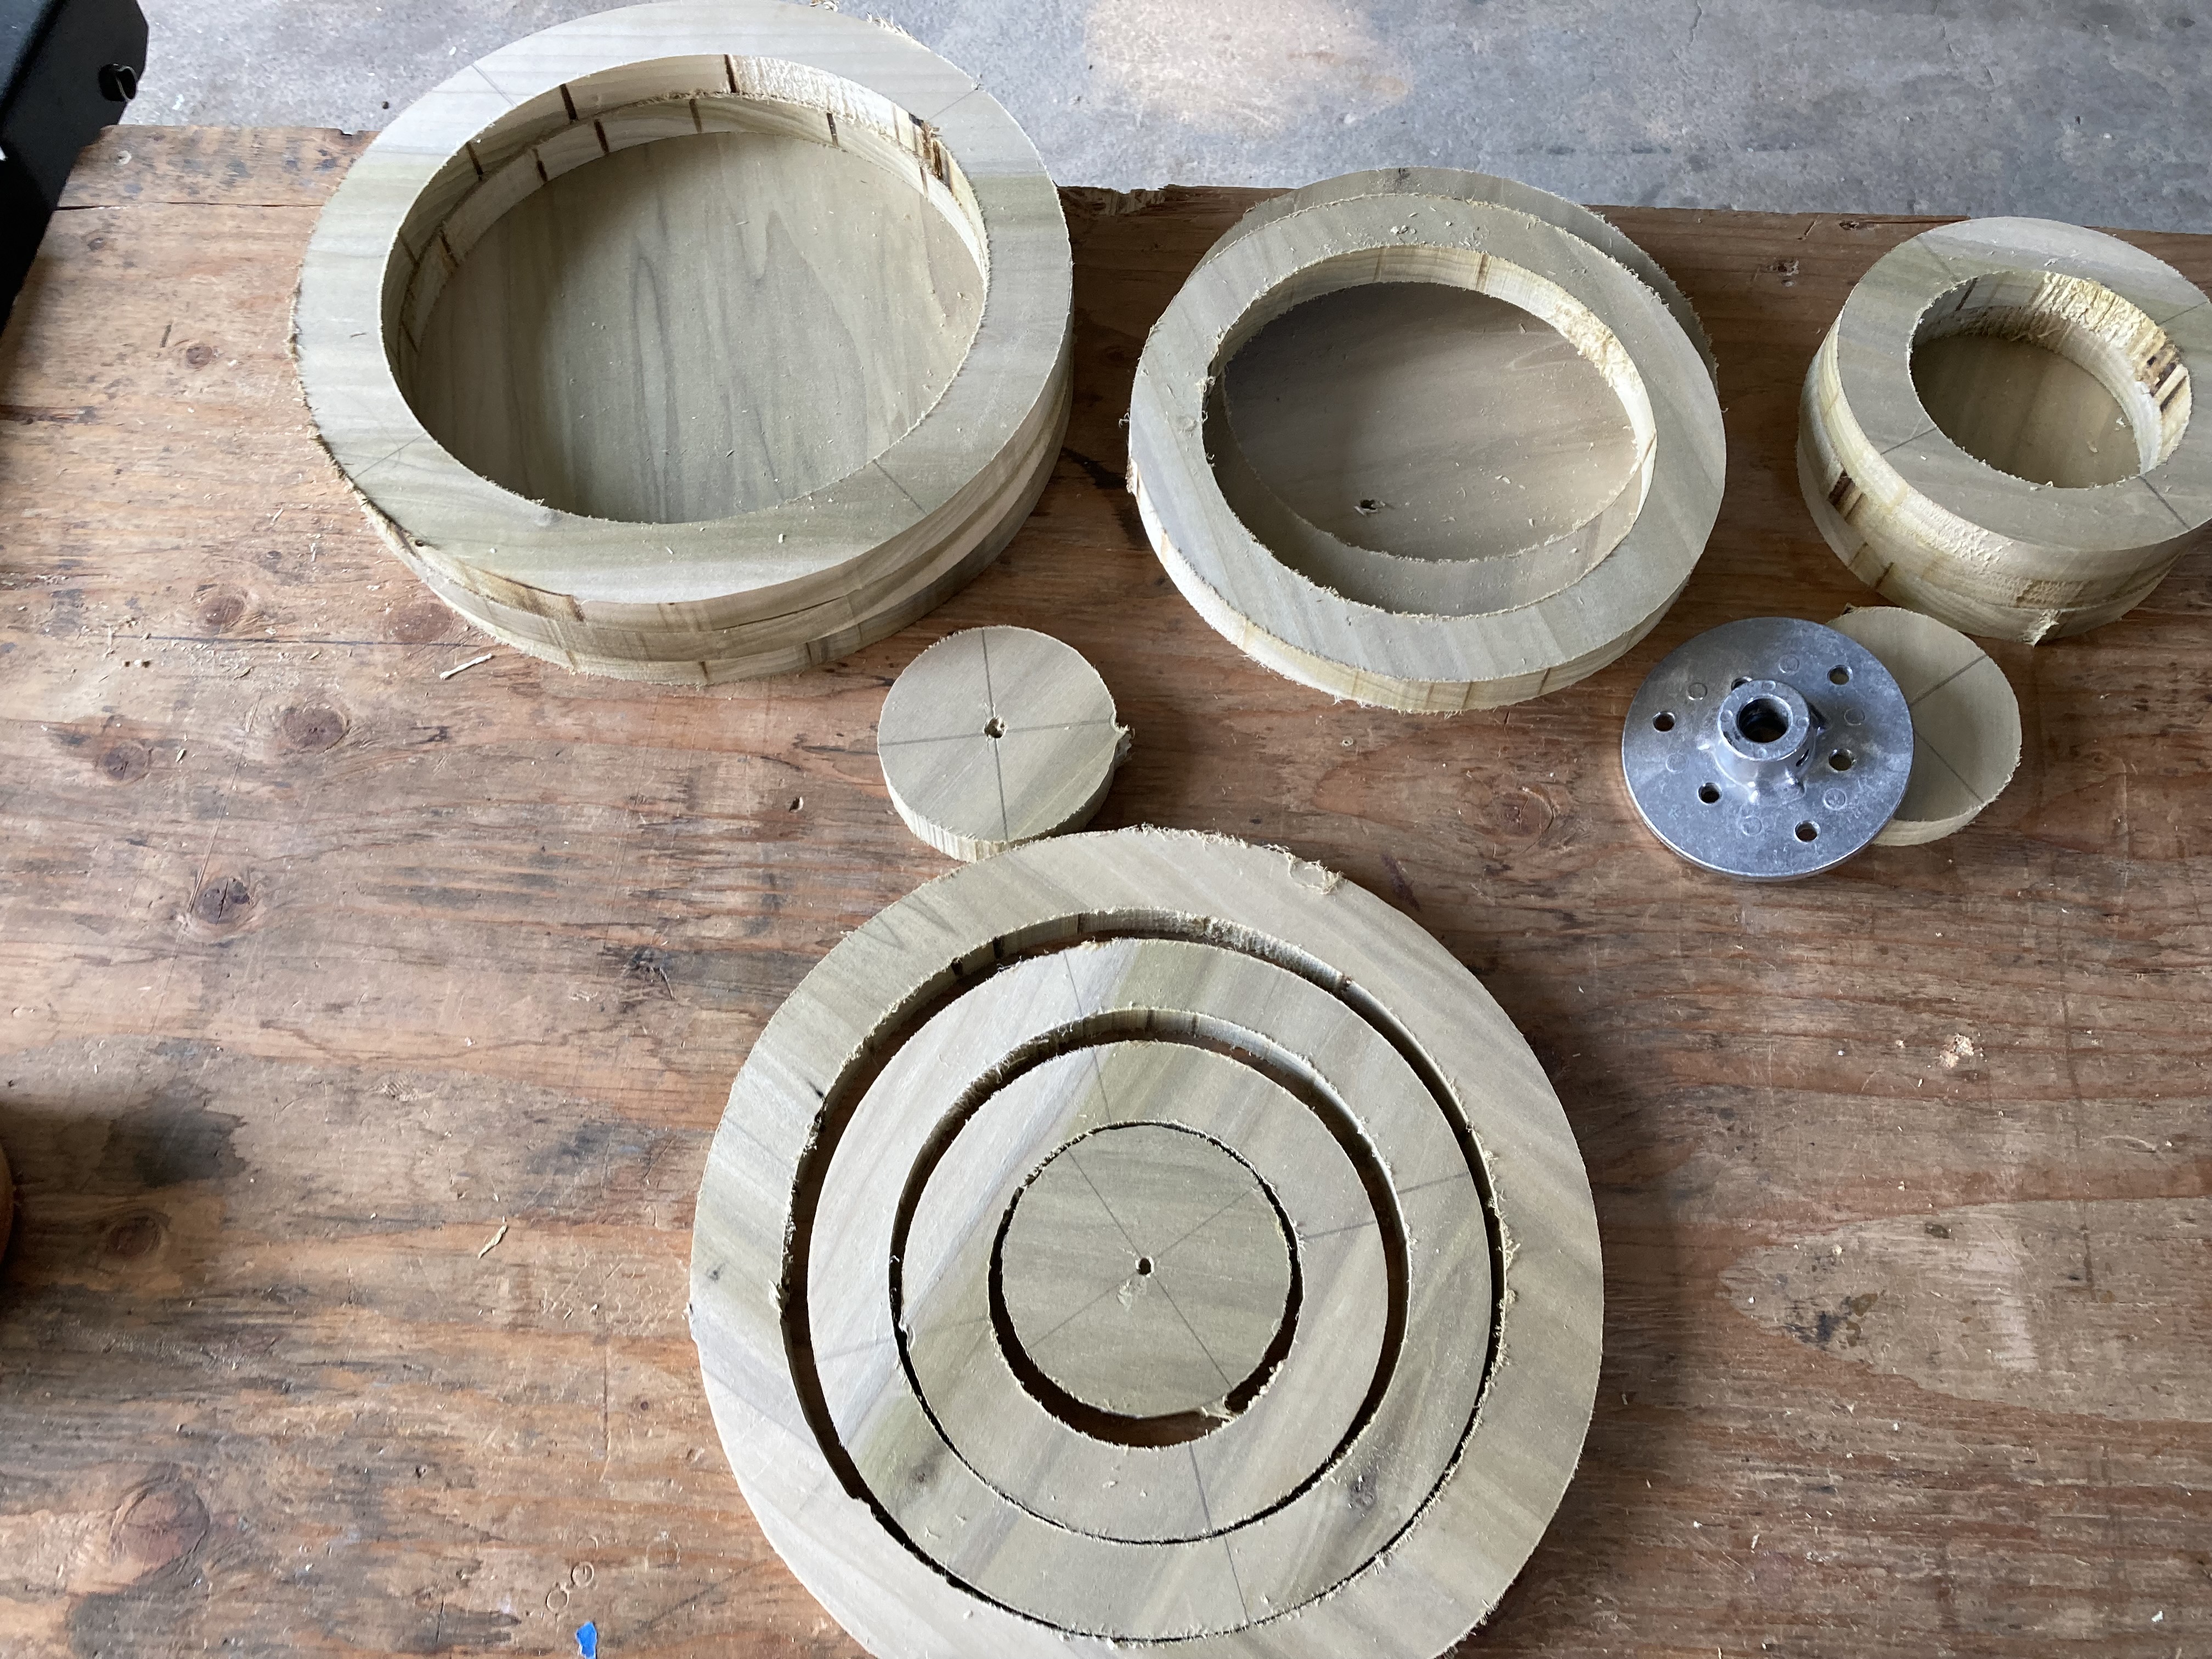
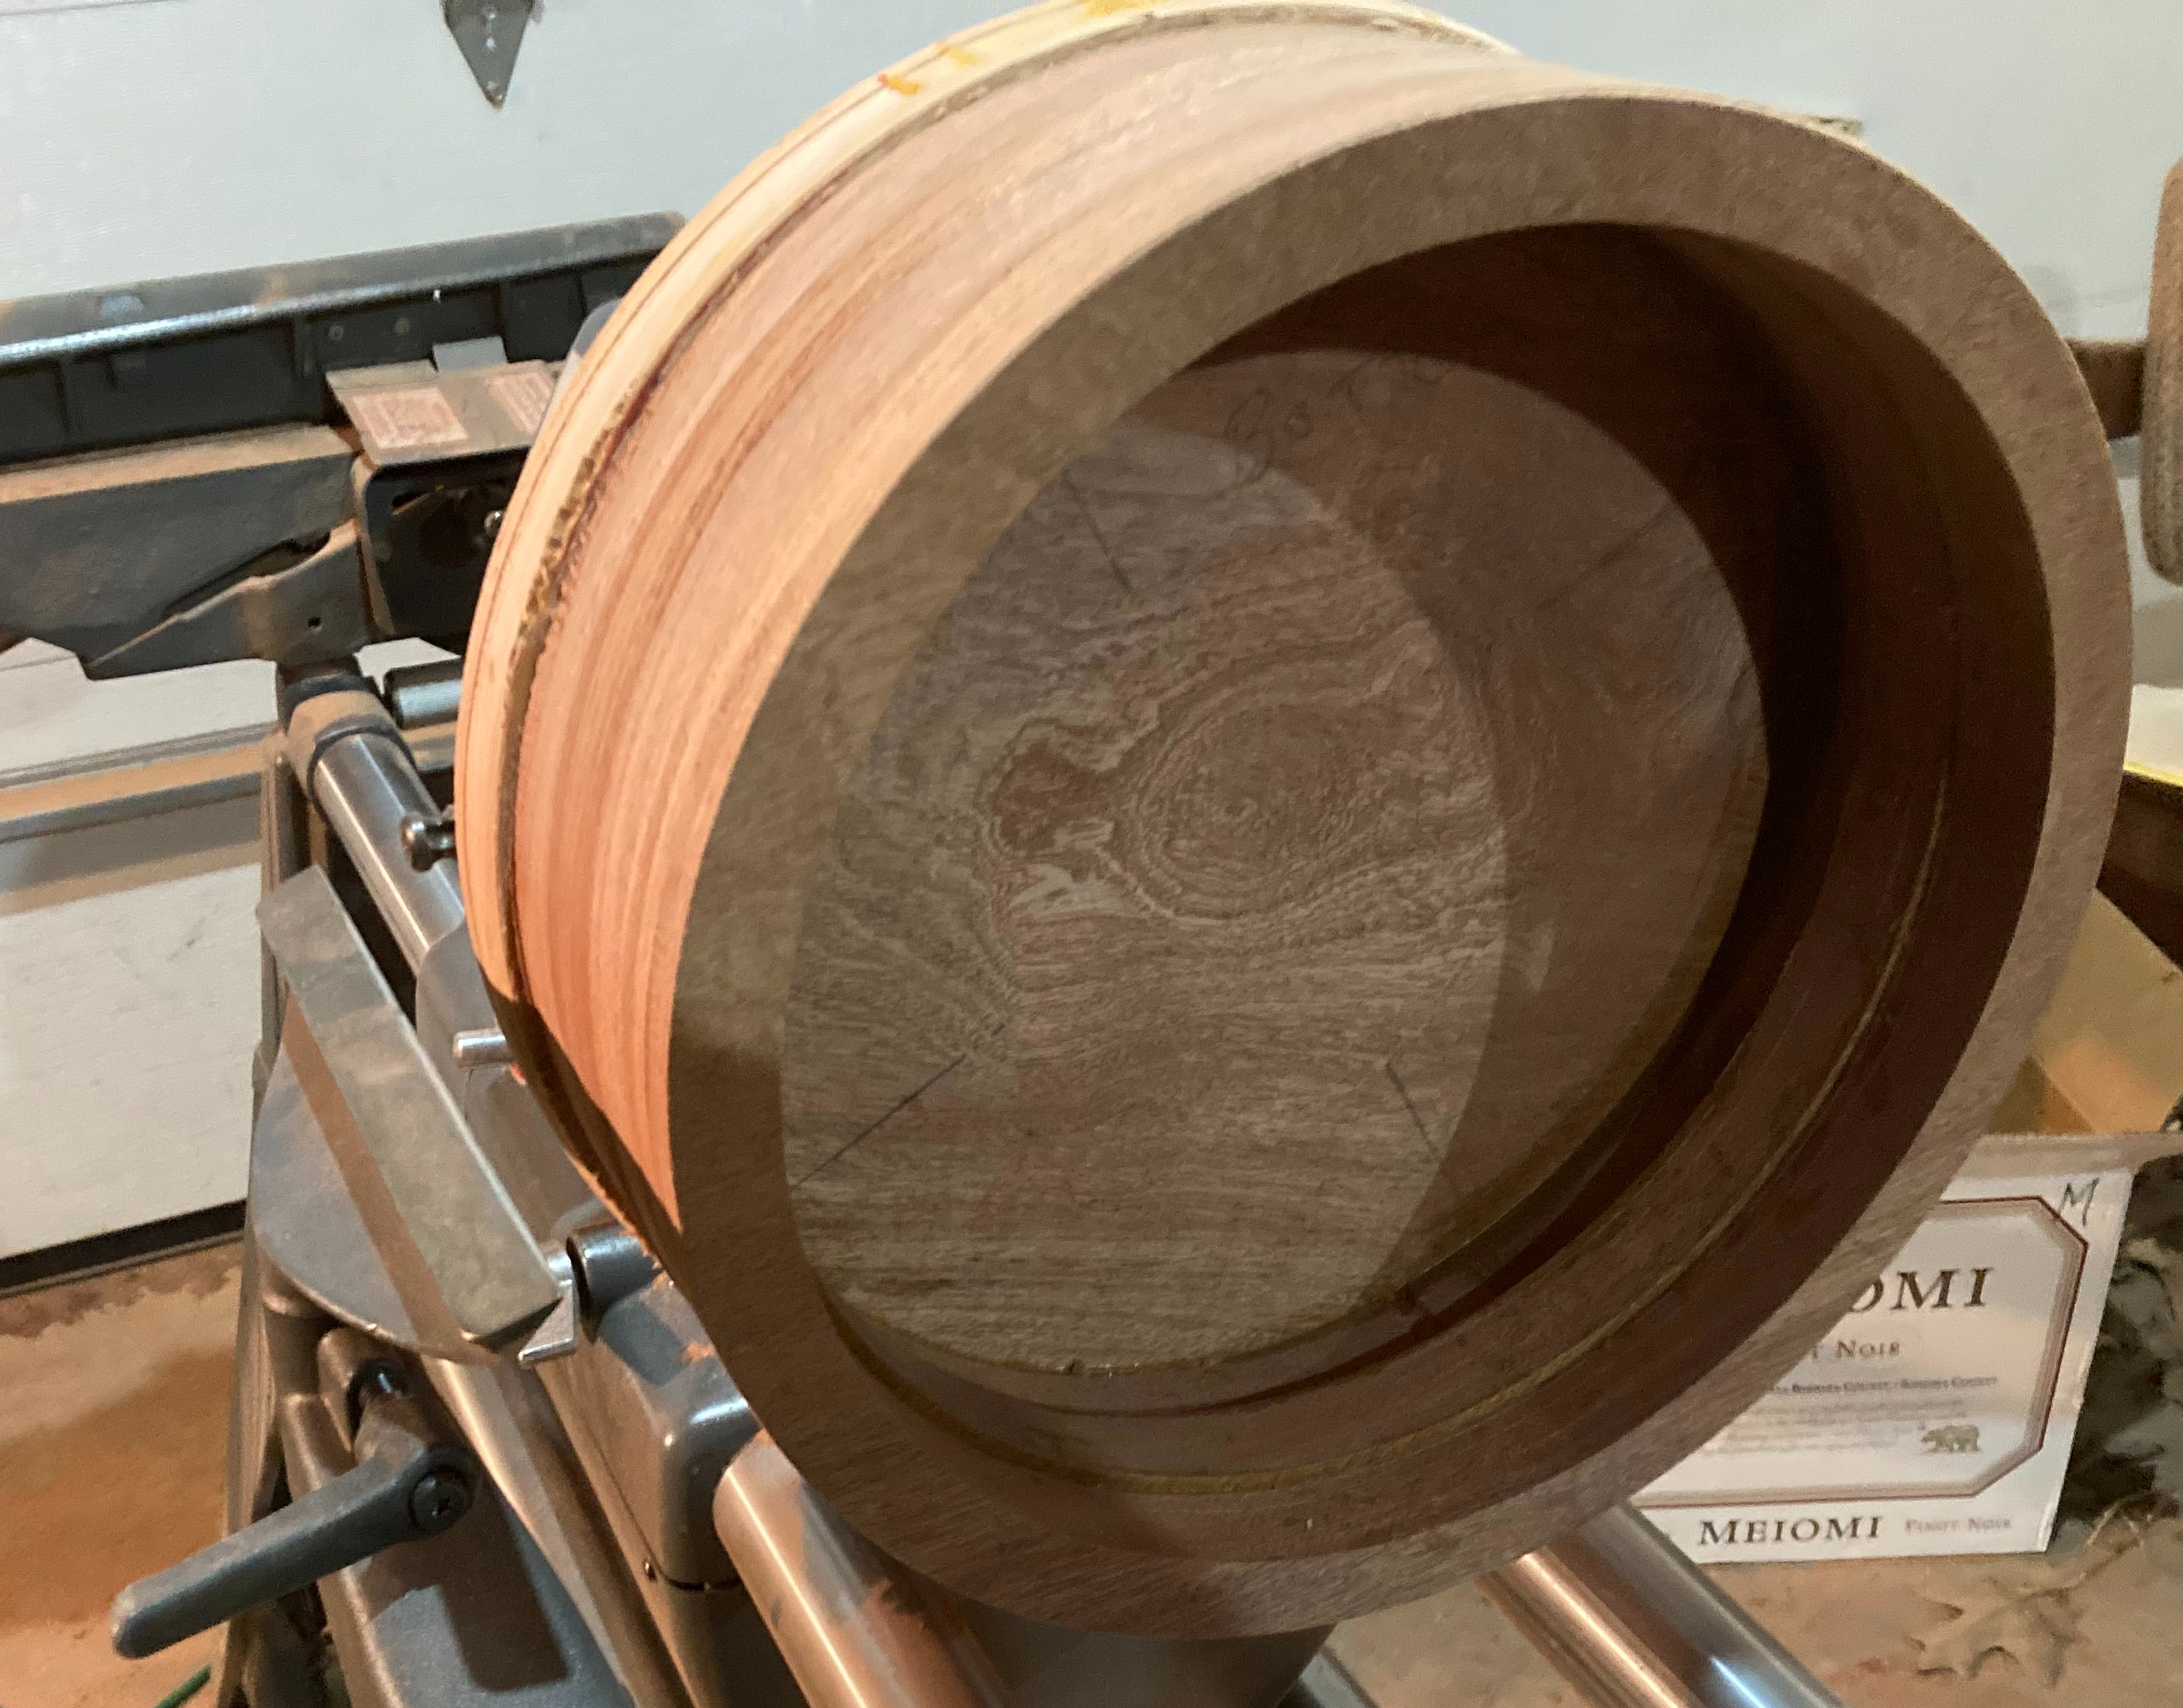
All bowls created using milled wood begin by simply cutting a set of squares to size and then glueing them together.
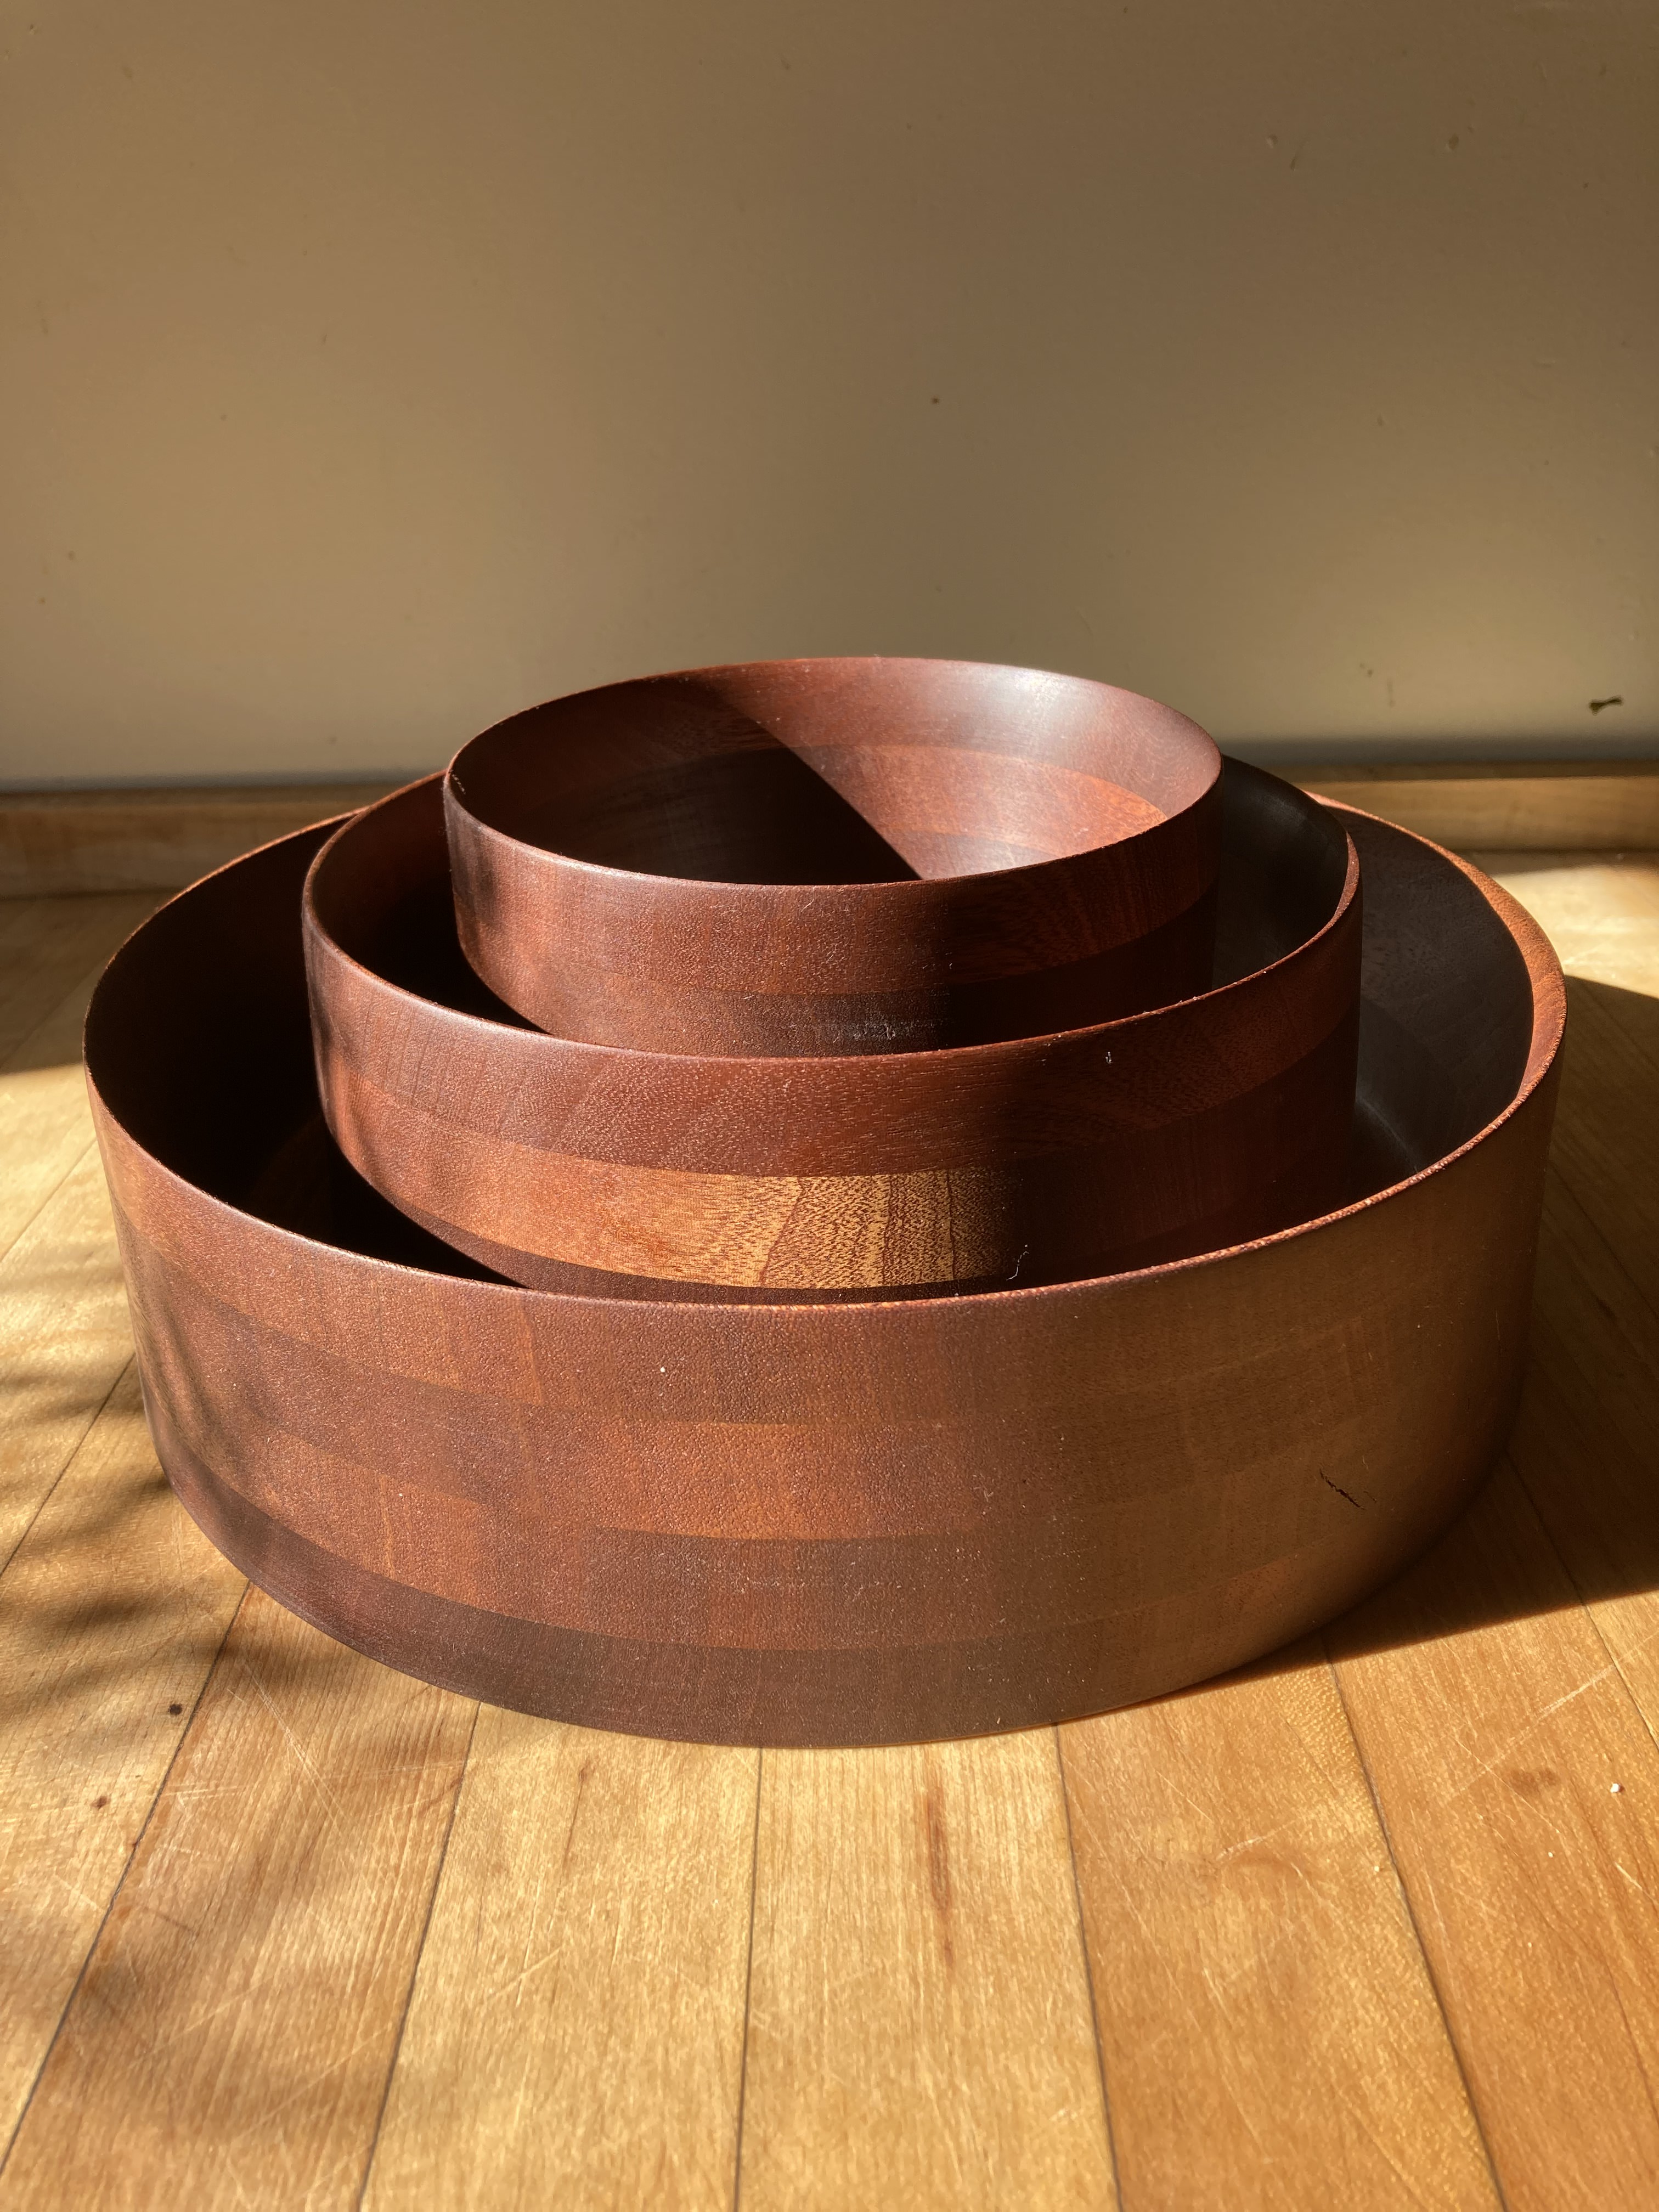
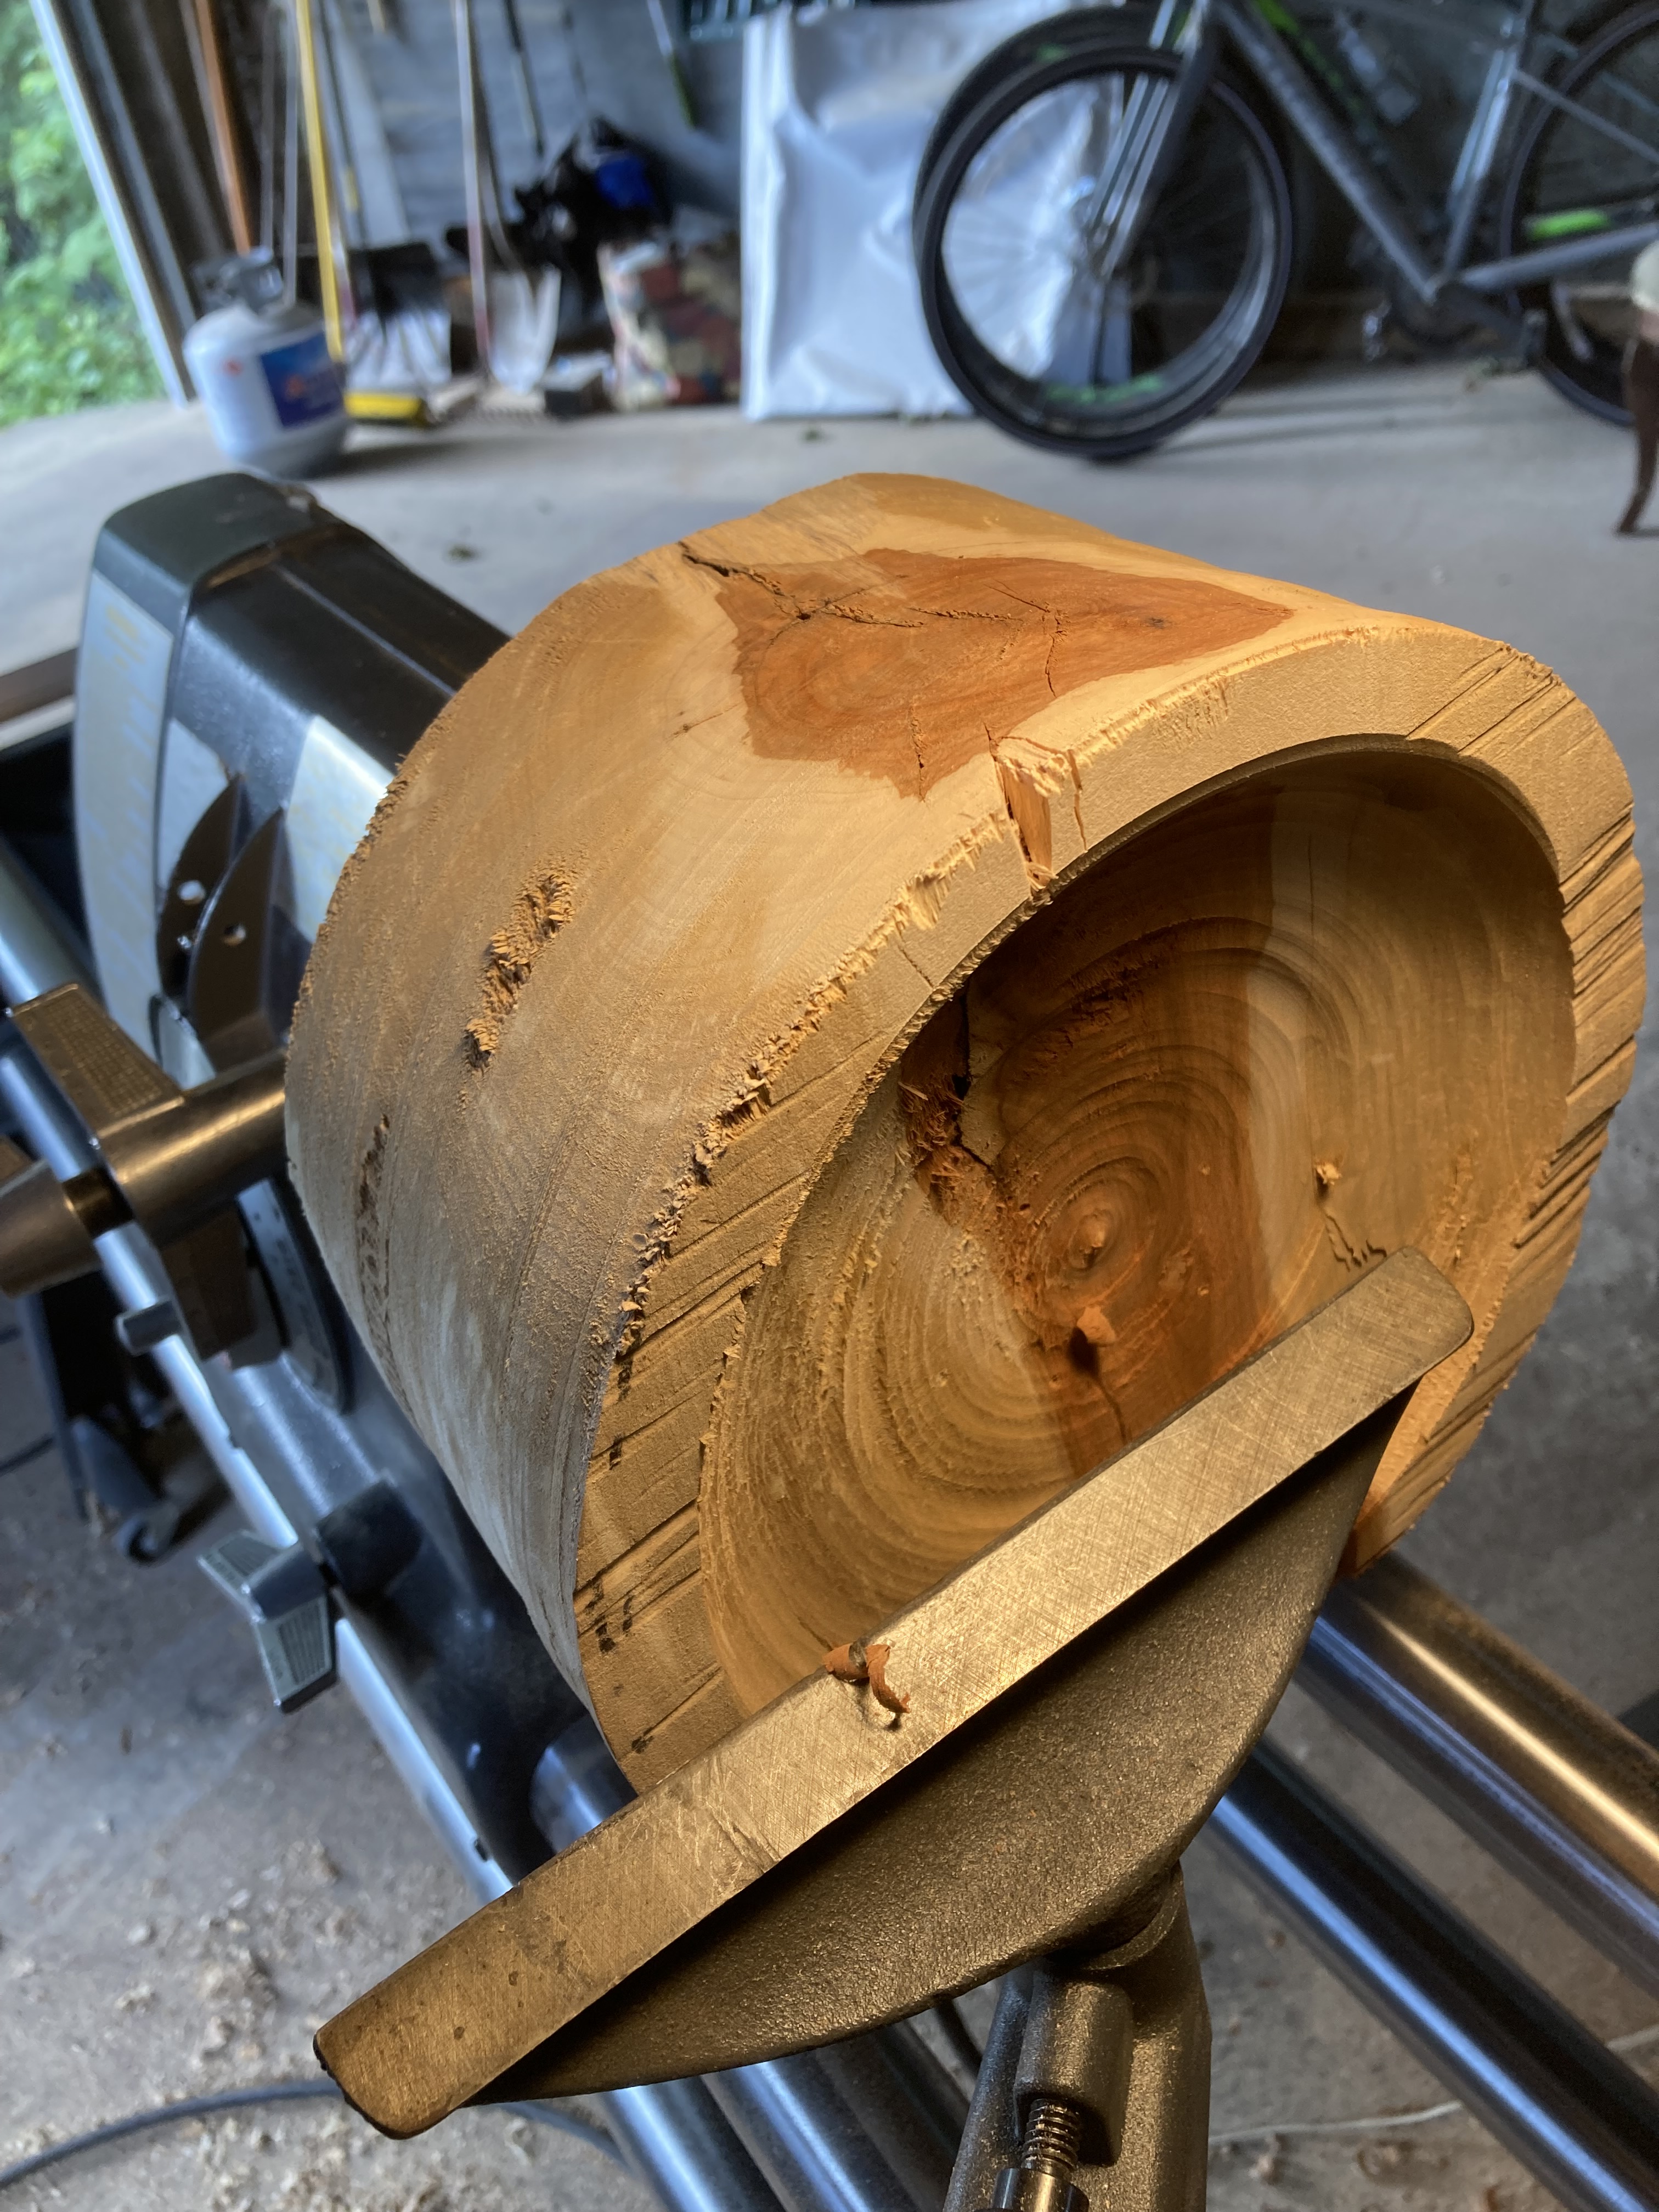
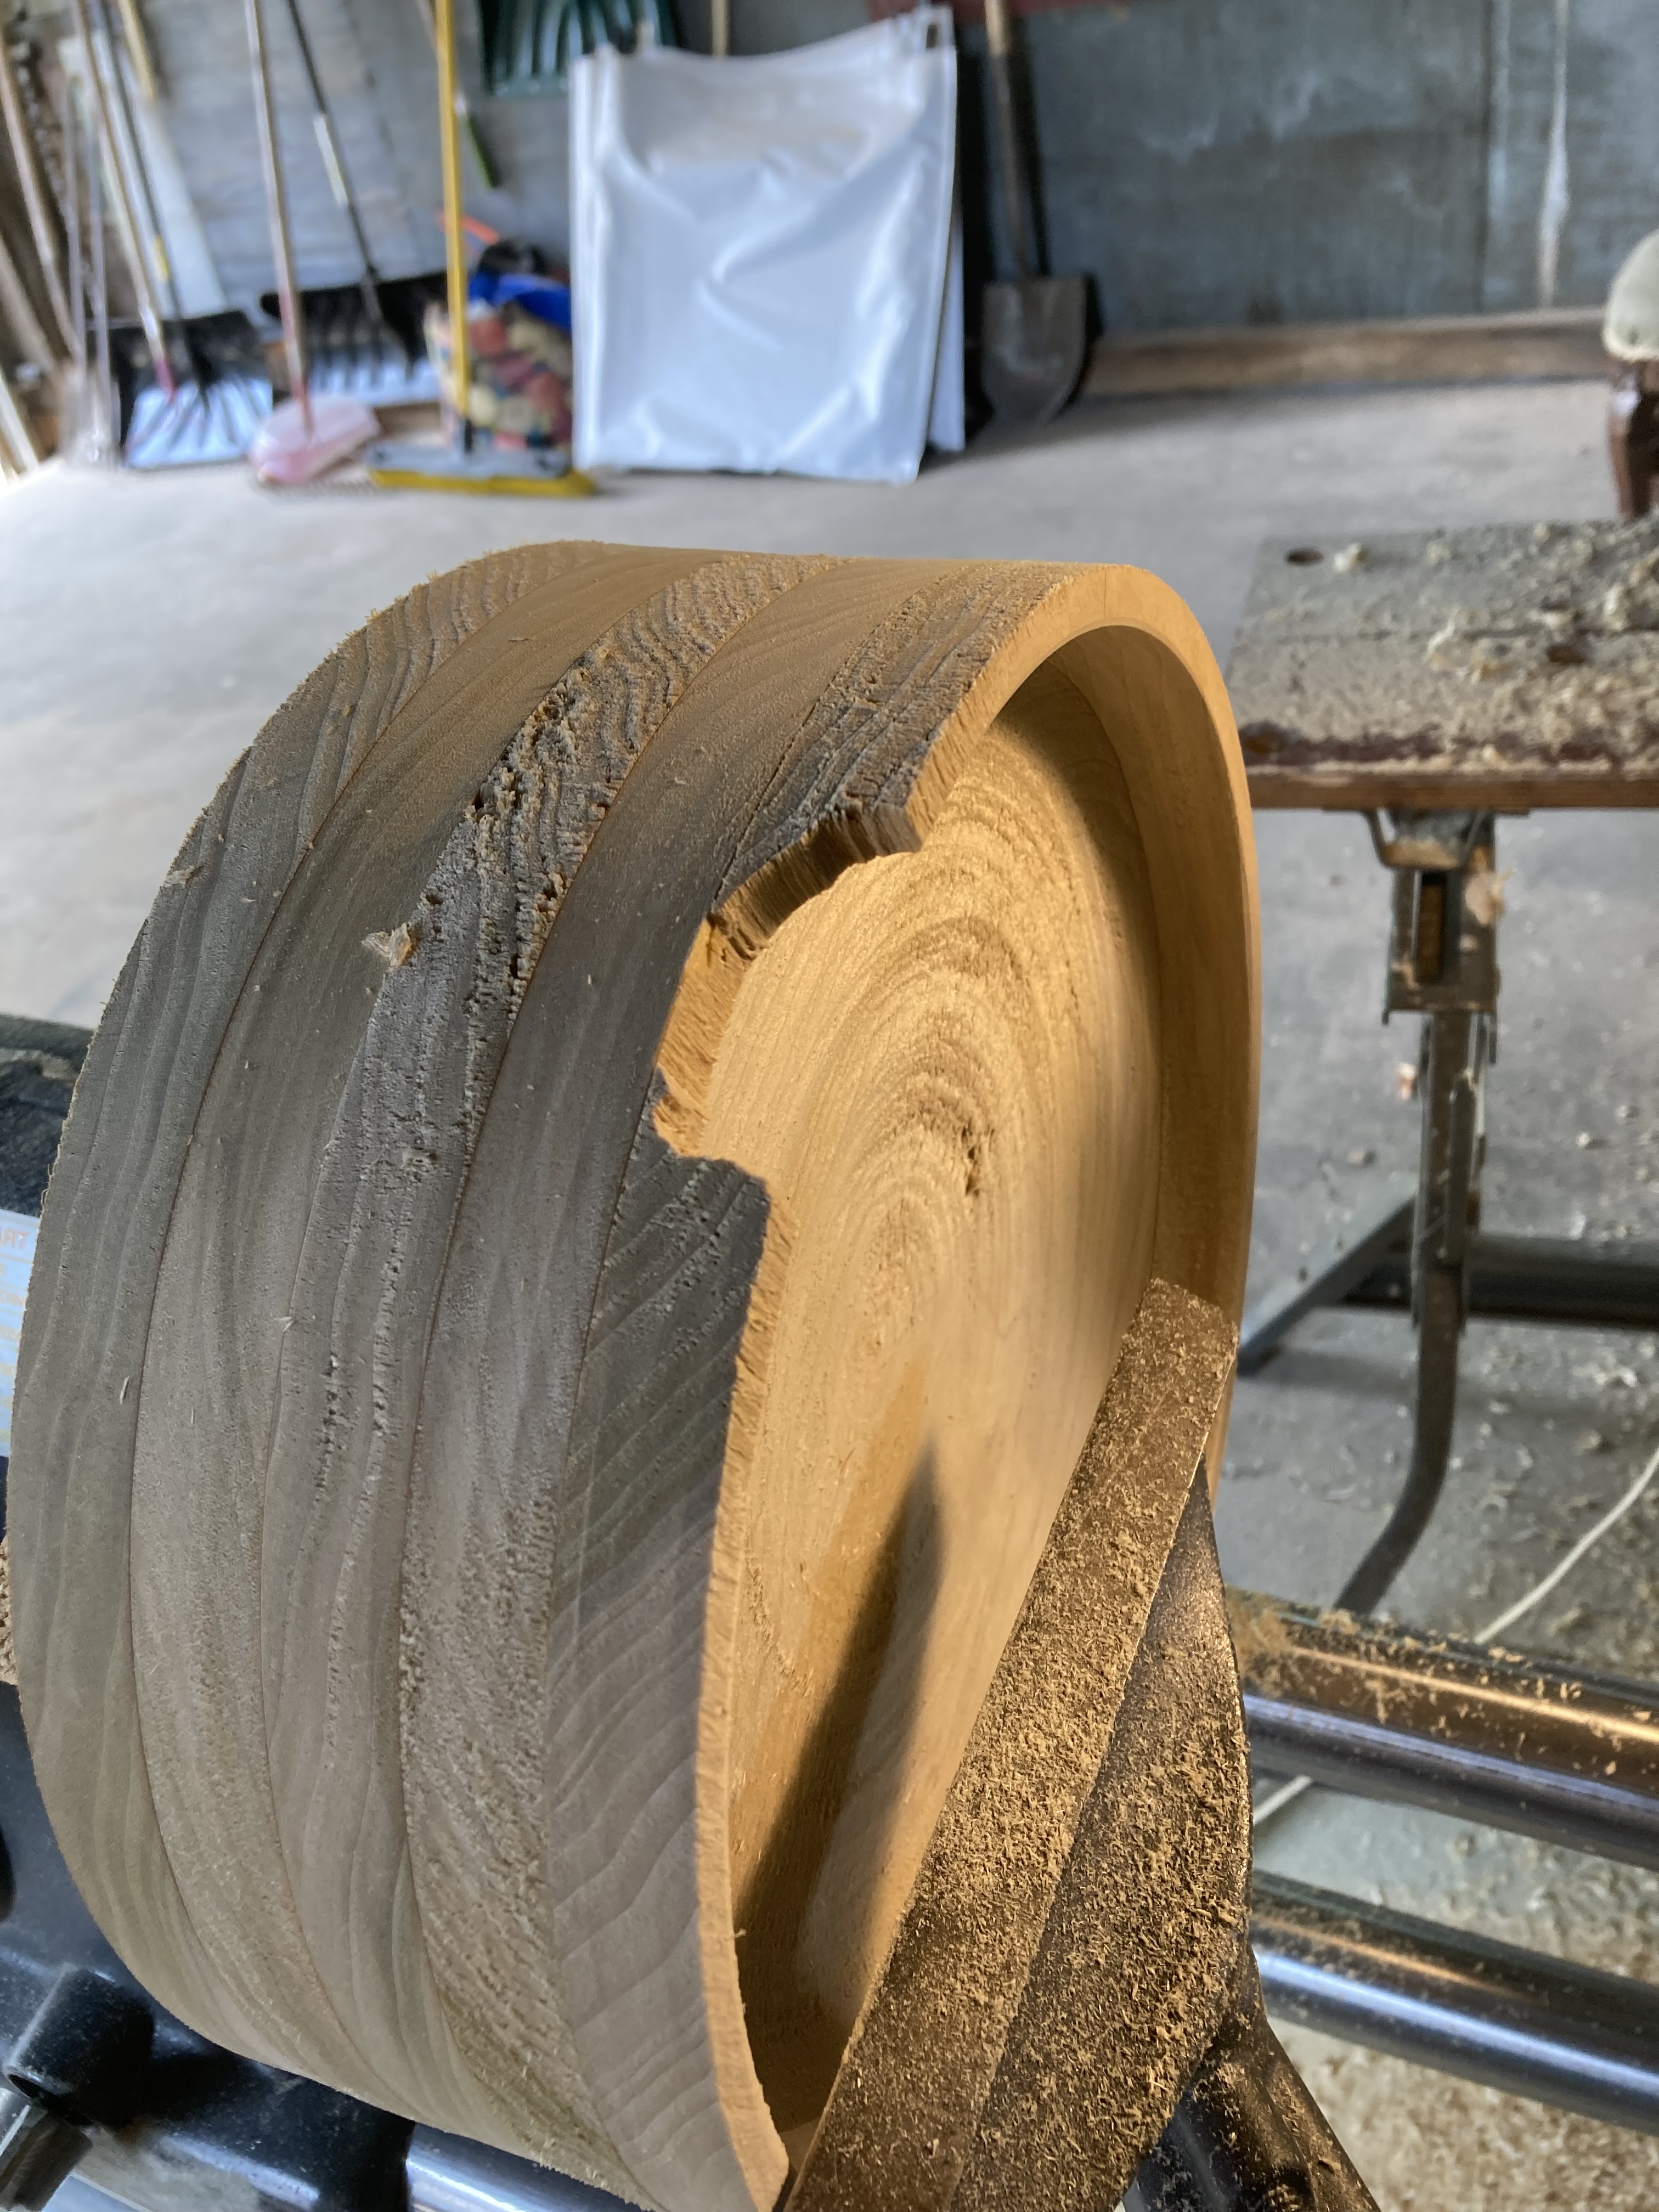
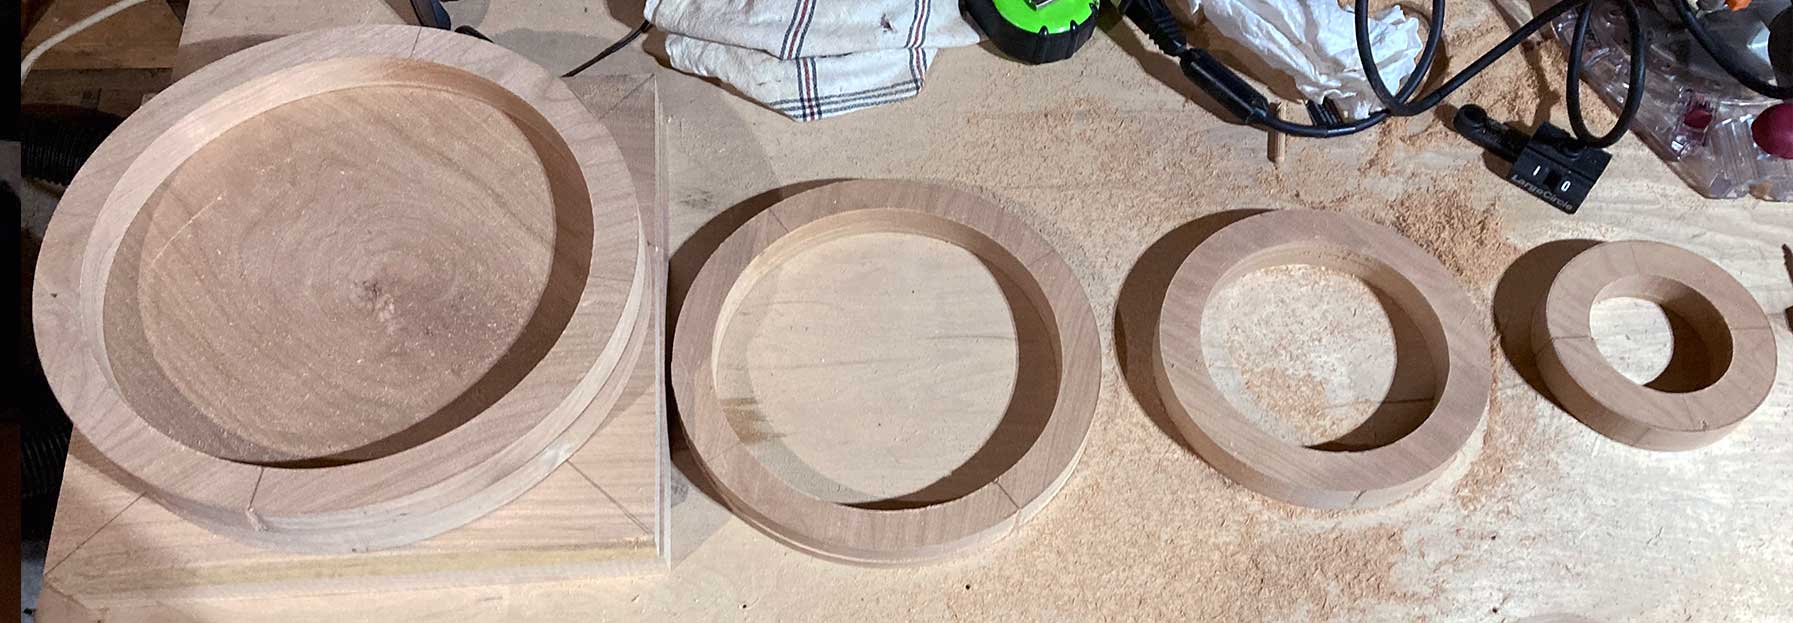
This creates a huge block of wood that the center is removed to create a bowl. However, all I could think was how much wood from the center is thrown away.
I realized if I cut the wood into rings before gluing I could use the same amount of wood to create more bowls and spend less time turning.
CIRCLE CUTTING JIG # 1
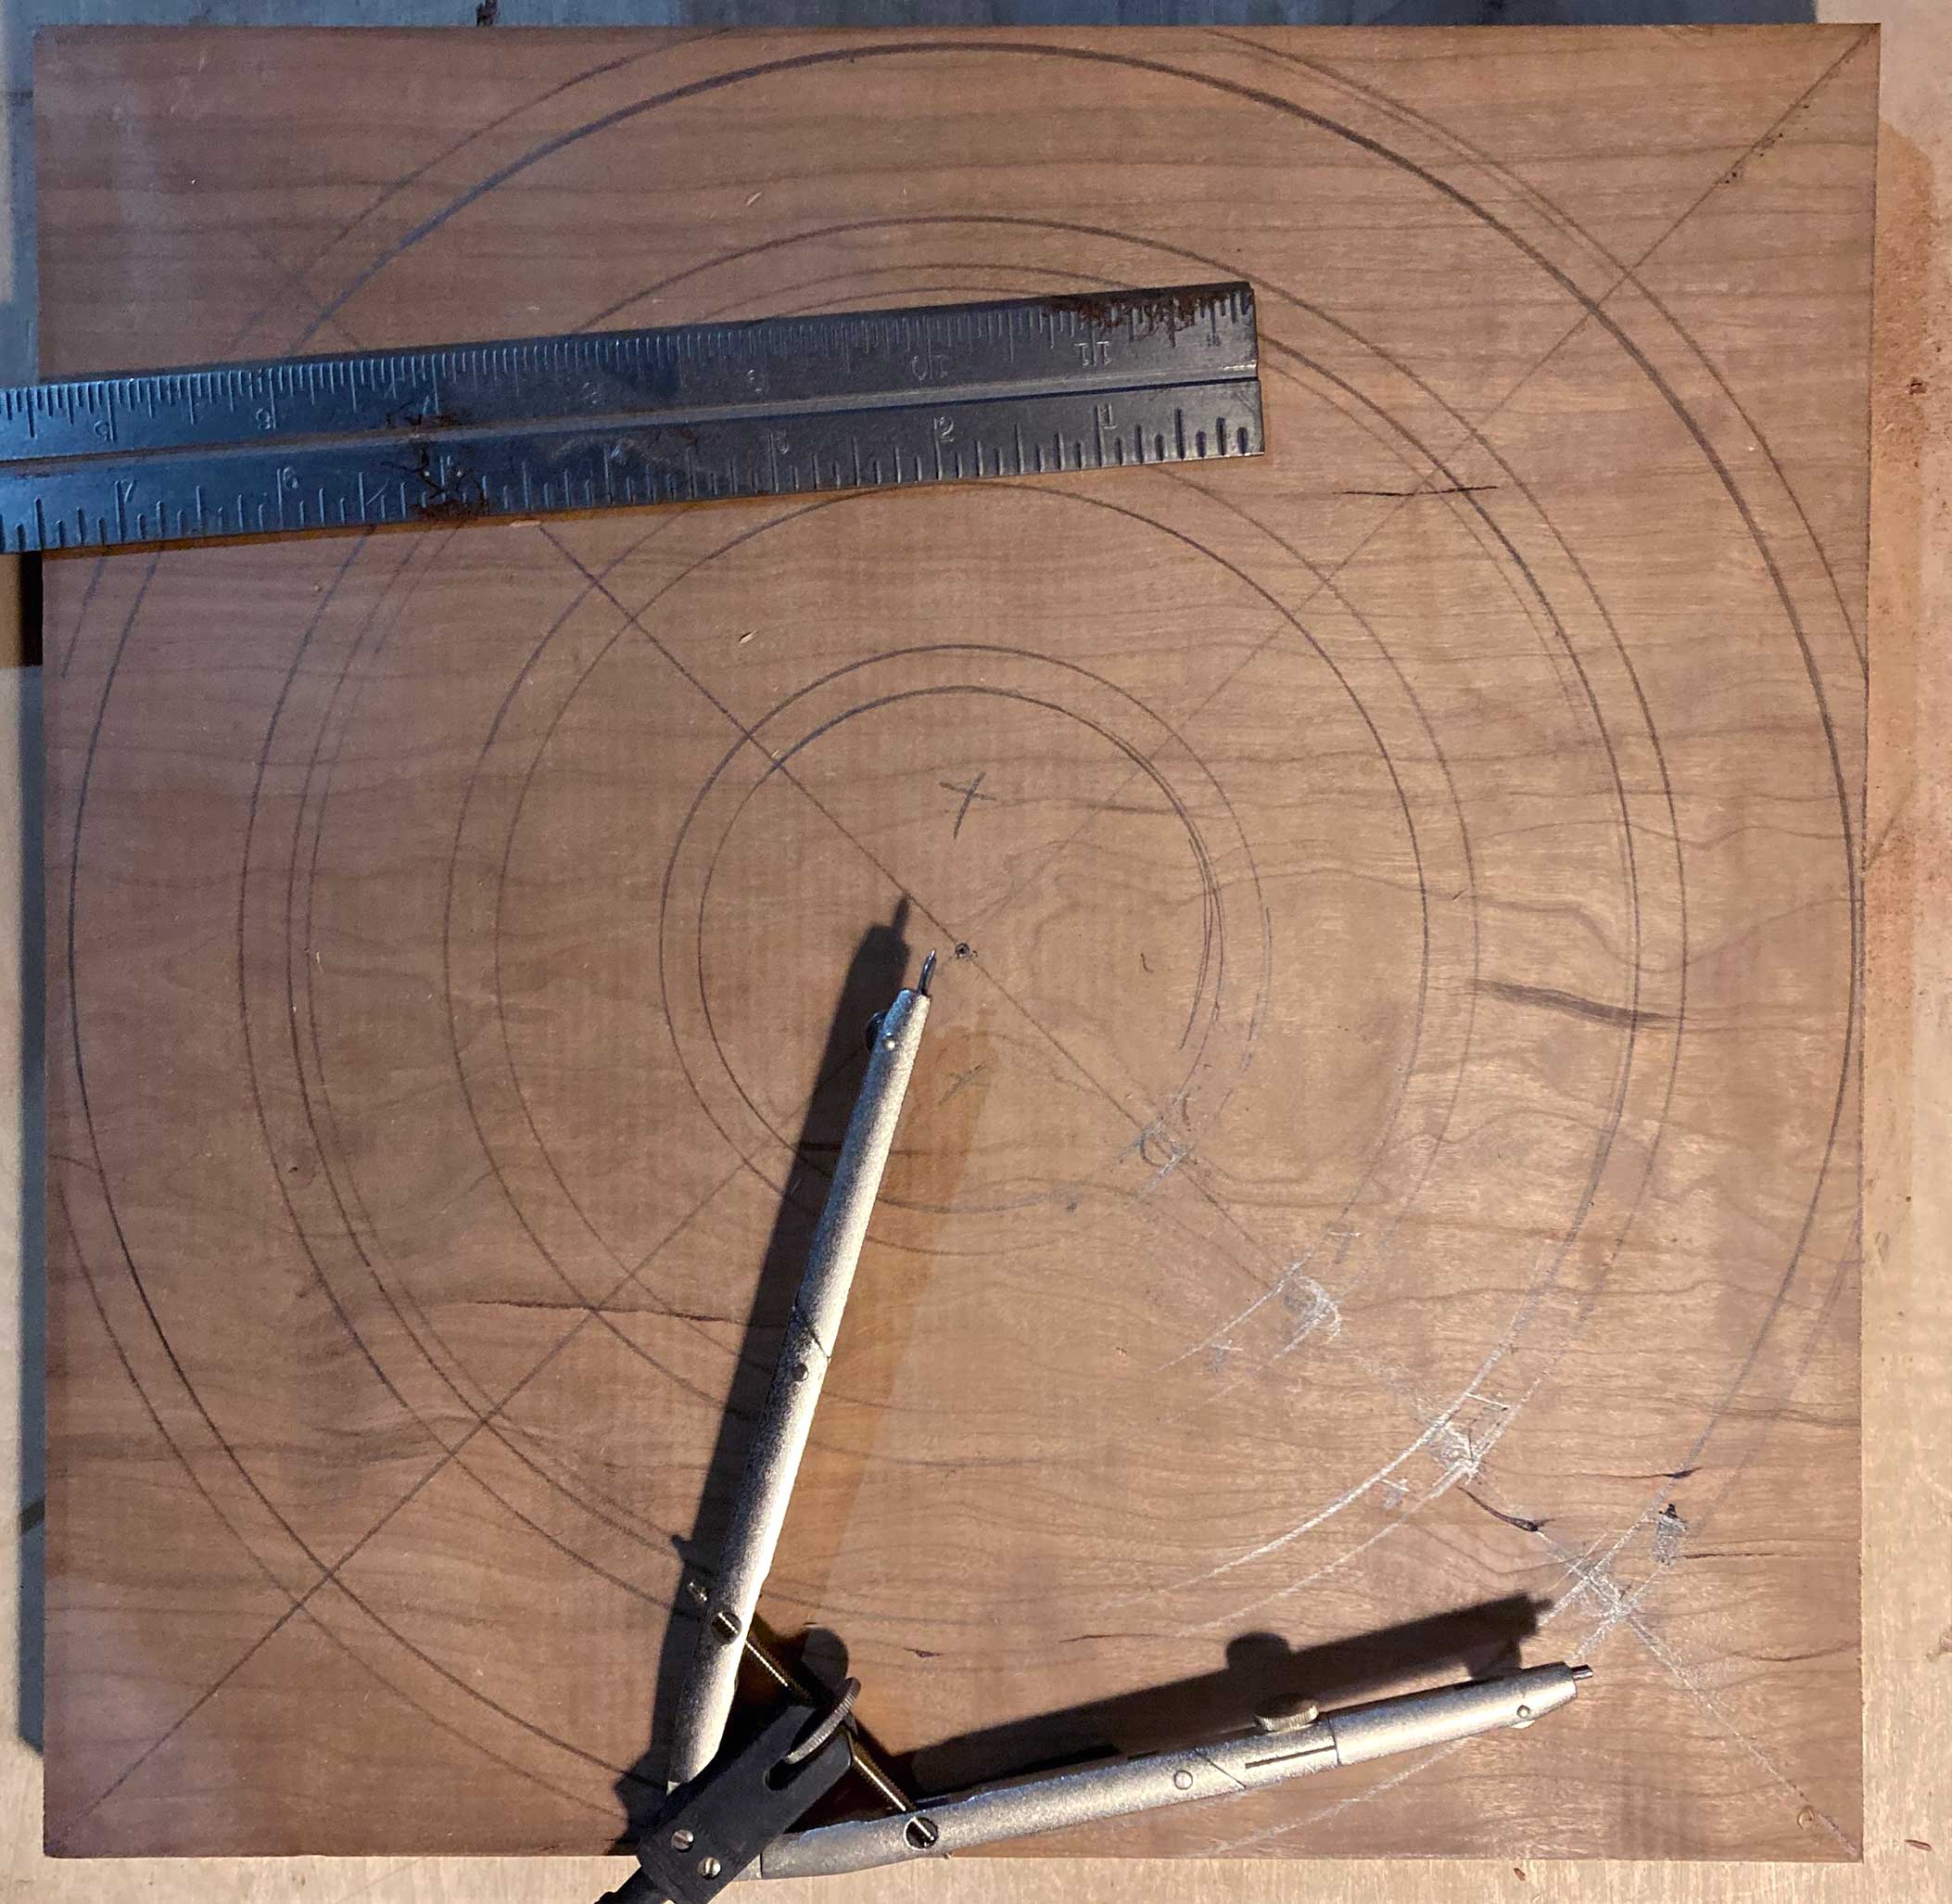
My design for this began on the router table. Starting with a pivot point on a sunken slide, I created an easy way to make circles that was quickly adjustable to any desired diameter. Just mark the center and radius, pop it on and turn.
However, this method was unstable and unsafe.
The router was too powerful for holding in place with just my hands. I kept getting chipped rings, horrible tear out, and generally losing control of what I was doing.
CIRCLE CUTTING JIG #2
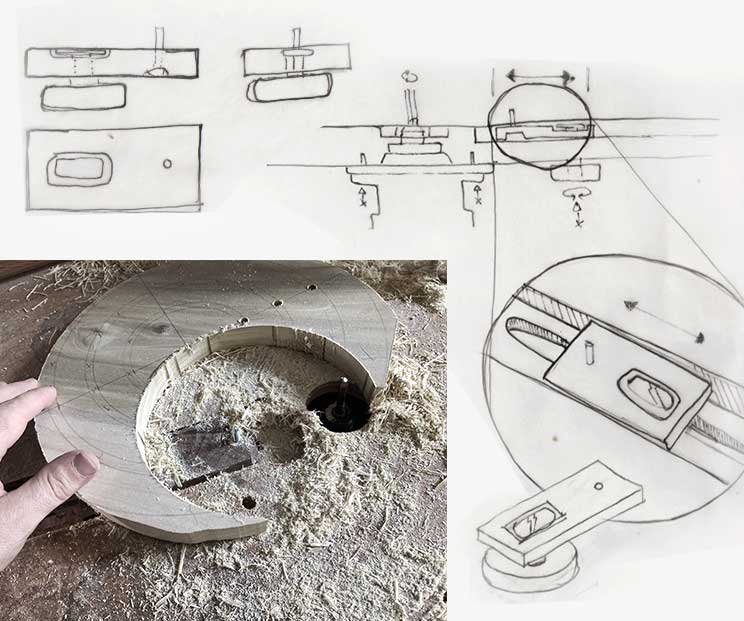
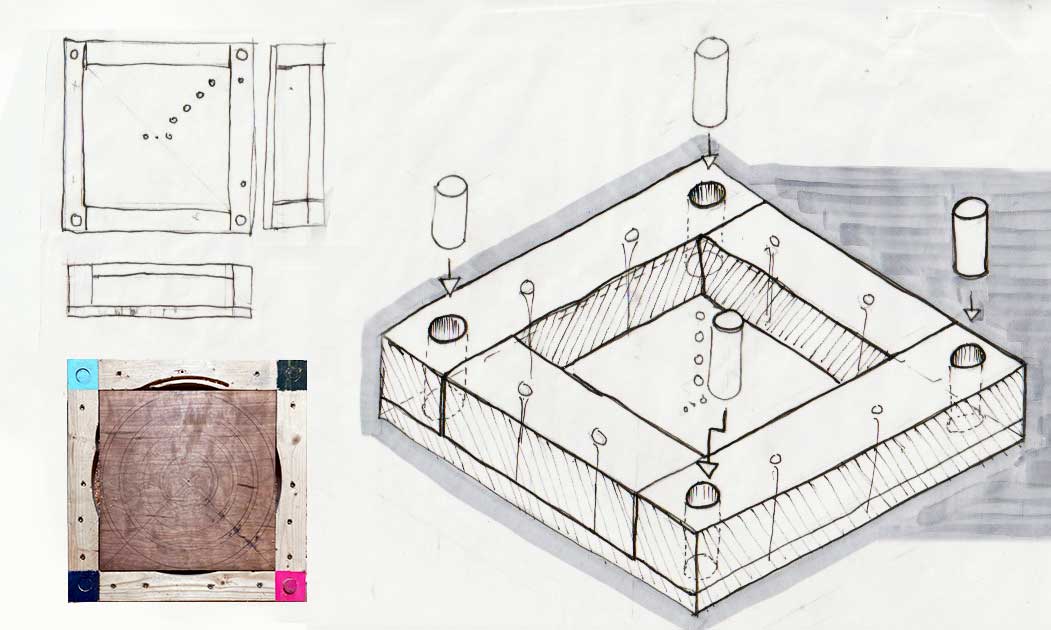
I try and by environmentally conscious whenenver I make things, reusing and re-purposing where I can. This iteration was made with plywood and wood from an old picnic table. It was a great improvement upon the previous model. I added pegs to attach it to the workbench and the frame to fit the max size of wood I had available.
The wood was being properly and safely held in place, and the pre-measured holes created great accuracy and consistency.
However, the plywood reusability quickly deteriorated and I needed to add in some durability.
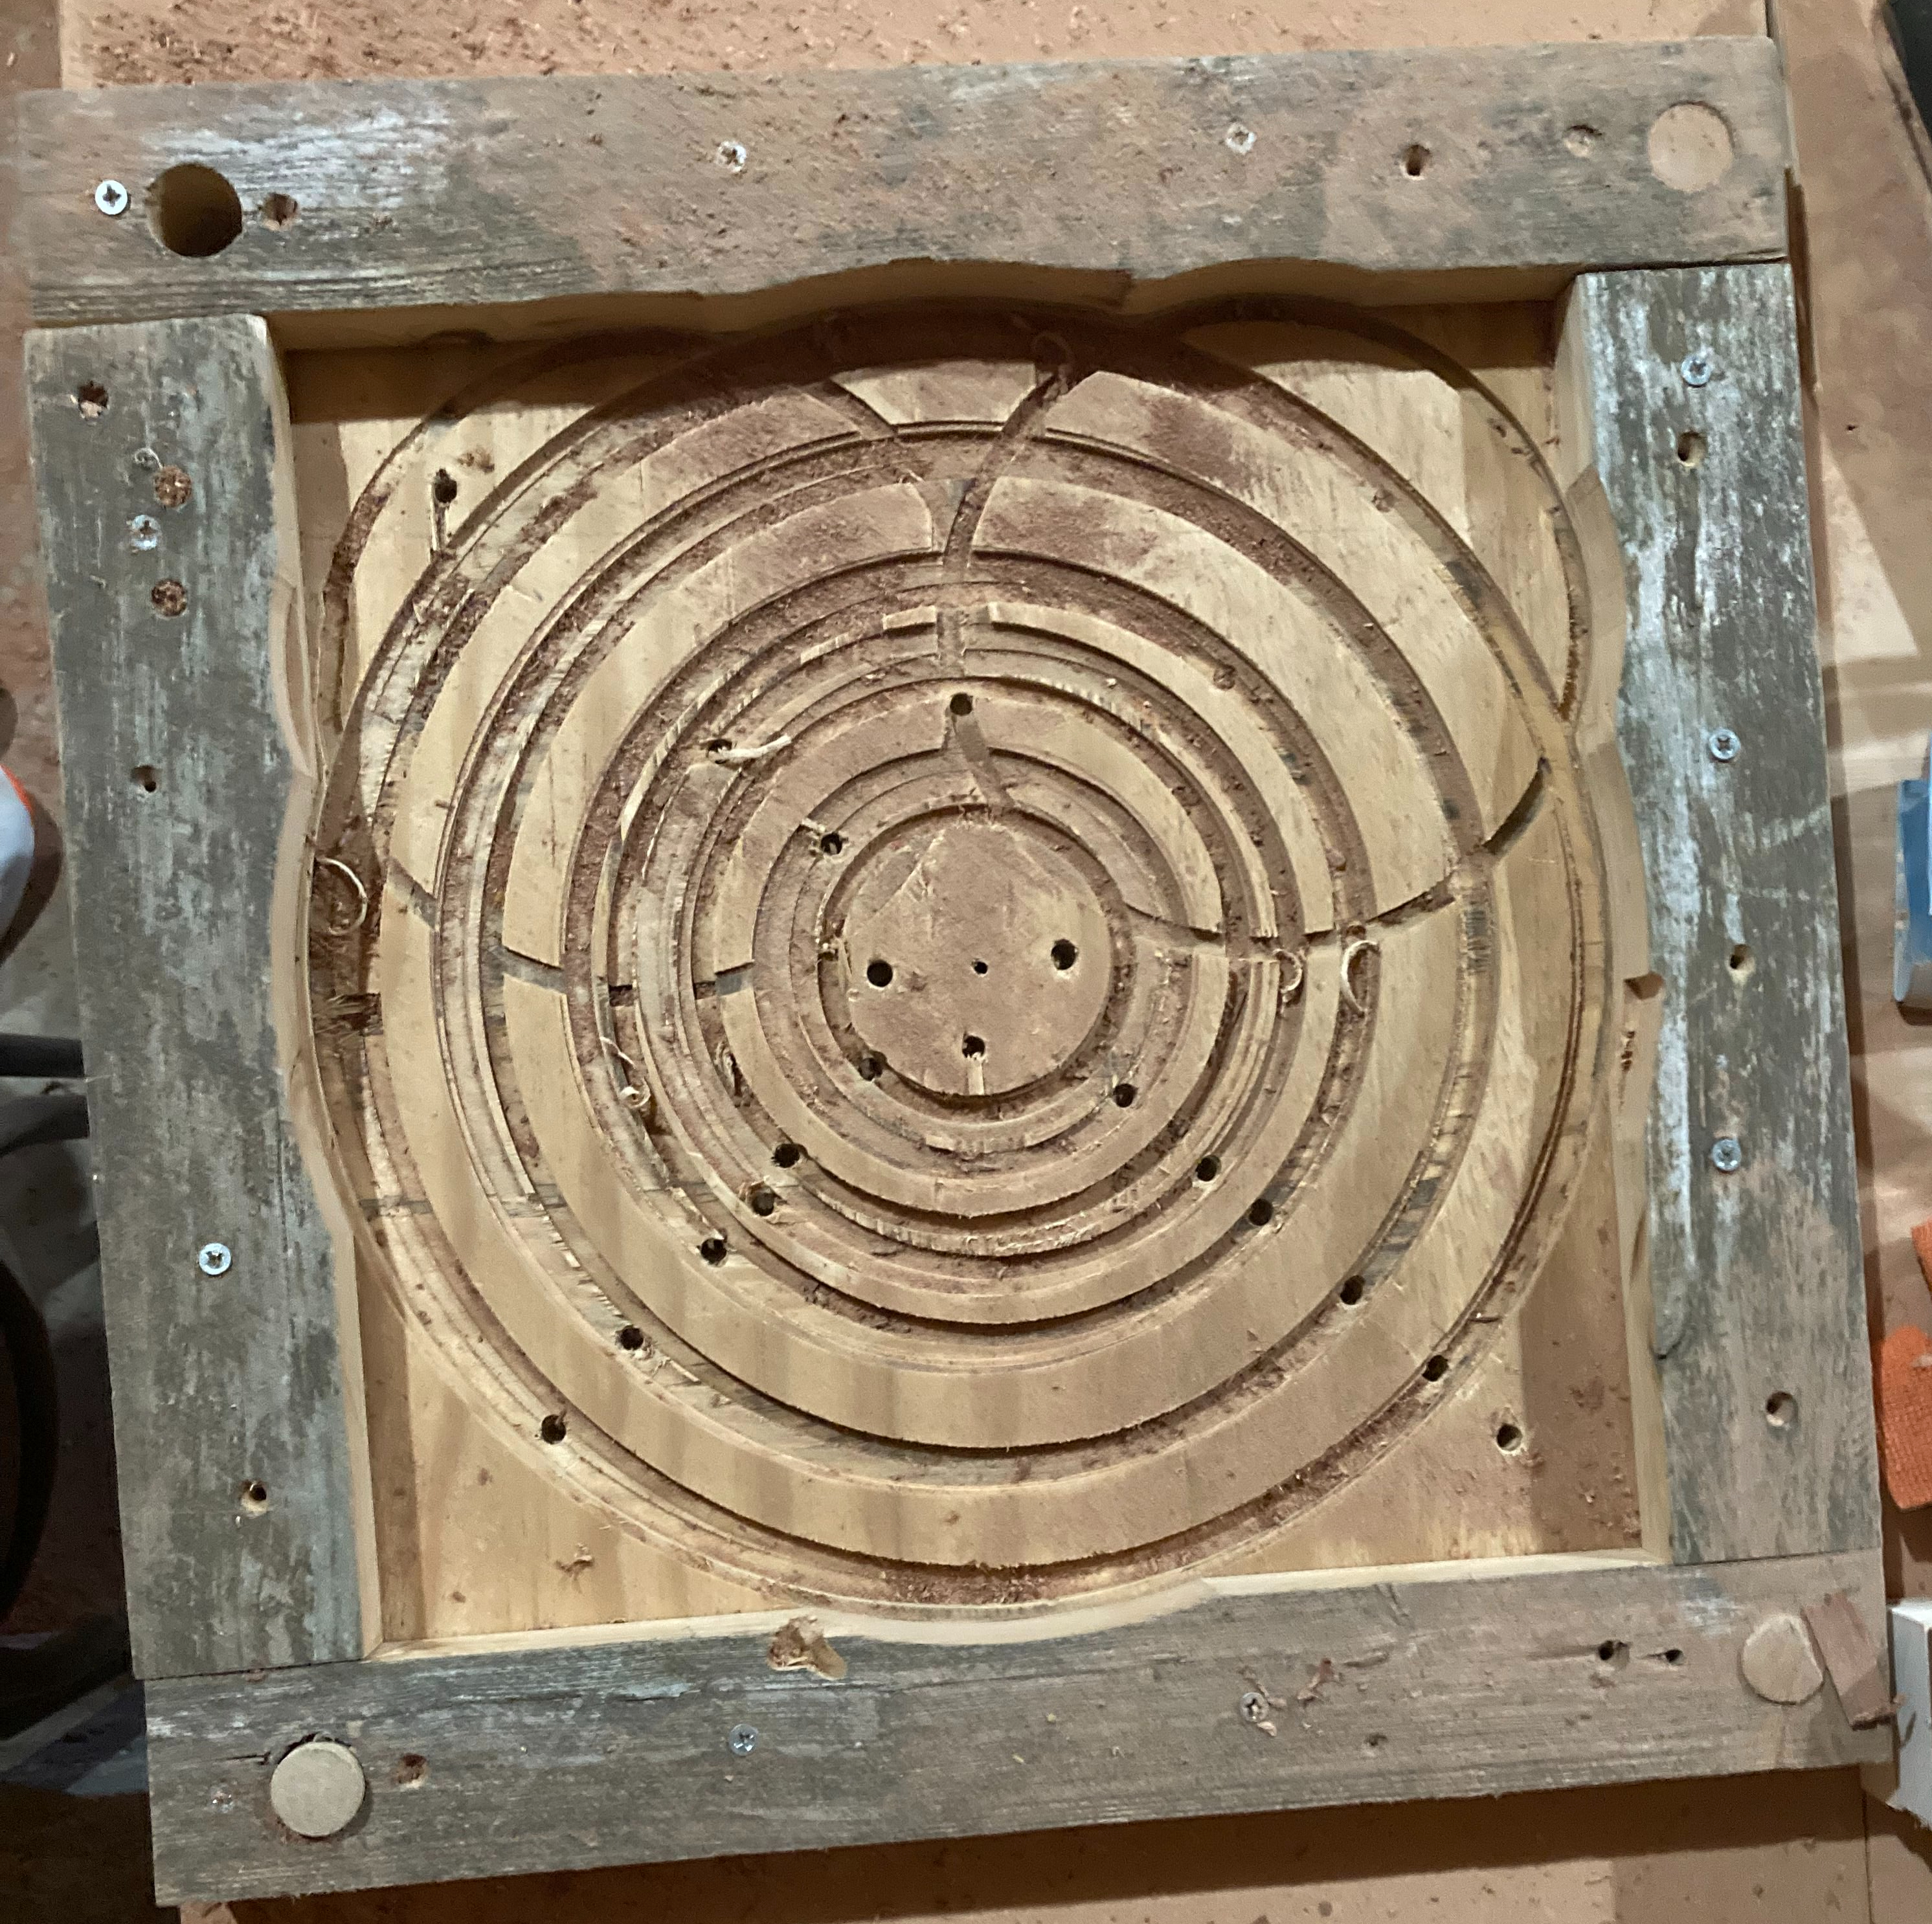
CIRCLE CUTTING JIG #3
Iteration three was made with hardwood for the base and a new cleaner top for the frame. The hardwood stands up against heavy reuse and I now had the safe, stable system I needed for creating many sets of bowls at scale.
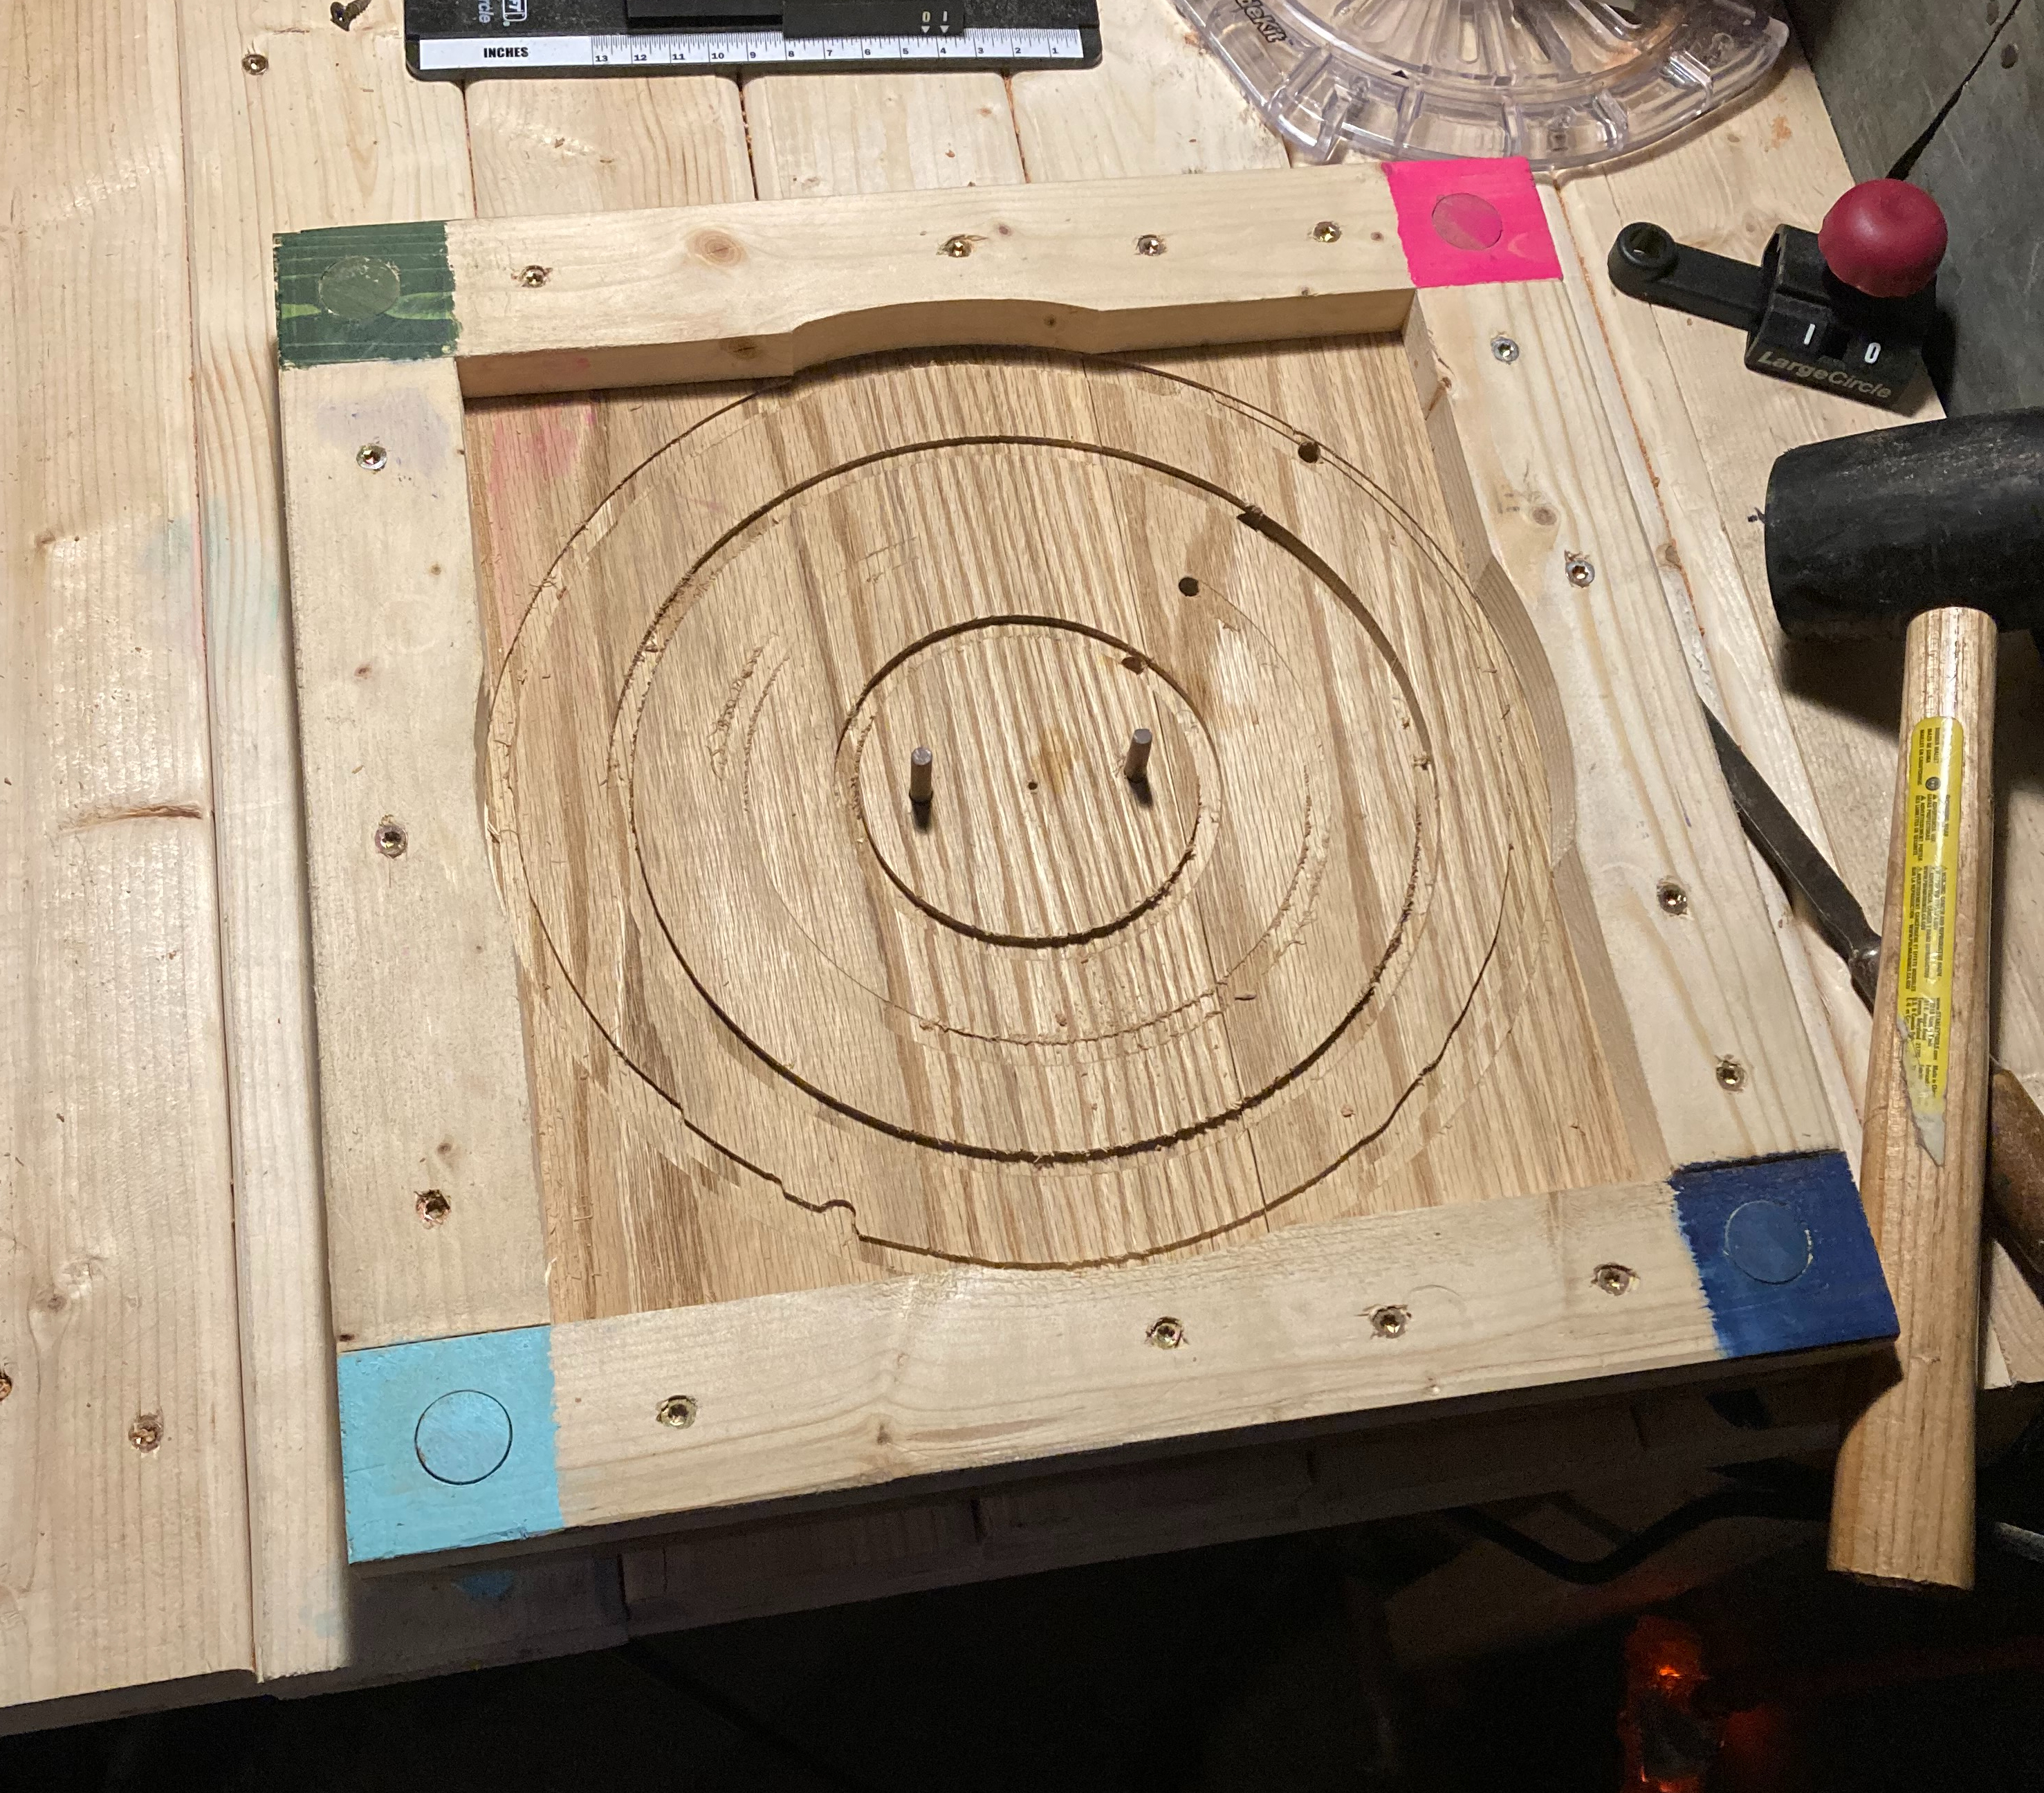
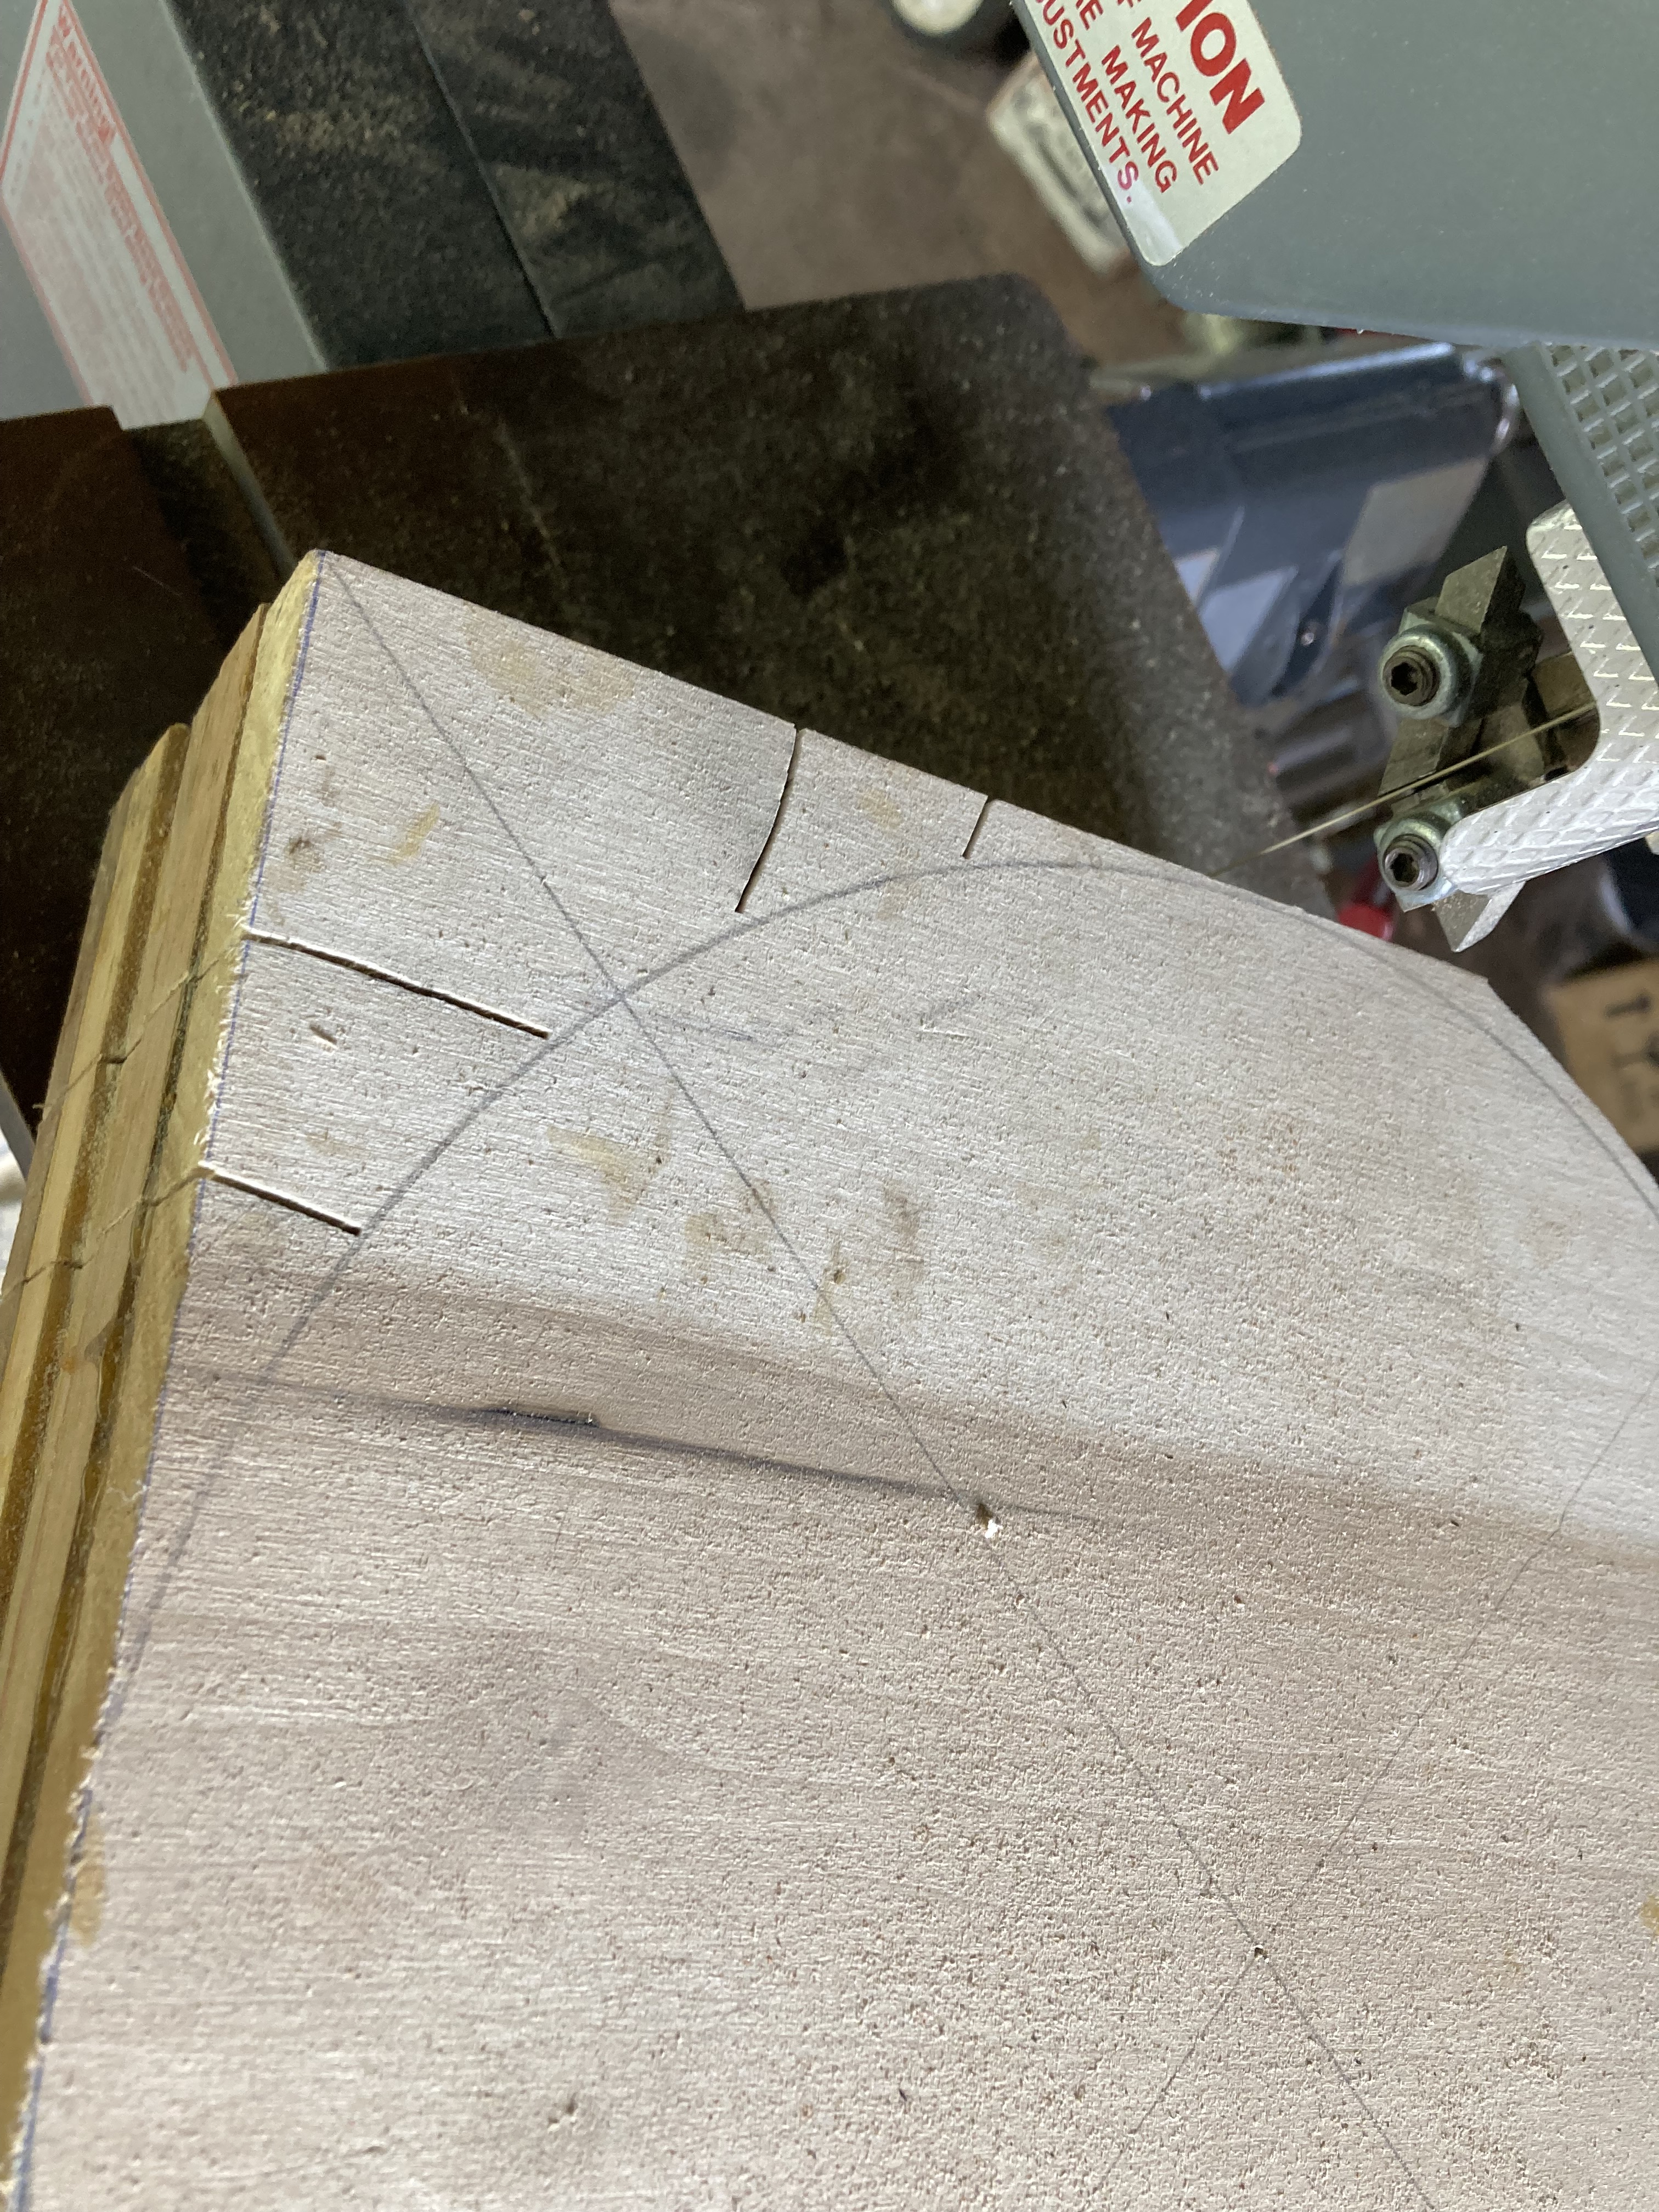
Pop in your square of wood. Drill the pre-measured holes for the circles, two for pegs to lock it to the jig, and one smaller hole for the center pivot point. Flip the jig back over, place on pegs to fasten back to the table and attach your router, circle jig and cut away.


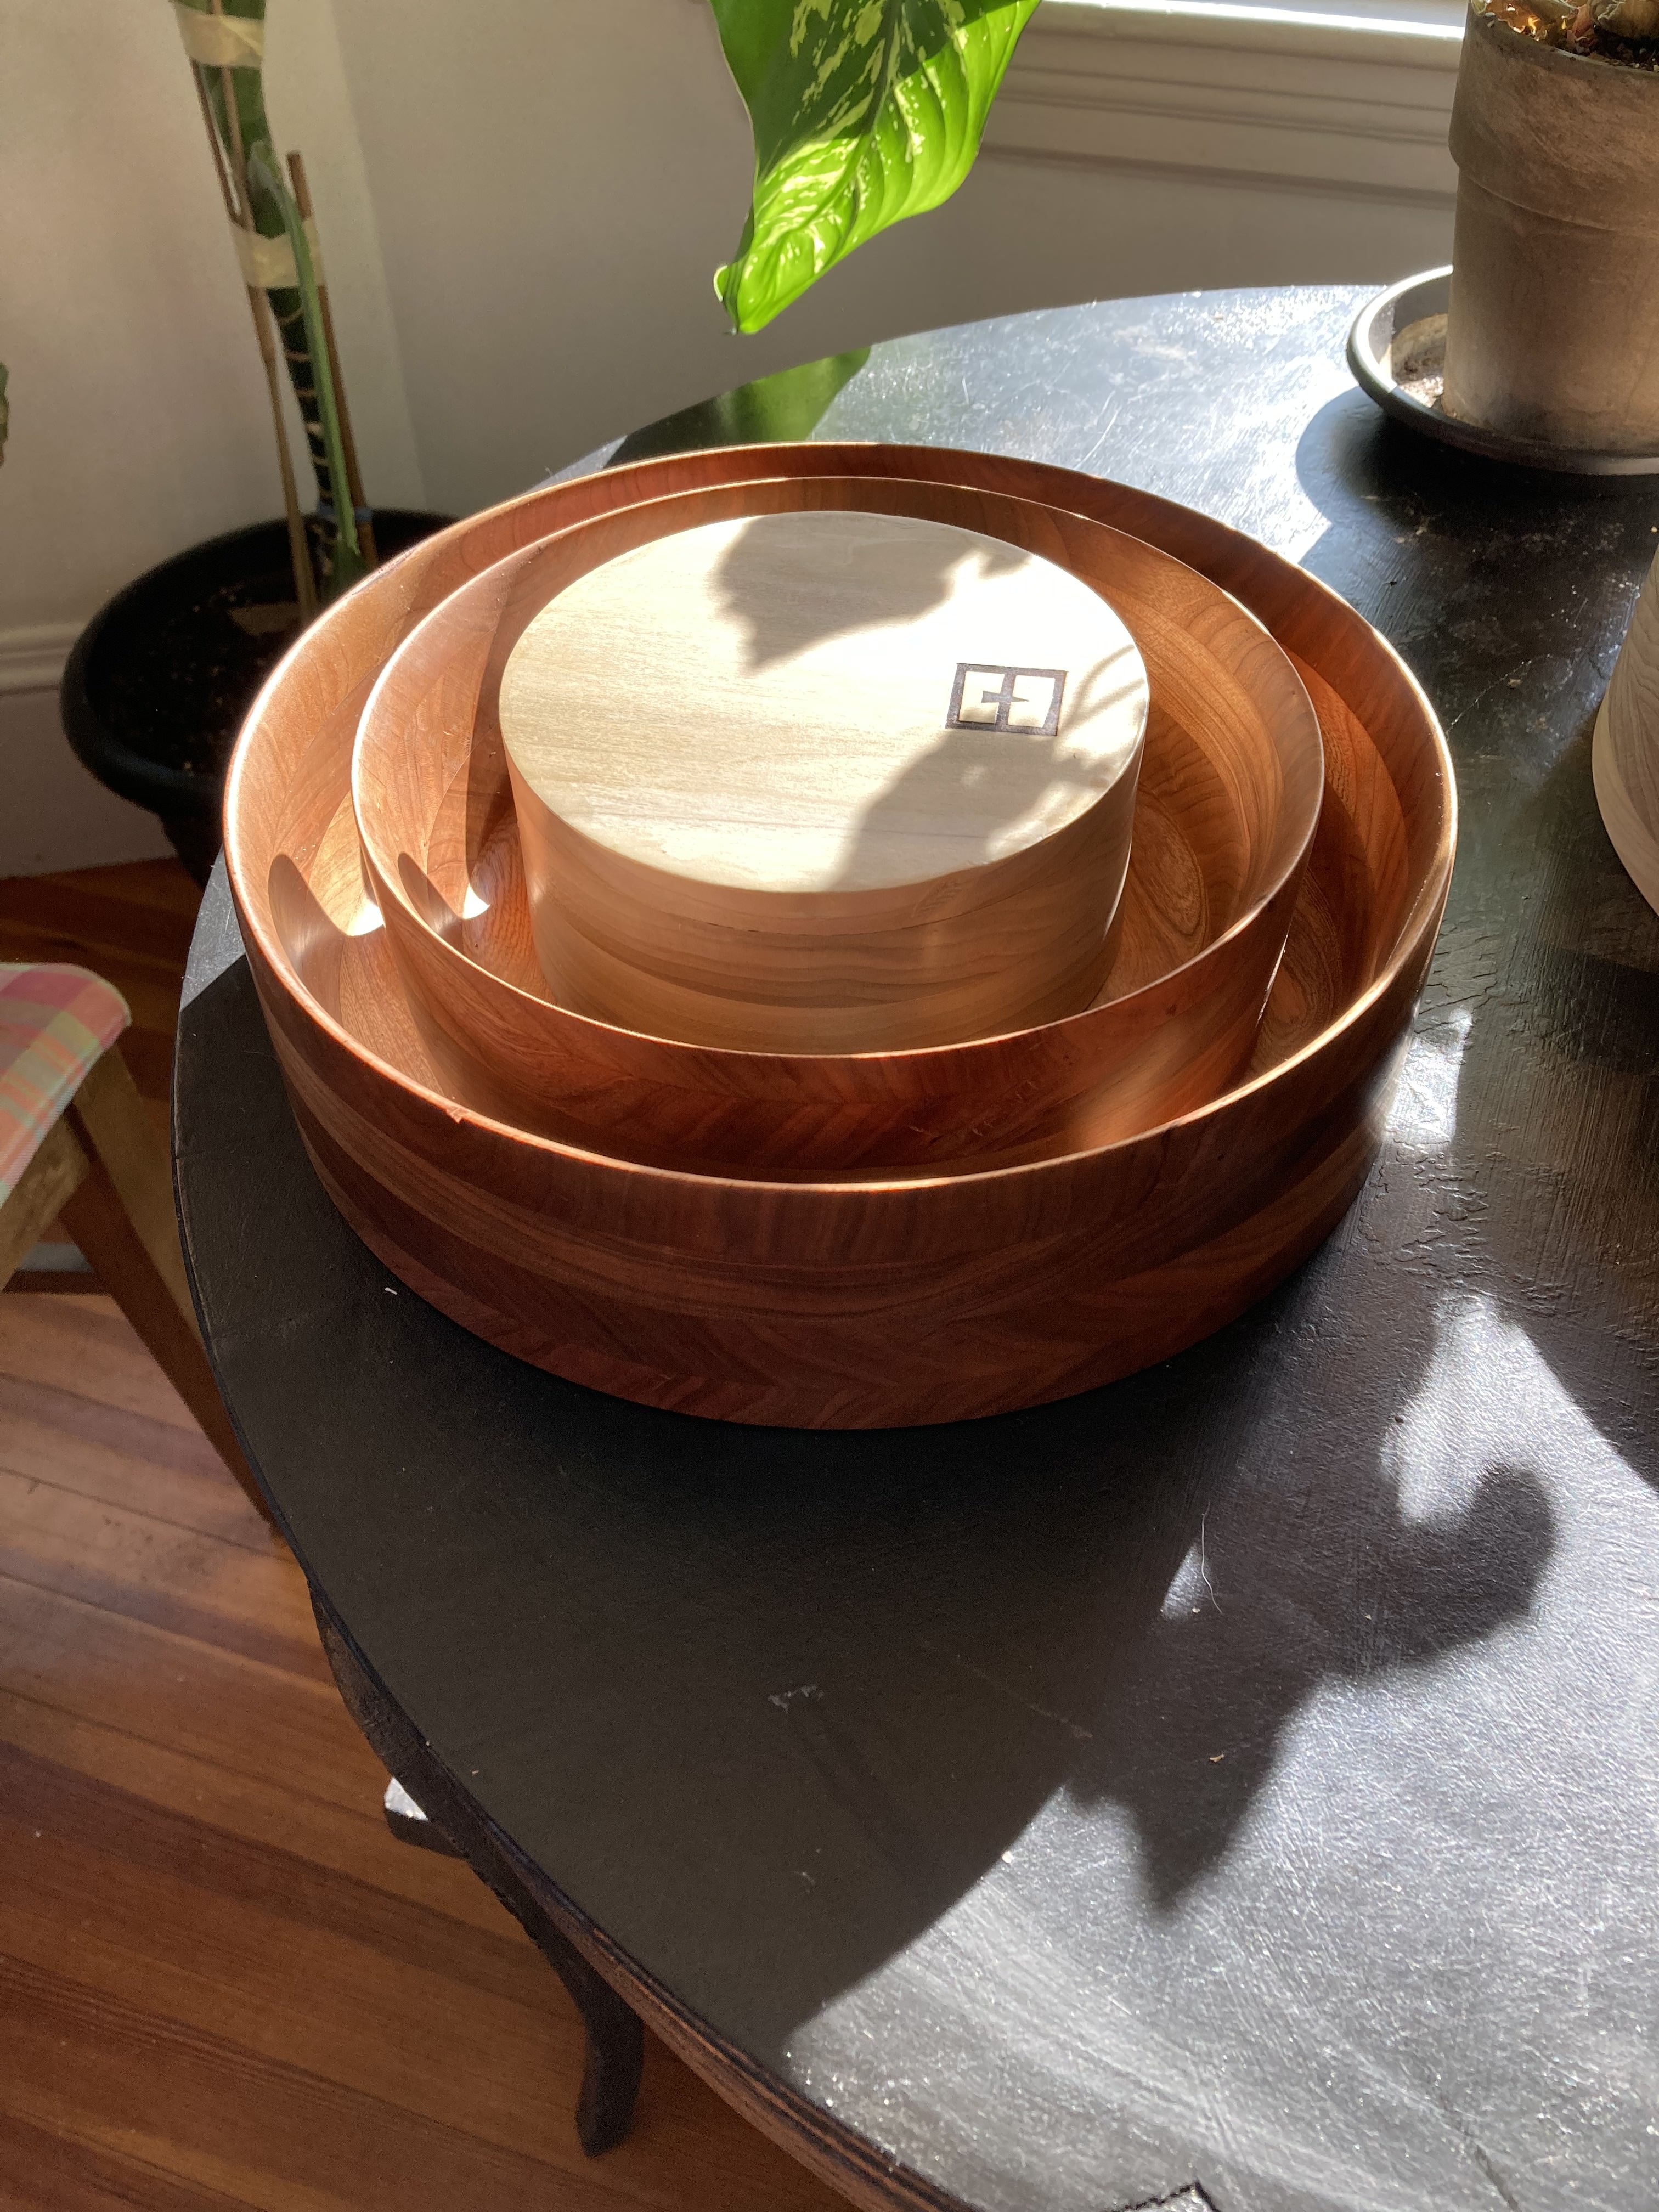
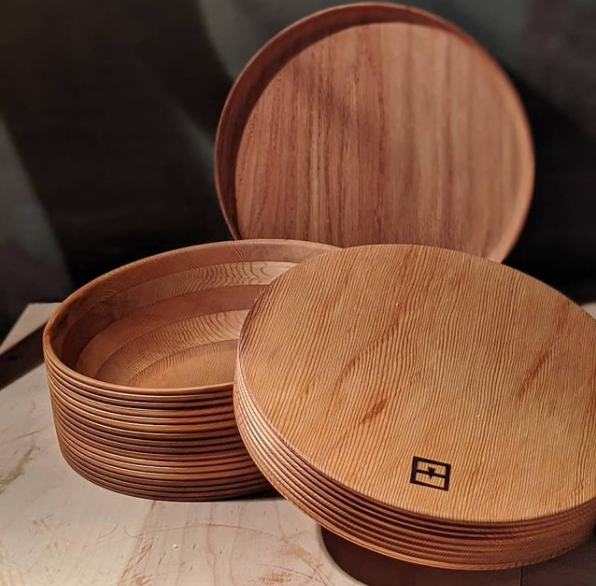
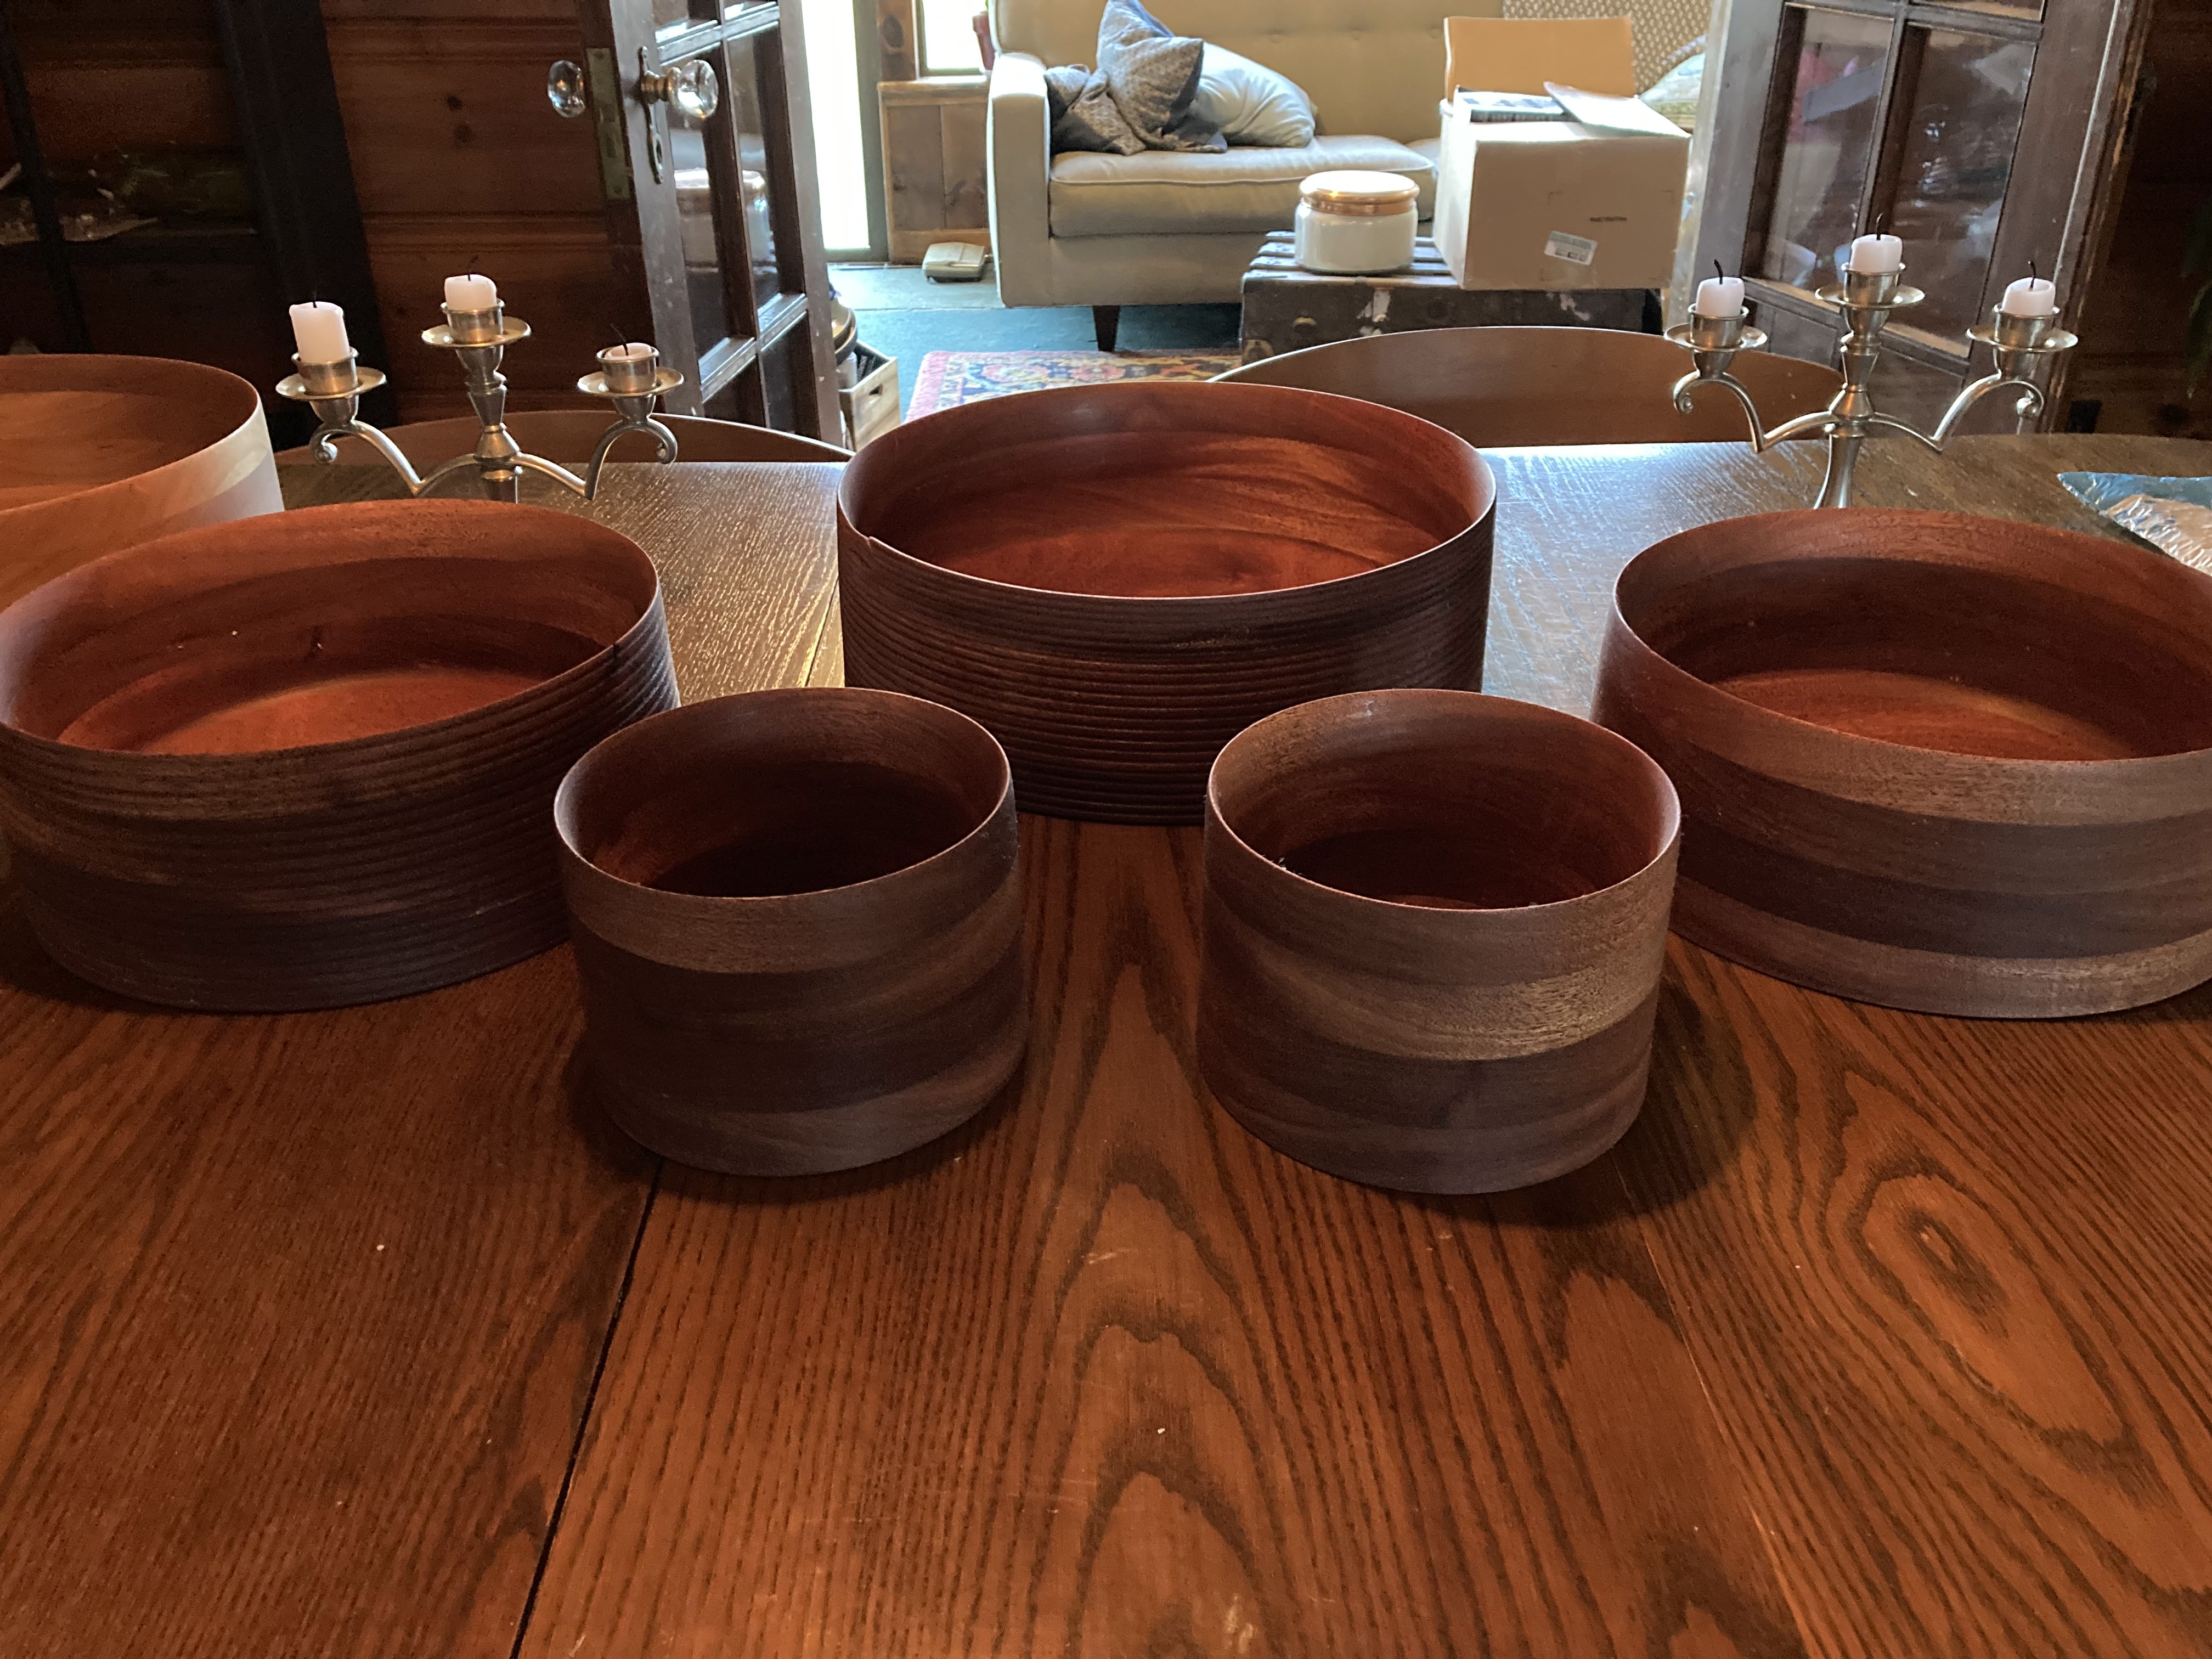
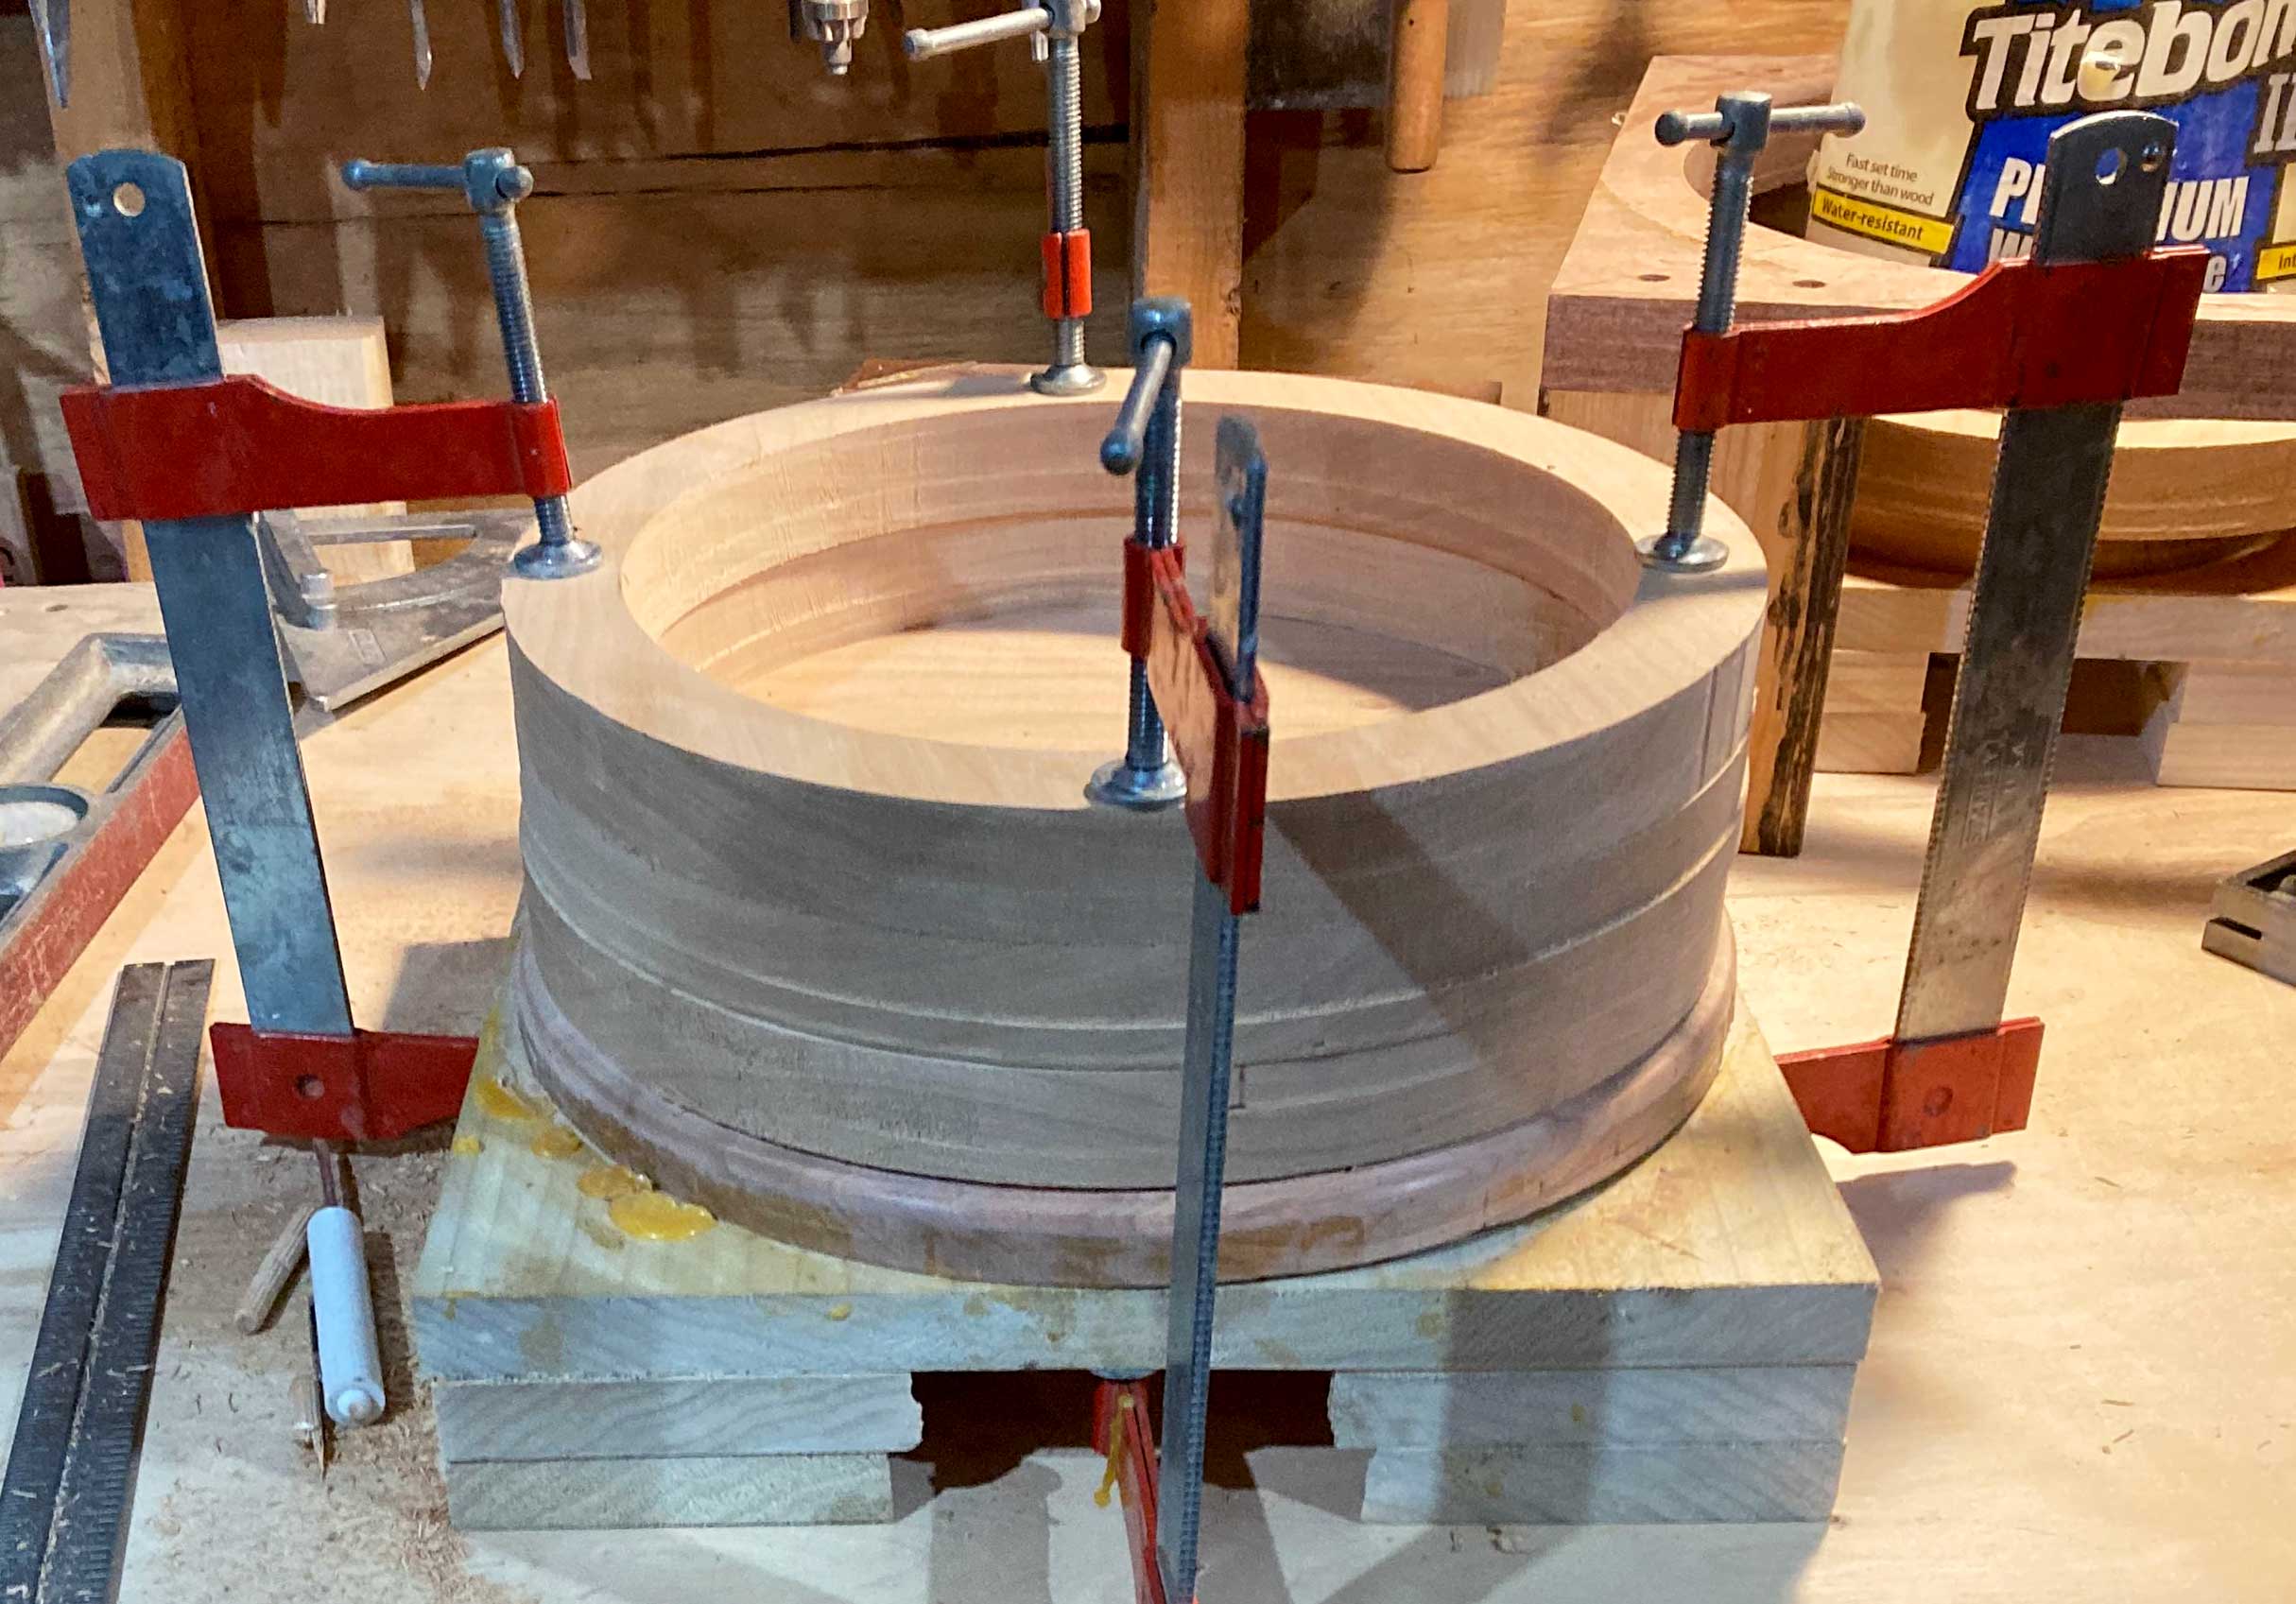
Repeat the process for each layer and you’re ready for the next step.
To expedite the glueing process and make it consistent, I made re-useable lathe chuck mounts in each bowl diameter size along with complimentary stands that were raised to accommodate clamps beneath each stack.
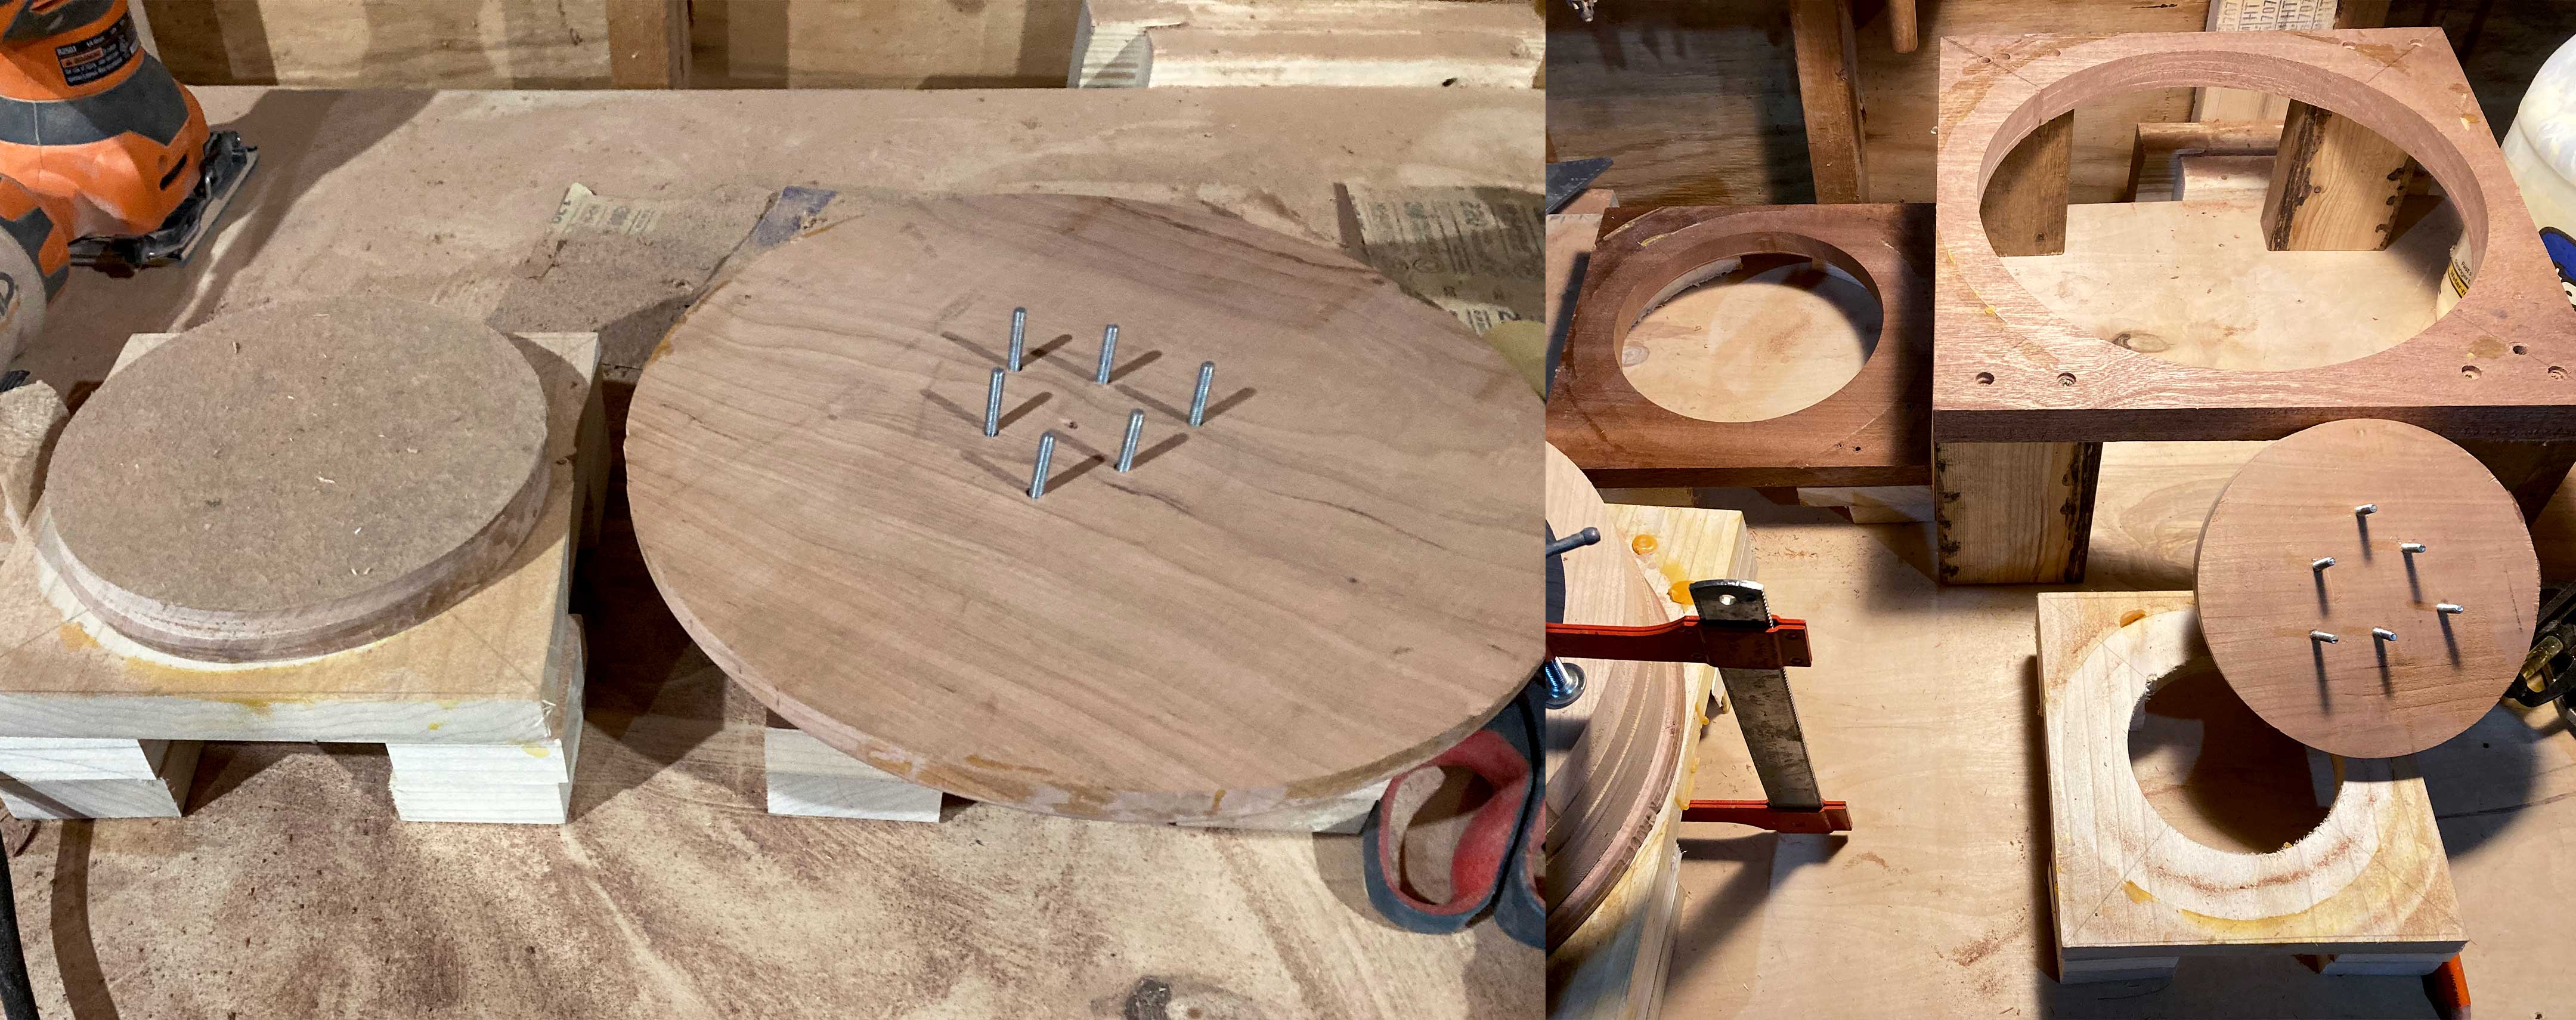
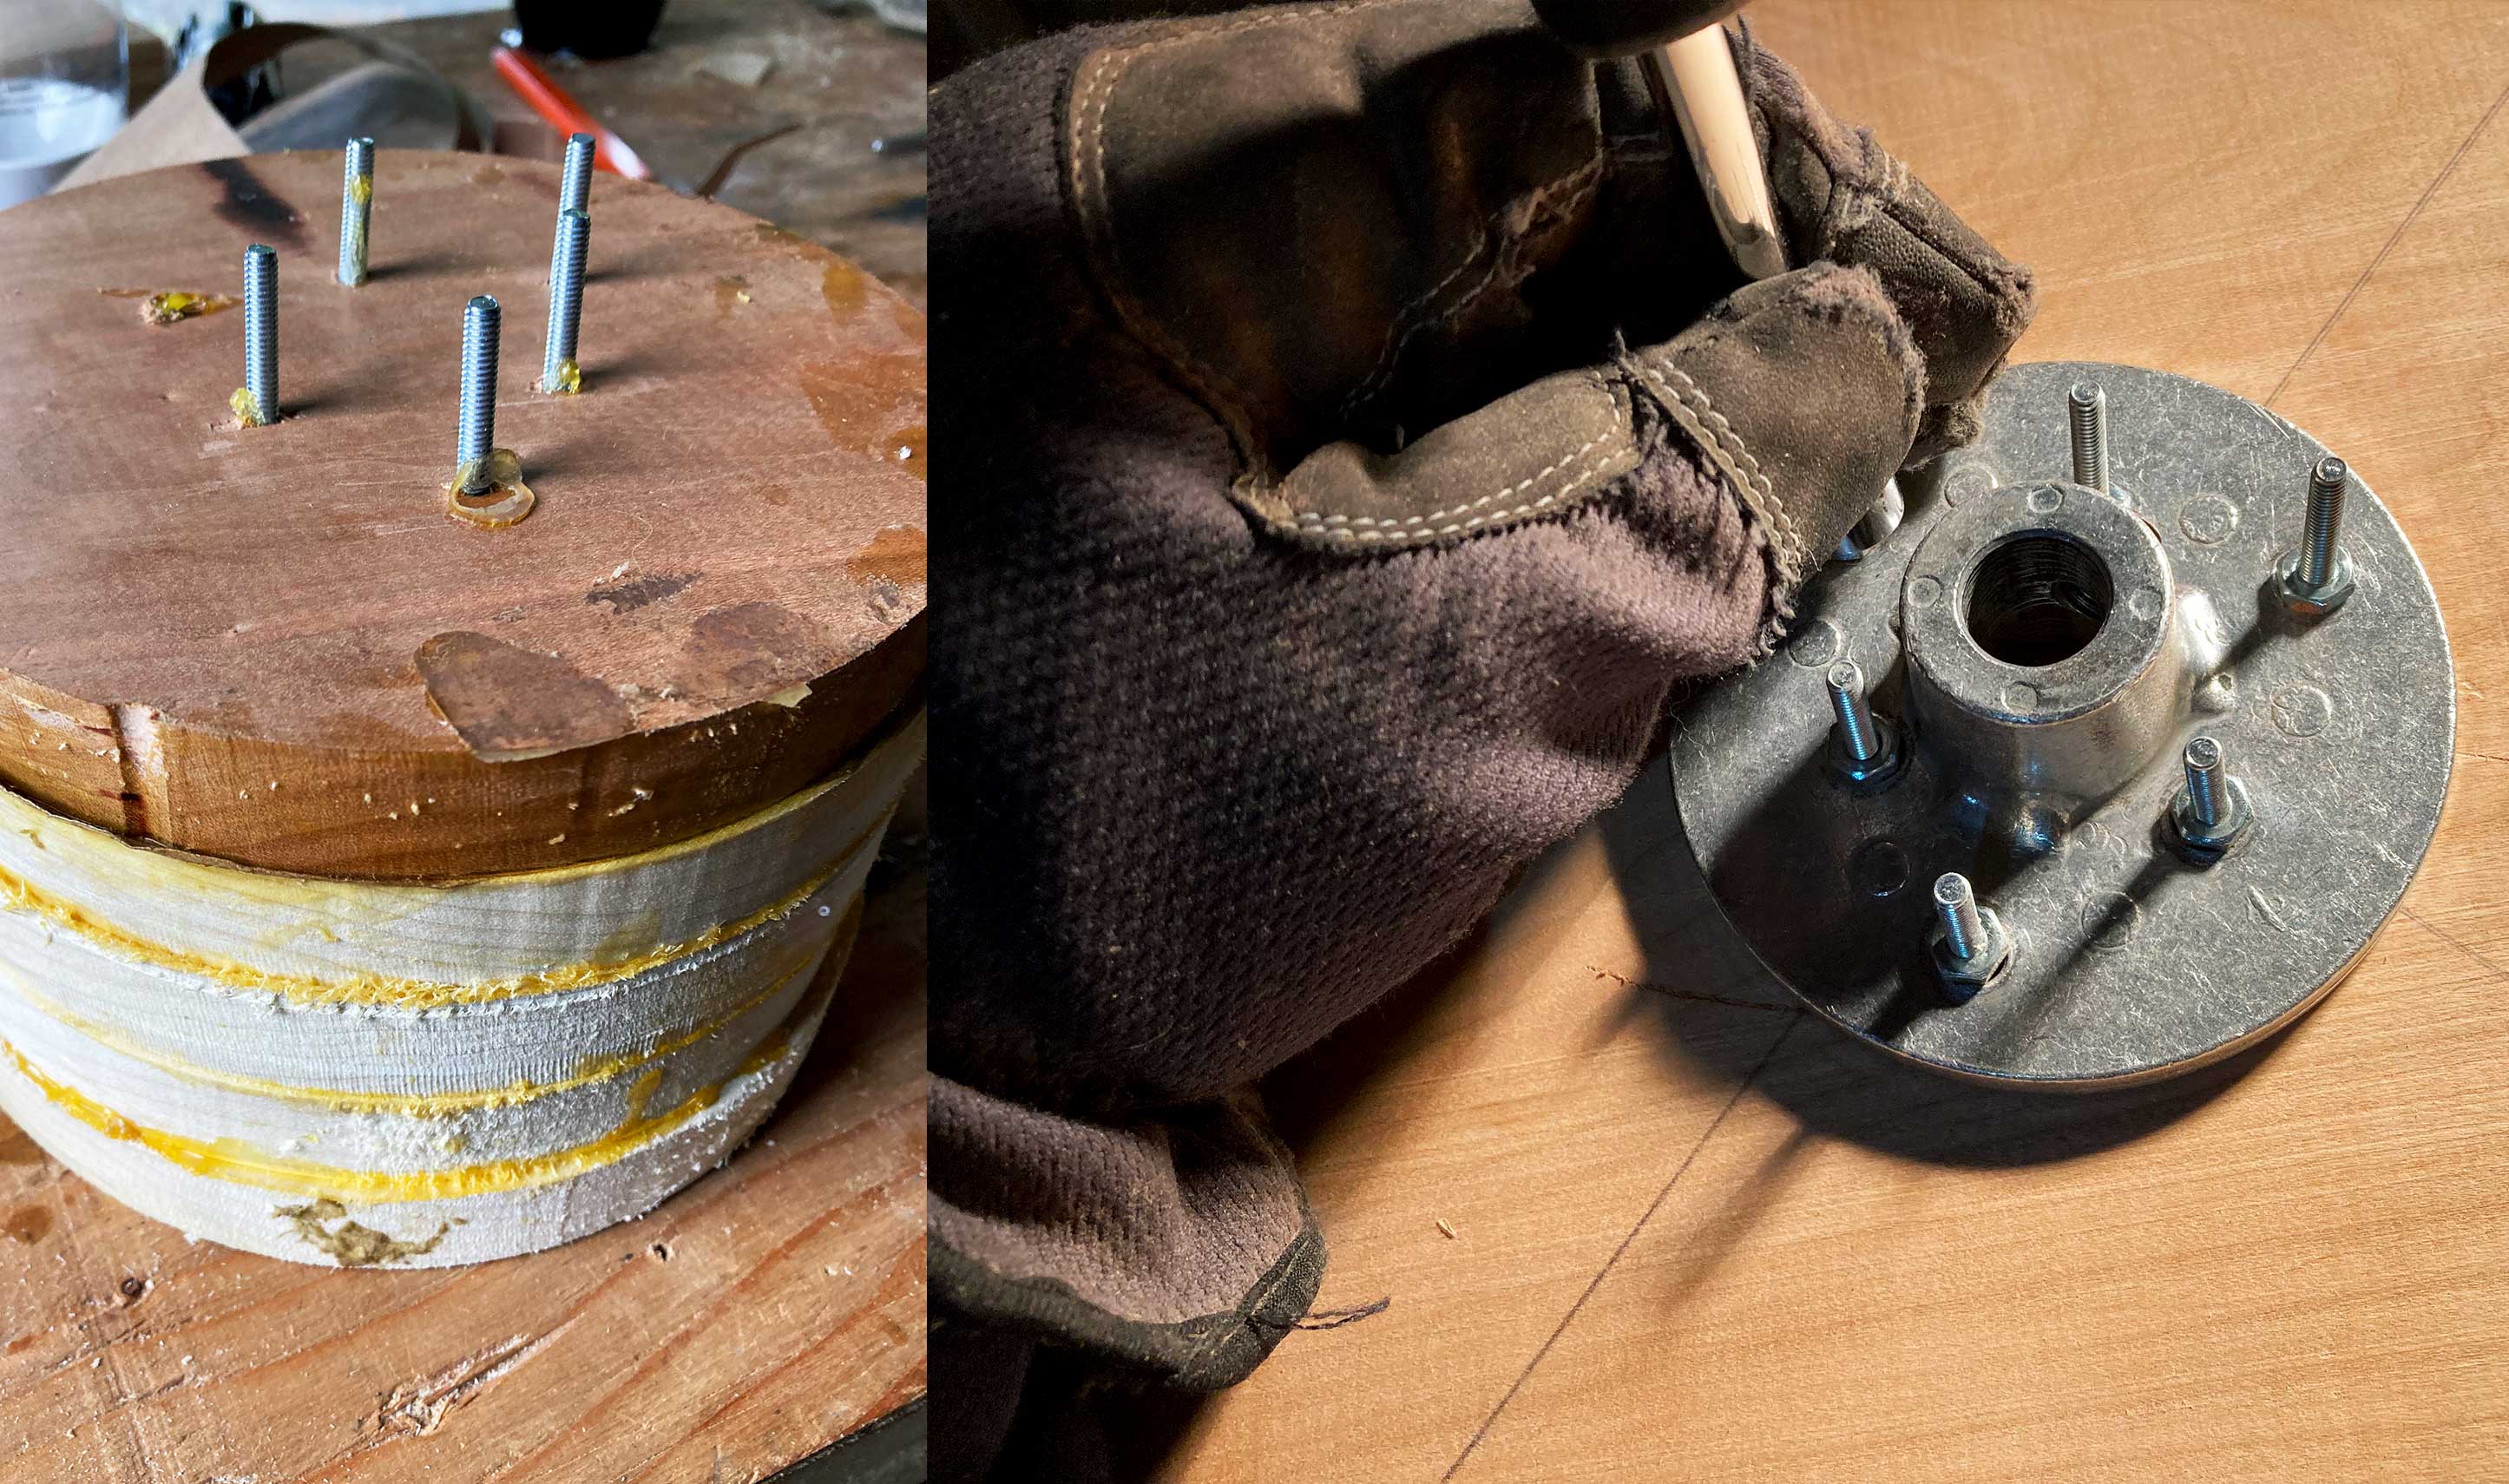

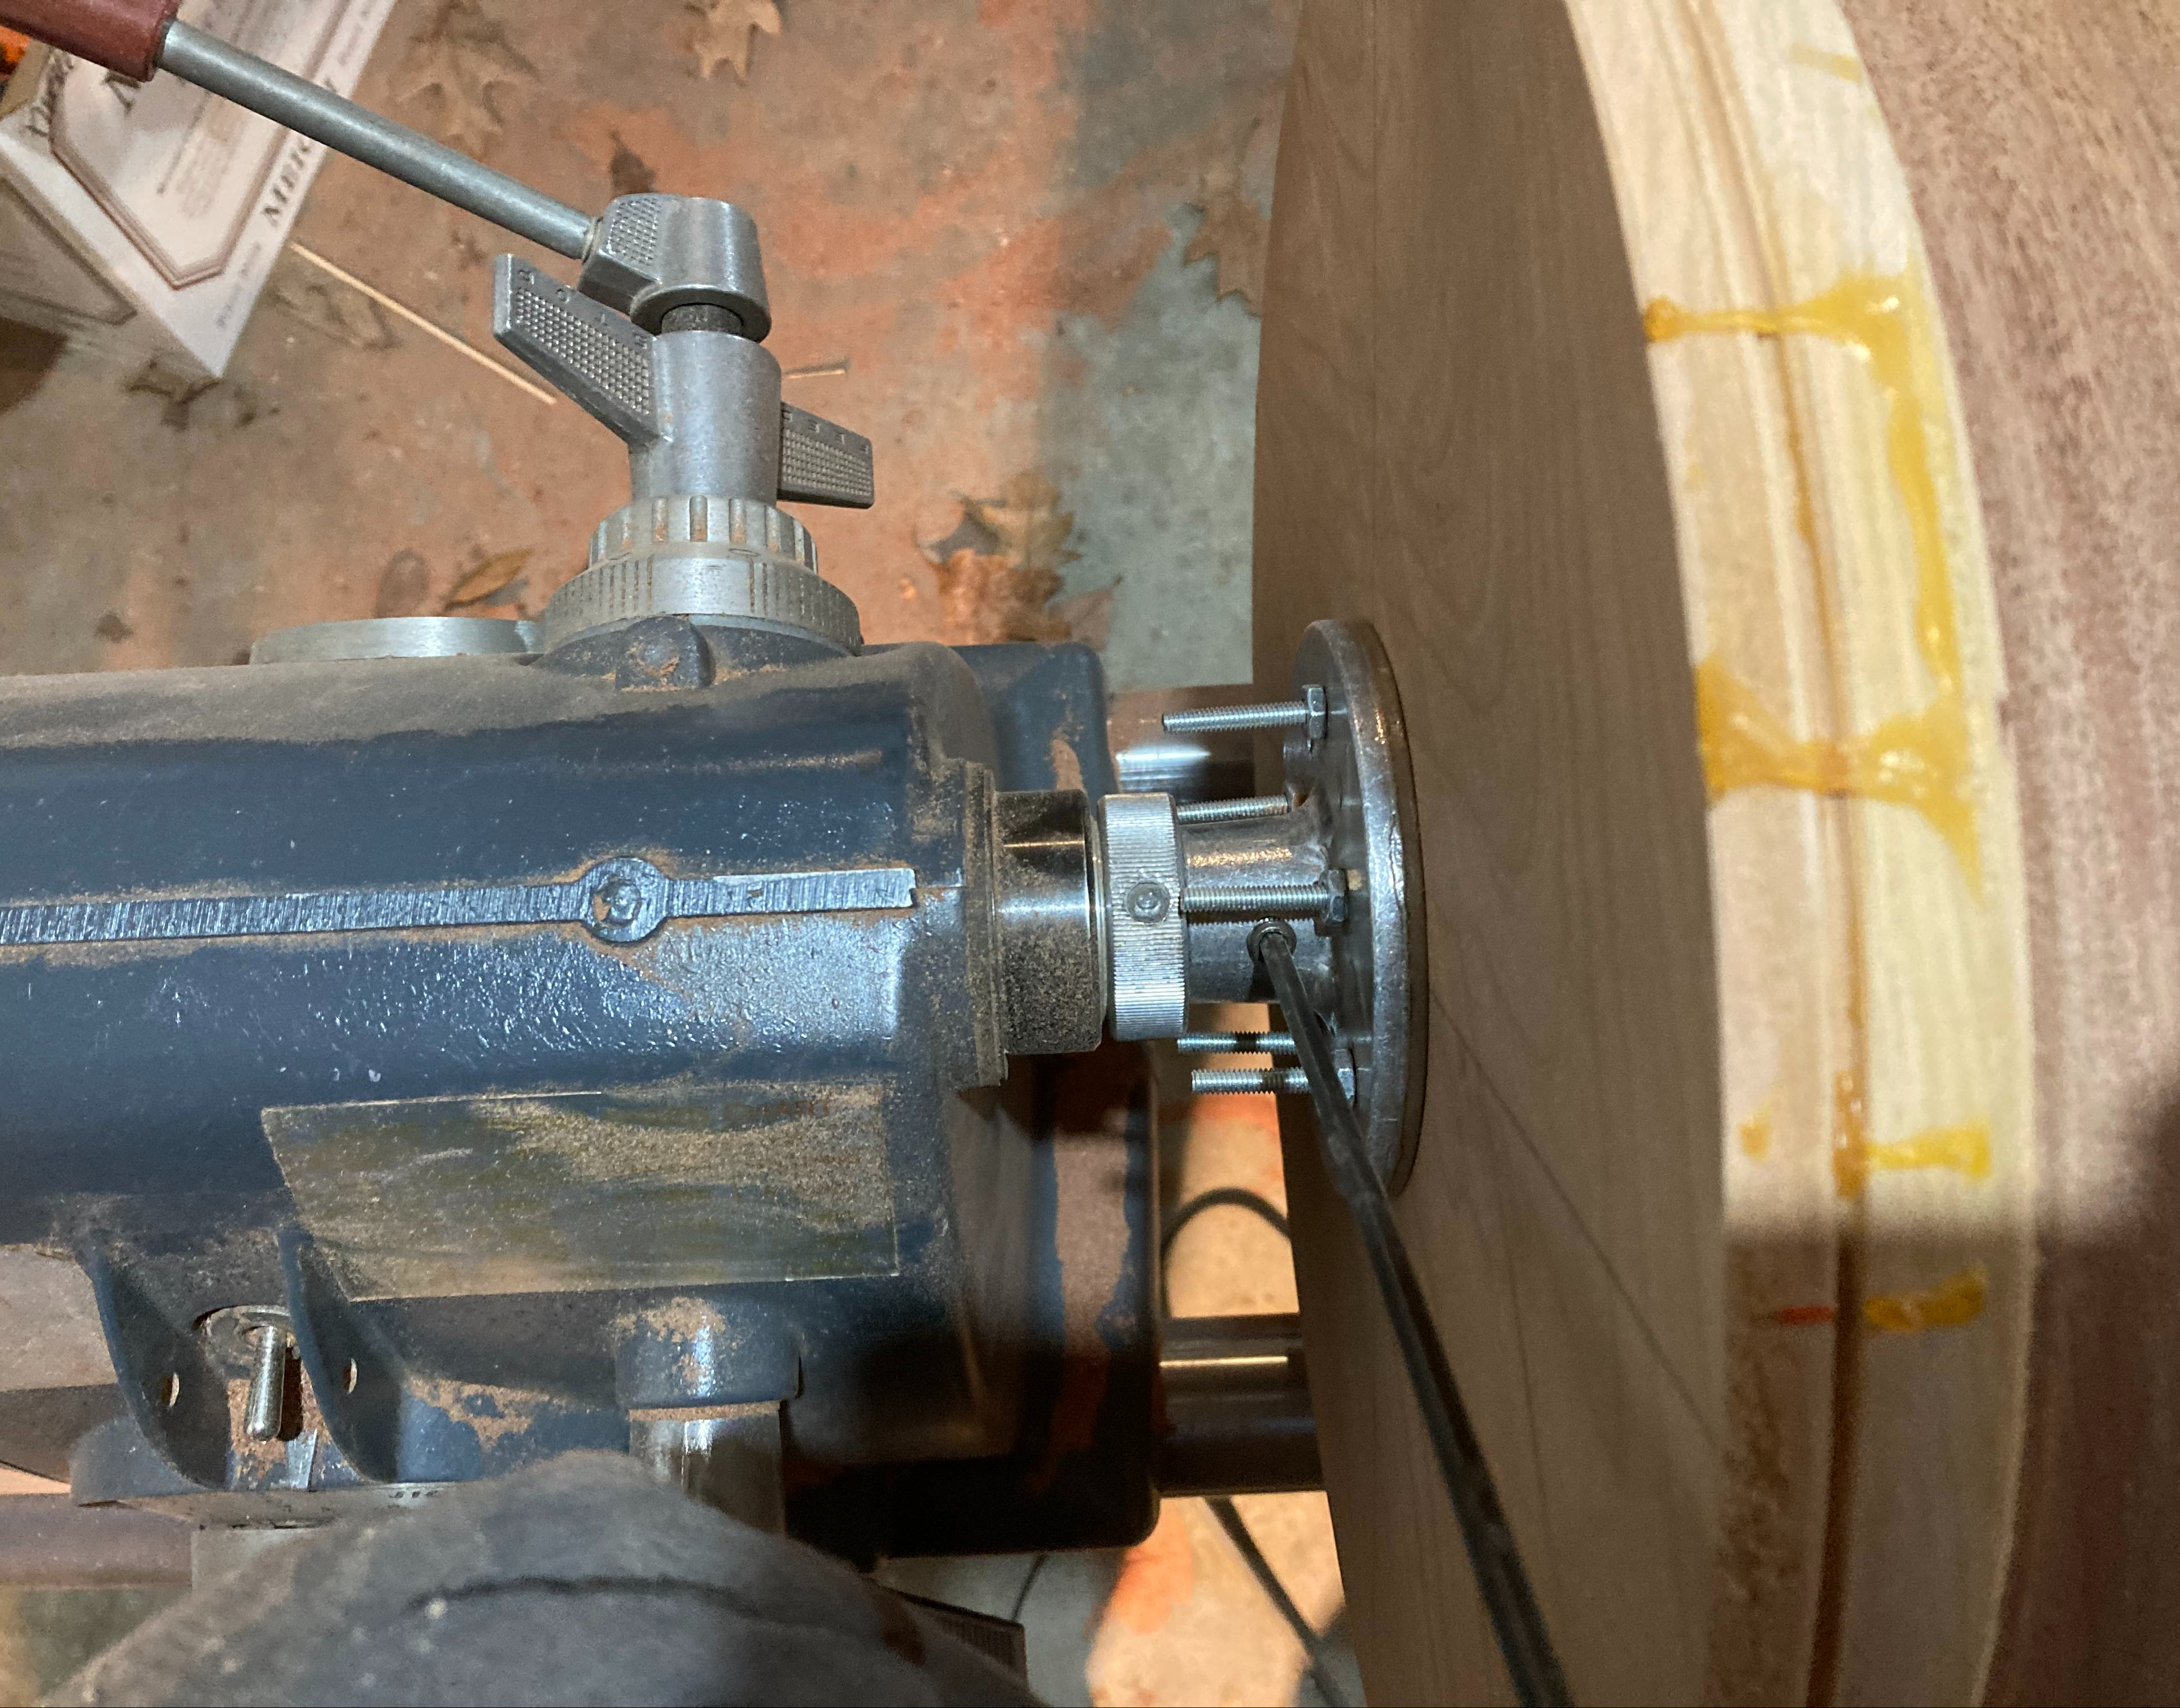
Pro-tip I learned here. Glueing a layer of paper bag between the bowl and the chuck allows you to drive a chisel through this layer after turning and your bowl pops right of nice and clean. You have no holes in your actual bowl and the chuck once removed can be immediately used on a new bowl.
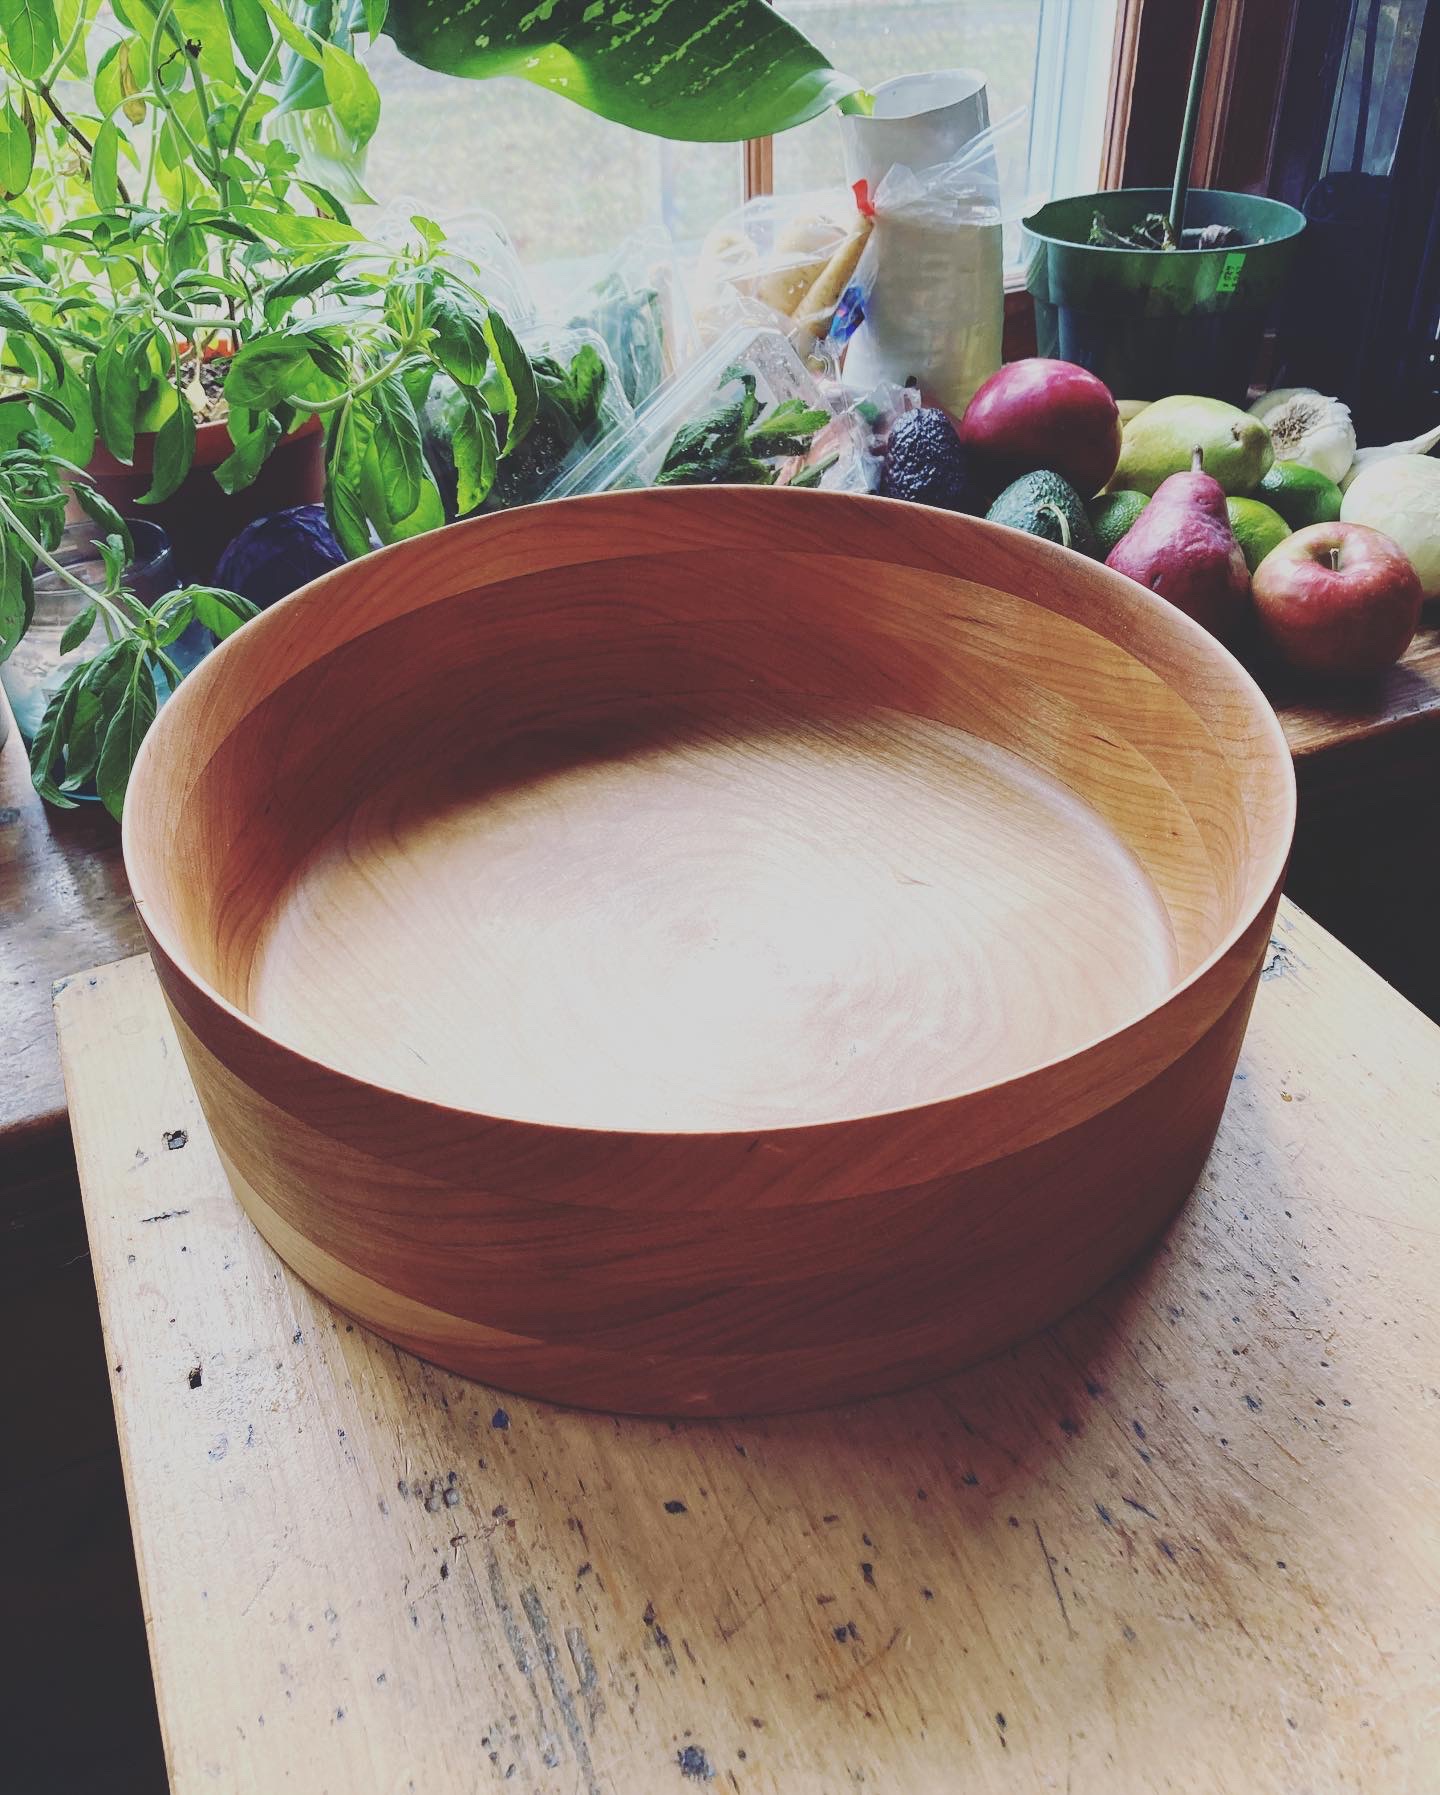
Now you just turn, sand, brand, and finish.